25 Shower Remodel Ideas That Make Your Space Look Luxe
Your shower is the first thing you use in the morning and often the last thing you use at night. It deserves better than a cracked grout line, a showerhead with three working jets out of twelve, and a glass door that hasn’t been truly clean since 2019.
A shower remodel ranks among the highest-return bathroom investments you can make, both for daily quality of life and for home resale value. The range runs from a $200 showerhead swap to a full wet room build. Both qualify as remodels. Both improve your daily experience.
Here are 25 shower remodel ideas worth serious consideration, organized from targeted upgrades to complete transformations.
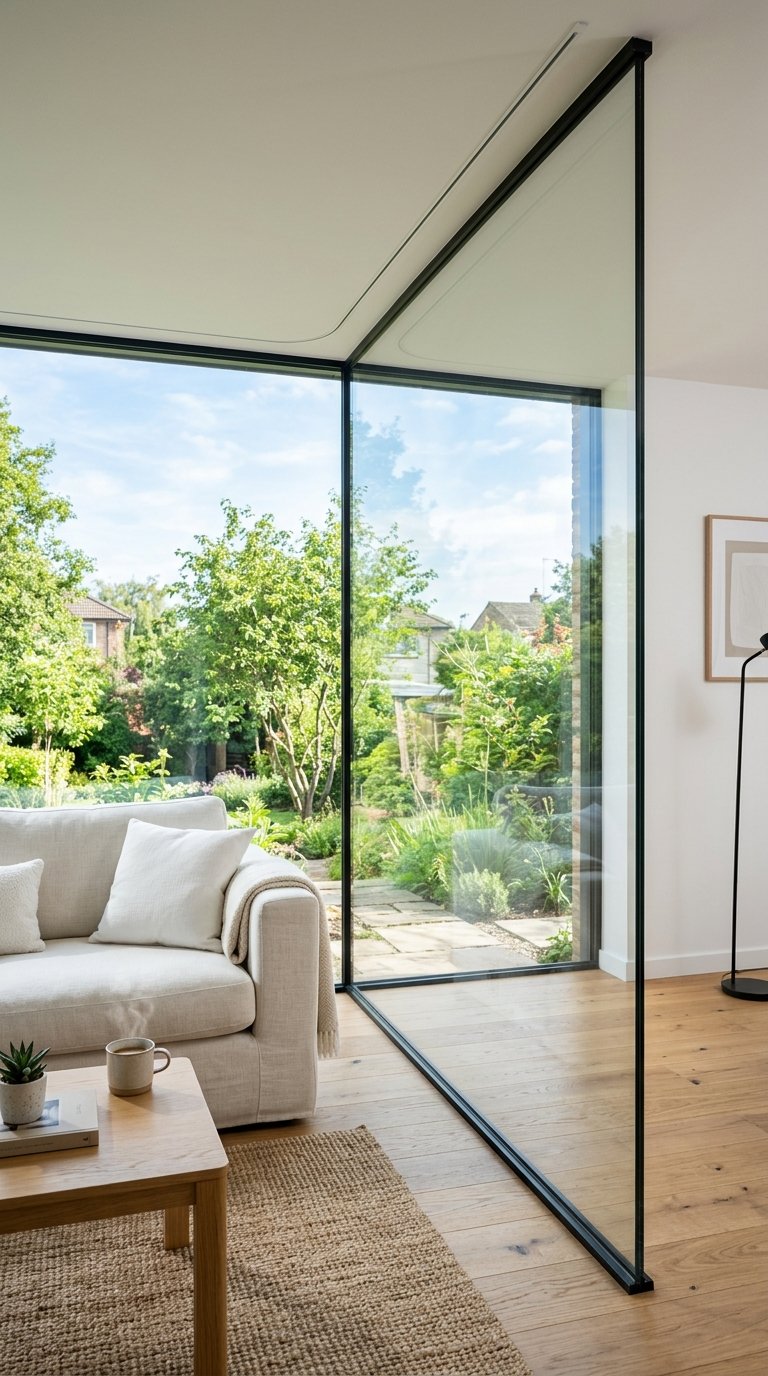
1. Remove the Shower Door and Go Frameless Glass
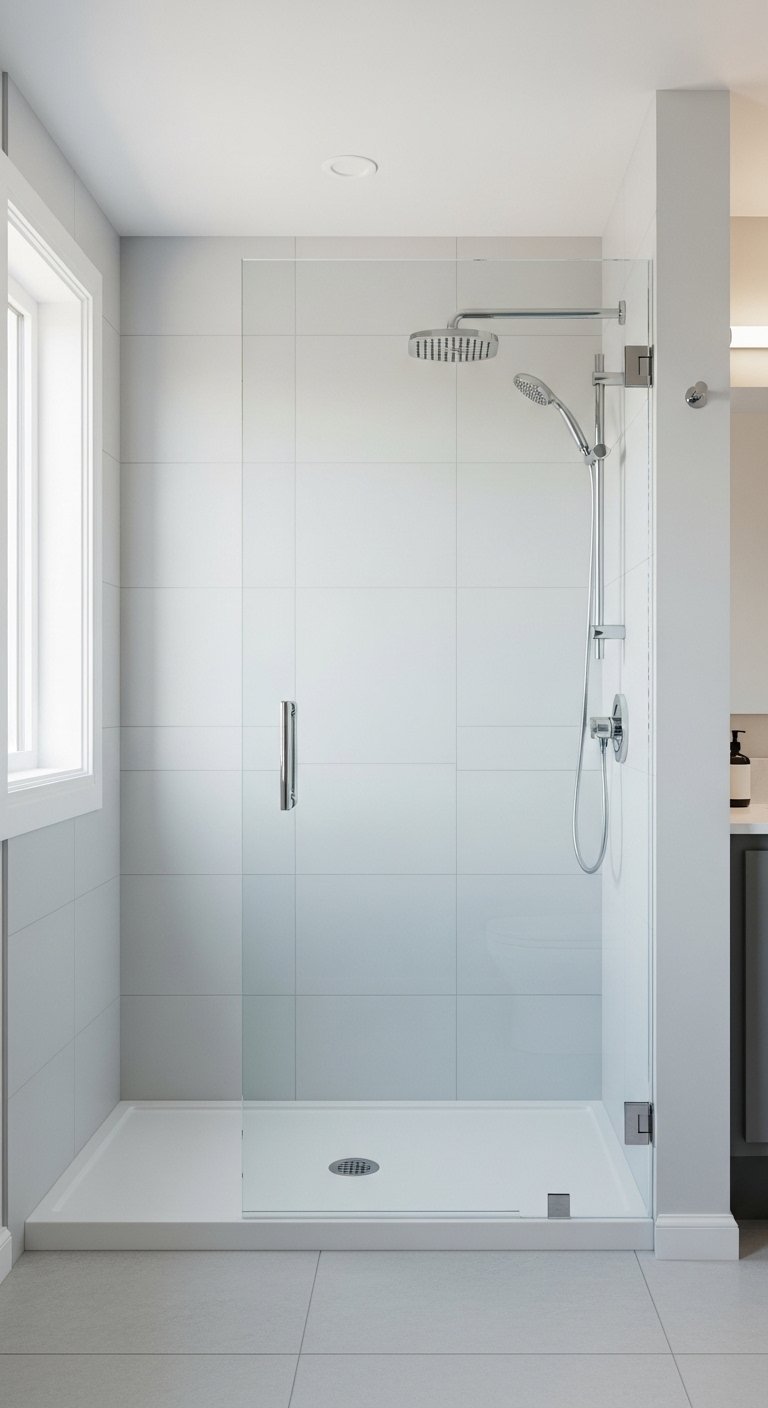
Nothing ages a shower faster than a framed shower door with its aluminum tracks collecting soap scum in places no cleaning product fully reaches.
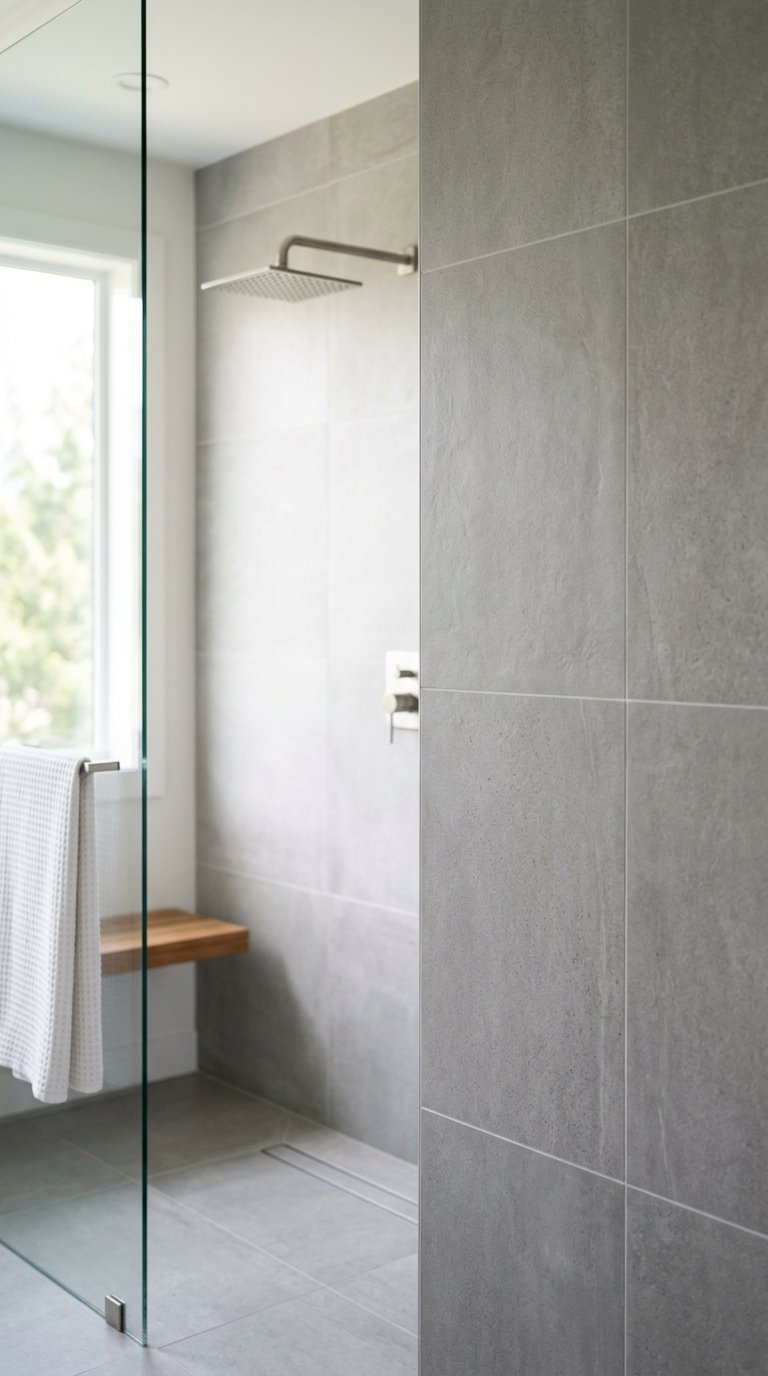
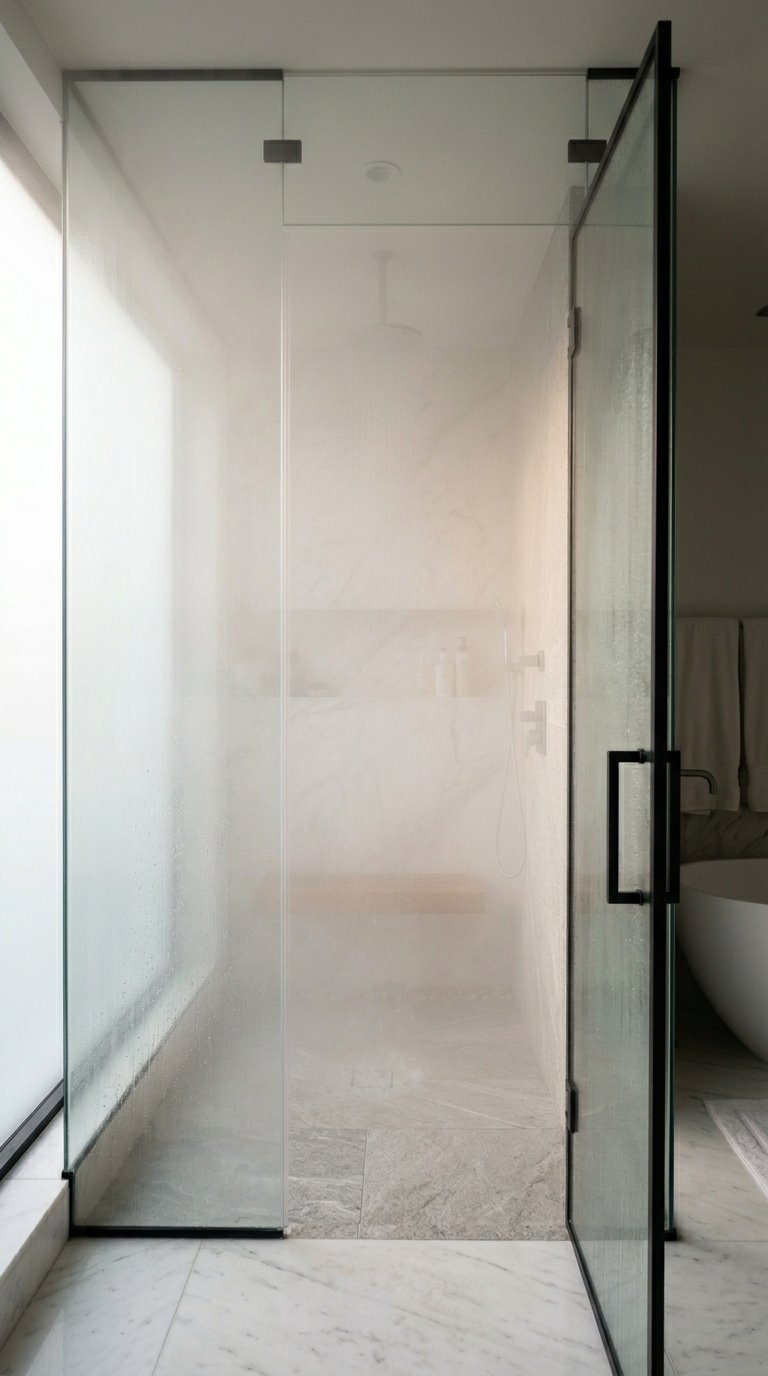
A frameless glass shower enclosure removes the frame entirely. The glass panel or door sits on minimal hardware: a few hinges, a handle, and a floor channel or ceiling mount. The result looks cleaner, feels more open, and photographs significantly better if resale matters to you.
Frameless glass considerations:
- Minimum glass thickness of 3/8 inch for a fixed panel; 1/2 inch for a door.
- Choose a water-repellent glass coating like Rain-X or a factory-applied hydrophobic treatment.
- Opt for low-iron glass for a clearer, less green-tinted appearance.
- Pivot doors work better in tight spaces; hinged doors need a full door-swing clearance.
The cost runs higher than a standard framed door, but the visual impact justifies it in almost every bathroom.
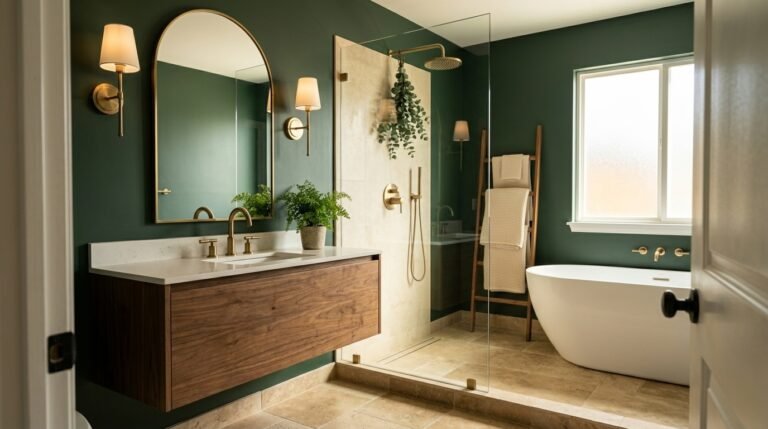
2. Convert to a Walk-In Wet Room
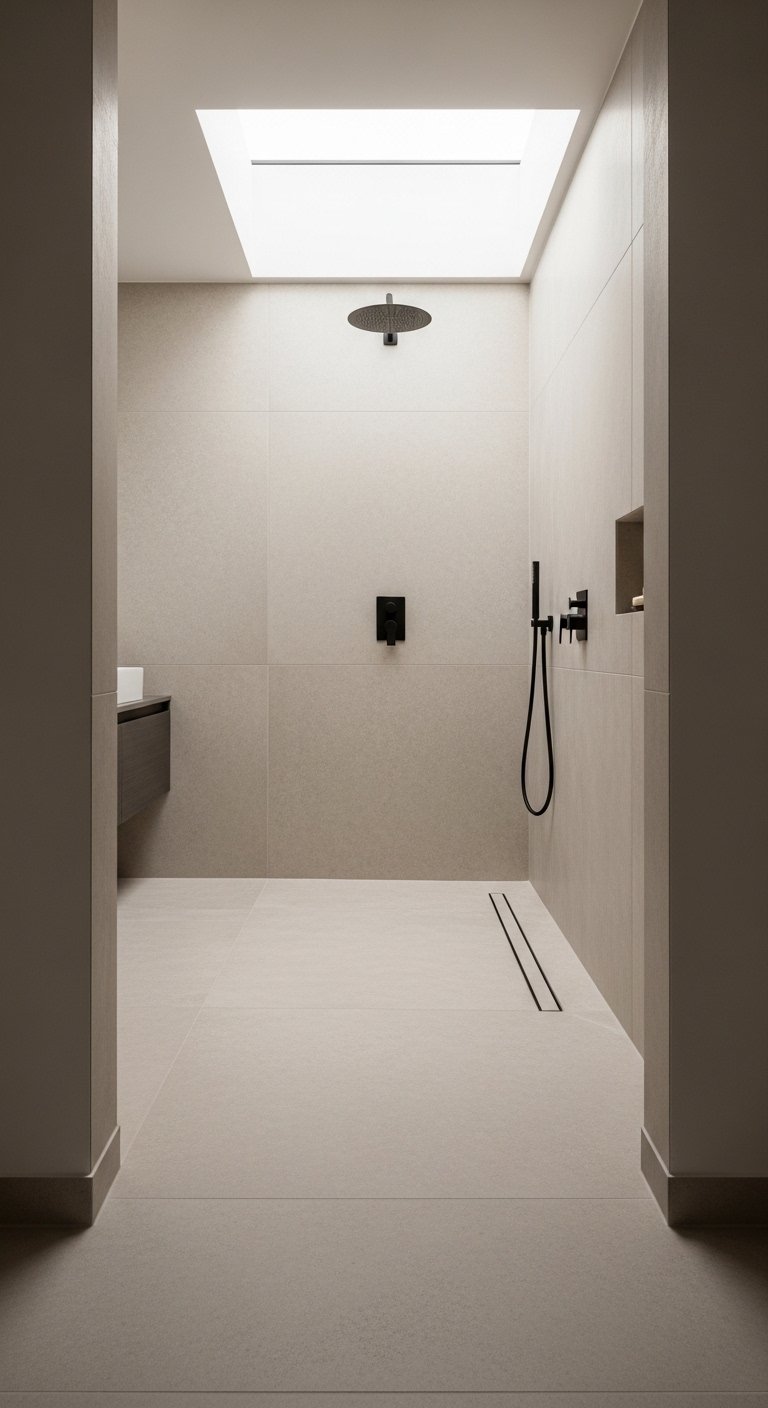
A walk-in wet room removes all enclosure barriers and treats the entire shower zone as an open, barrier-free space within the bathroom.
The floor slopes toward a central or linear drain. Water stays within the wet zone through careful floor gradient design rather than physical barriers. The result feels genuinely spa-like and makes the bathroom feel larger than any other single remodel decision.
What a wet room requires:
- Complete waterproofing of the floor and walls in the wet zone, typically a tanked liner system.
- A linear drain or central floor drain with adequate flow capacity.
- Non-slip floor tile with a minimum R10 slip resistance rating.
- Adequate floor slope toward the drain (minimum 1.5 to 2 percent gradient).
A wet room remodel costs more than a standard shower enclosure replacement. The spatial and aesthetic result it delivers makes it the most transformative shower remodel on this list.
3. Install a Rainfall Showerhead
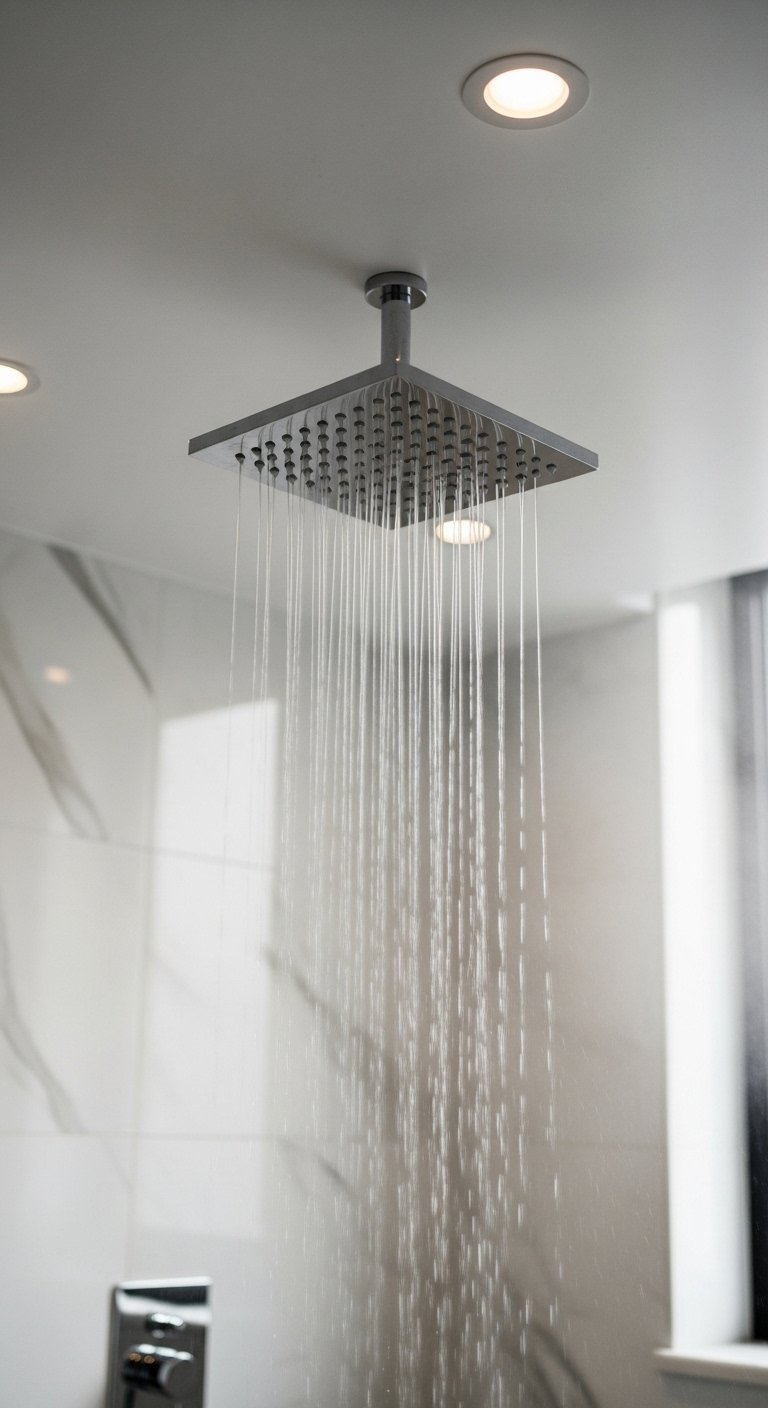
A rainfall showerhead delivers water from directly above at a wide, gentle flow that feels nothing like a standard directional showerhead. The experience is genuinely different and noticeably better for most people.
The options range from a ceiling-mounted fixture that sits flush with the ceiling surface, to an overhead arm-mounted head that extends from the wall. Ceiling-mounted looks more architectural and permanent. Arm-mounted costs less and installs without ceiling work.
Rainfall showerhead specifications to look for:
- A head diameter of at least 8 inches; 12 inches or larger delivers a more complete coverage experience.
- Flow rate of 1.8 to 2.5 gallons per minute for adequate pressure.
- A pressure-compensating valve if your water pressure is variable.
- Anti-scale nozzles for easy cleaning in hard water areas.
IMO, a quality rainfall showerhead is the single highest-return per dollar upgrade on this list. It changes the shower experience every single morning.
4. Add a Second Body Spray or Side Jets
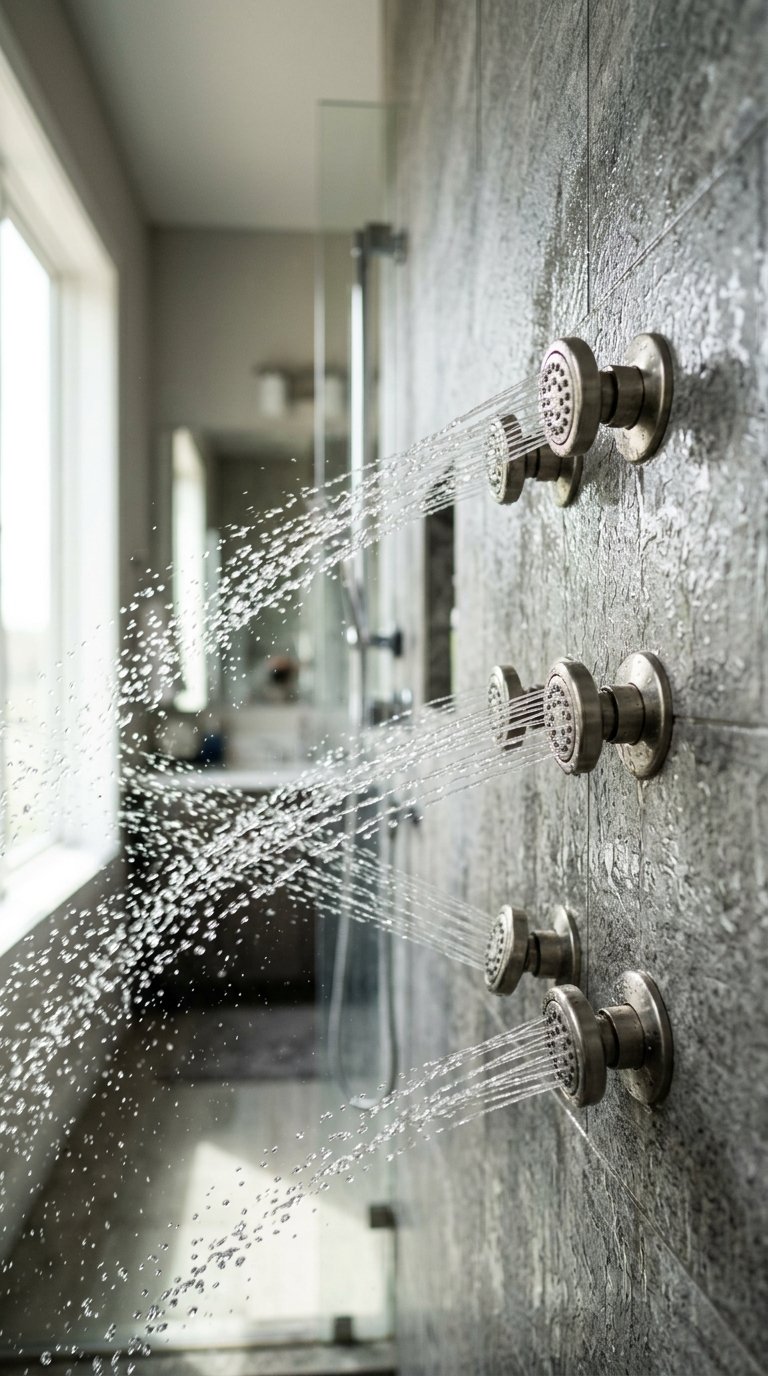
A rainfall showerhead above combined with side body jets creates a multi-directional shower experience that covers your full body simultaneously.
Body spray panels or individual wall-mounted jets require a thermostatic valve system that controls multiple water outlets independently. You set the temperature once and control which jets run separately.
Body spray system considerations:
- A thermostatic valve with at least two or three separate volume controls.
- Water pressure and flow rate sufficient to run multiple outlets simultaneously without pressure drop.
- Individual jet height placement: one set at shoulder height, one at hip height, one at knee level.
- Anti-scald protection built into the thermostatic valve for safety.
This upgrade works best in a shower remodel that also replaces the valve system rather than adding jets to an inadequate existing supply.
5. Replace Your Valve With a Thermostatic System
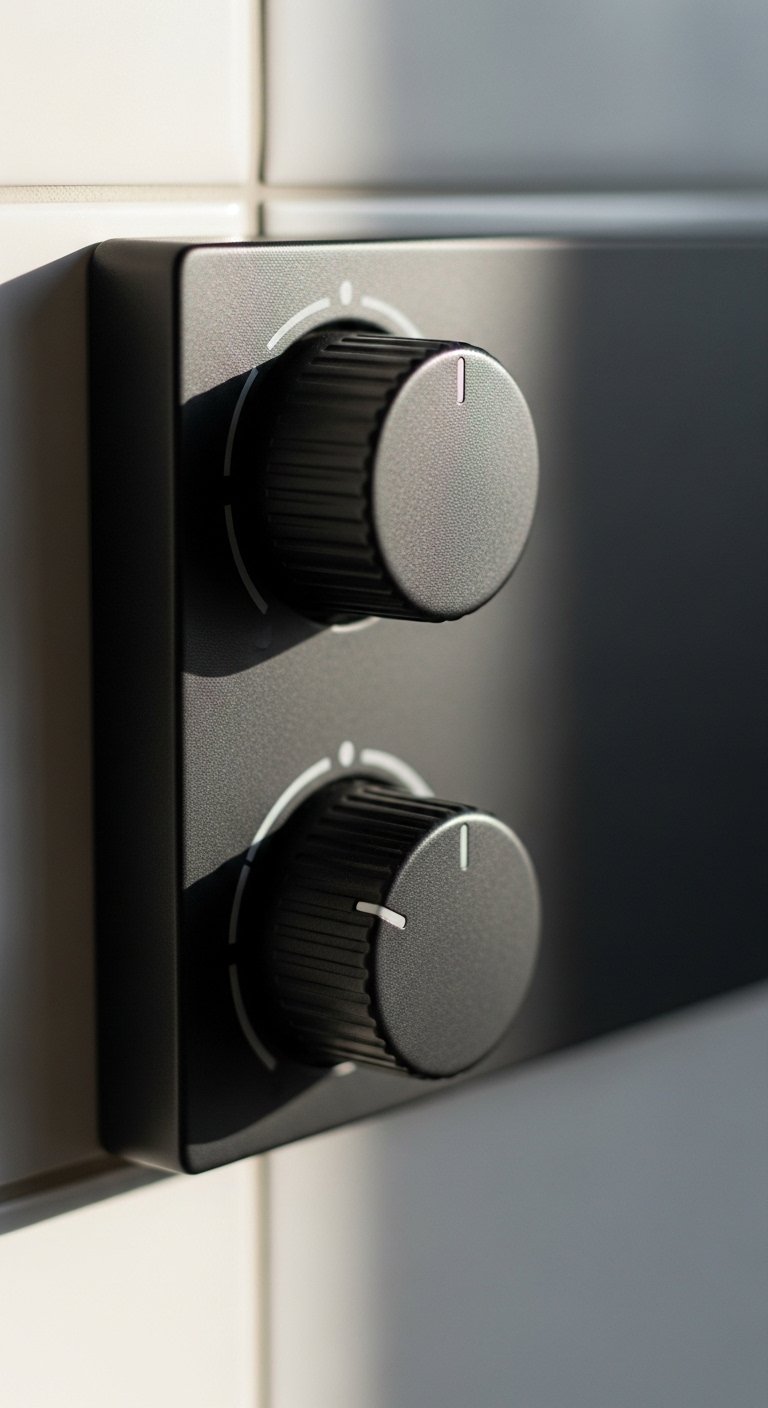
The valve controls your entire shower experience. A basic two-handle valve requires manual temperature adjustment every single shower. A thermostatic valve remembers and maintains your exact preferred temperature automatically.
You set it once. Every subsequent shower starts at your temperature within seconds. No cold blast while the system equalizes. No scalding surprise if someone runs a tap elsewhere in the house.
Thermostatic valve features worth paying for:
- Separate volume and temperature controls (one dial for each function).
- Anti-scald protection limiting maximum temperature.
- Compatibility with multiple outlet types (showerhead, hand shower, body jets, tub filler).
- A quality brand with available spare parts: Hansgrohe, Kohler, Moen, and Grohe all provide reliable long-term support.
This is infrastructure. Get it right during the remodel and it serves you for twenty years.
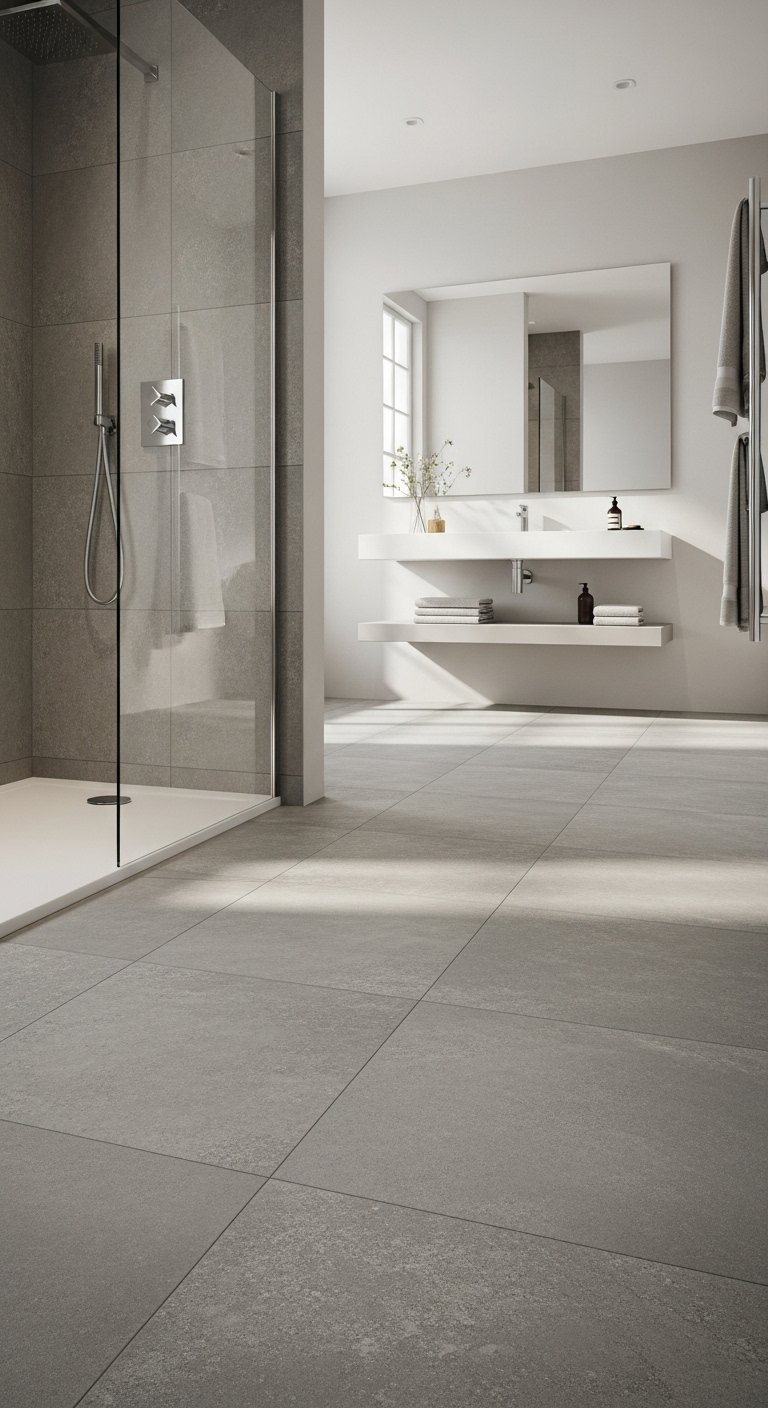
6. Use Large Format Wall Tiles to Minimize Grout Lines
Grout lines in a shower are where mold and soap scum accumulate. The fewer grout lines, the less cleaning. Large format tiles, 24×48 inches or larger, cover the same wall area with a fraction of the grout lines that standard tiles require.
Large format tiles also make a shower feel larger because the eye reads fewer interruptions across the surface. A small shower tiled in 4×4 inch tiles looks busy and cluttered. The same shower in 24×48 tiles looks open and architectural.
Large format shower tile requirements:
- A perfectly flat wall substrate (large tiles amplify any substrate unevenness).
- Large-format tile adhesive applied with a notched trowel to full coverage.
- Rectified tiles for minimal grout joint width (as thin as 1/16 inch).
- A tile saw capable of handling large format cuts accurately.
Hire an experienced tiler for large format work. The substrate preparation and adhesive bed technique require skill that directly affects the final result.
7. Install a Linear Drain for a Cleaner Floor
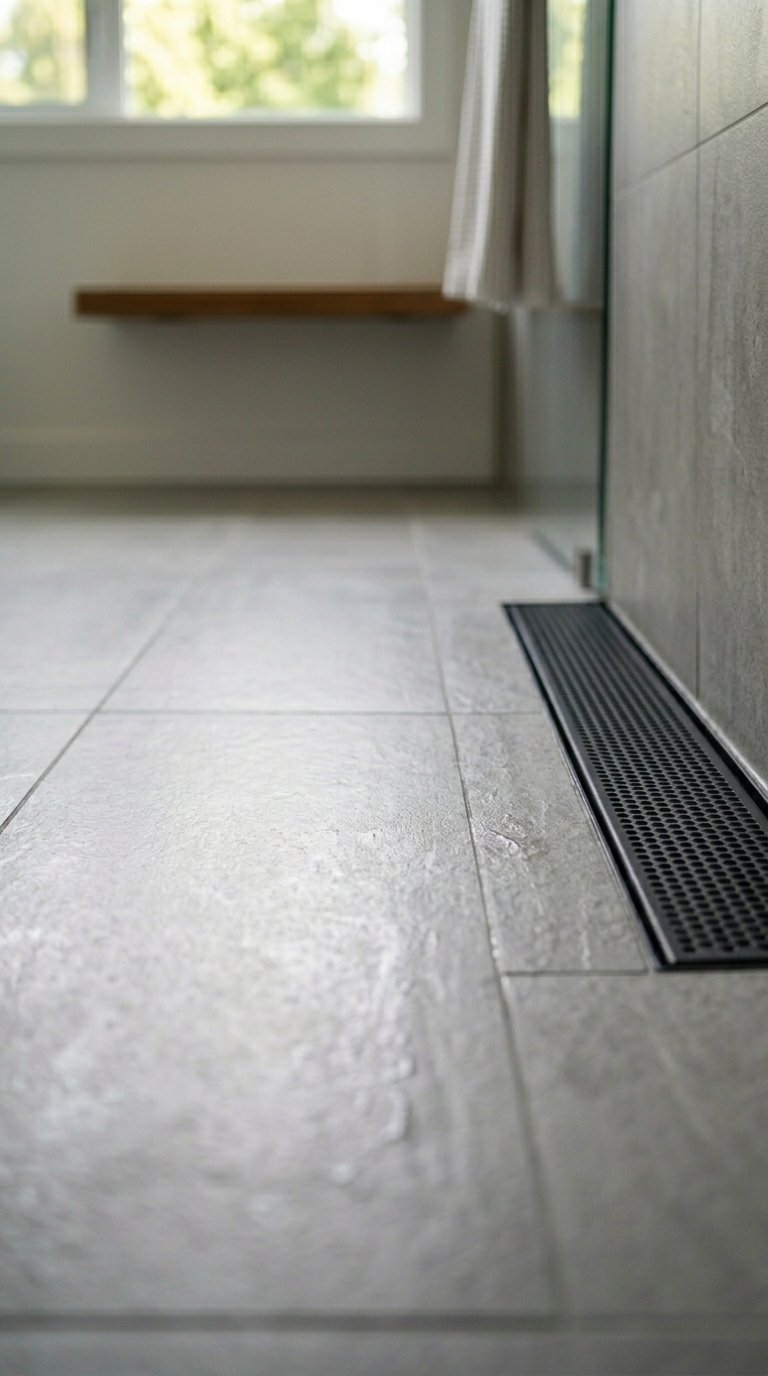
A standard circular drain sits in the center of the shower floor, requiring the floor to slope from all four directions toward the center. This limits your tile layout options because large tiles don’t work well with a multi-directional slope.
A linear drain runs along one wall of the shower floor. The floor slopes in one direction only, toward the drain. This lets you run large format floor tiles across the full width of the shower without cuts breaking up the pattern.
Linear drain benefits:
- Single-direction floor slope accommodates large format floor tiles.
- Cleaner visual line compared to a circular drain centered on the floor.
- Easier to clean than a circular drain in most designs.
- Available in lengths from 24 to 60 inches to suit different shower widths.
Match the linear drain cover material to your shower fixtures: brushed brass drain with brass fittings, matte black drain with matte black hardware.
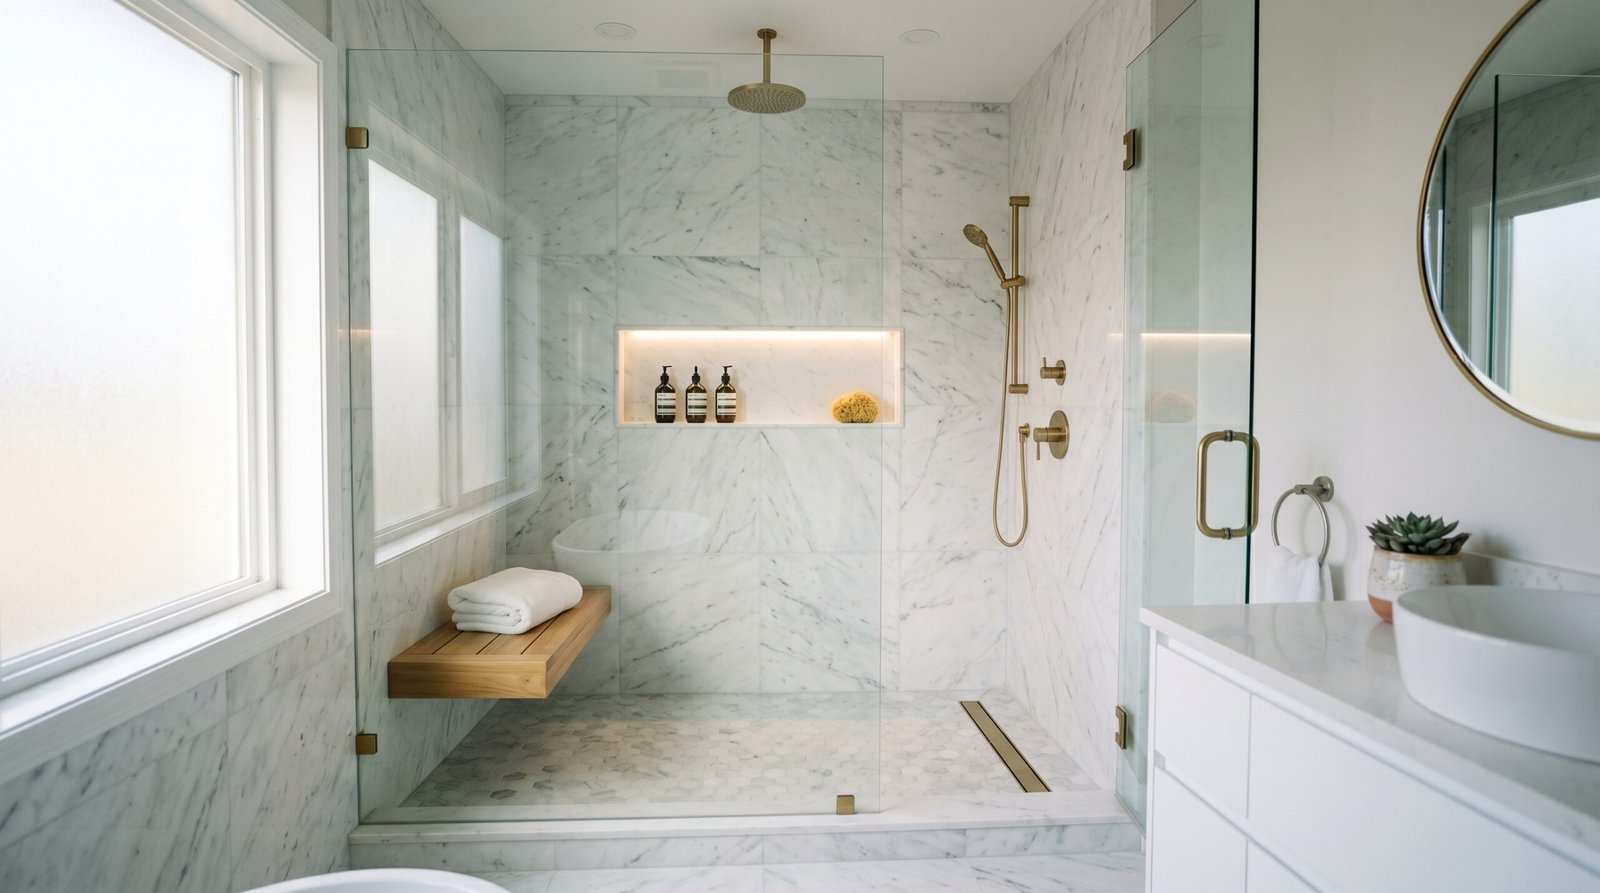
8. Create a Built-In Shower Niche
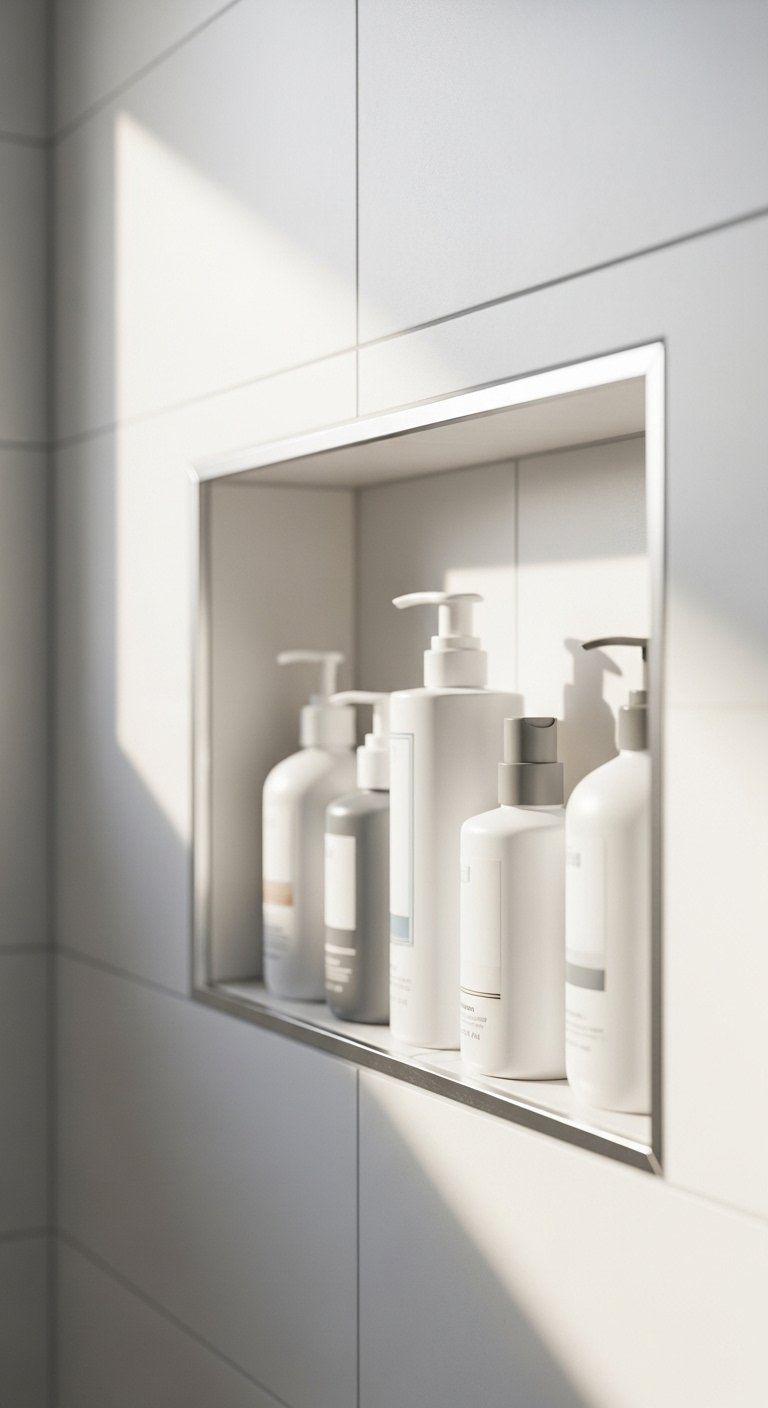
A shower niche is a recessed shelf built directly into the shower wall. It holds shampoo, conditioner, body wash, and razors without a caddy hanging from the showerhead or a corner shelf cluttering the shower.
A properly waterproofed and tiled niche looks architectural and permanent. It eliminates the visual clutter of plastic bottle collections on a ledge or a wire caddy. And if you’ve ever had a shower caddy fall on you at 6:30 AM, you understand why a niche is worth every bit of the effort.
Shower niche construction requirements:
- Built between studs for structural support, minimum 3.5 inches deep.
- Fully waterproofed with membrane liner before tiling.
- Tiled with the same tile as the surrounding wall for a seamless look, or a contrasting tile for a deliberate accent.
- A slight forward slope on the niche floor to prevent water pooling.
One niche at shoulder height handles most daily shower products. A second niche lower down works for shaving products or children’s items.
9. Add a Teak or Stone Shower Bench
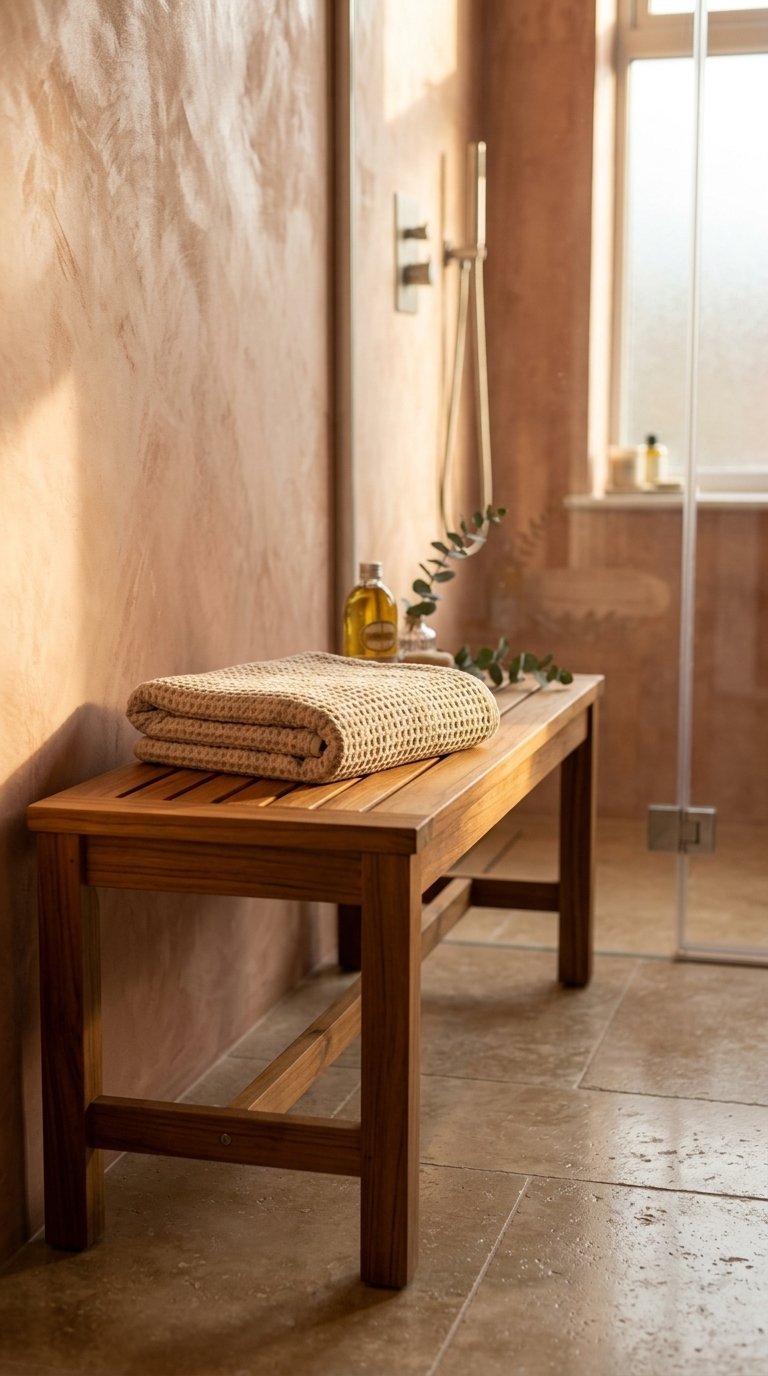
A shower bench serves a practical function: it provides a surface for foot placement while shaving, a seat for elderly or mobility-limited users, and a shelf for products. It also adds a spa-like quality to any shower remodel.
Teak is the standard material for shower benches because it naturally resists moisture, mold, and warping. Stone benches, built in the same material as the shower floor, look more integrated and architectural but cost significantly more.
Shower bench options:
- Teak fold-down bench for small showers where floor space matters.
- Freestanding teak stool for flexibility without permanent installation.
- Built-in tiled bench for a permanent, architectural solution.
- Floating stone bench cantilevered from the wall for a minimal, modern look.
A built-in bench requires structural blocking in the wall during the remodel phase. Plan it before the walls close up.
10. Use a Contrasting Tile Accent Wall
One wall of the shower in a contrasting tile creates a feature surface that adds visual depth without tiling the entire shower in an expensive or complex material.
The back wall of the shower, the wall you face when standing under the showerhead, is the natural candidate for an accent tile. It receives the most visual attention and creates the strongest impression when you step into the shower.
Accent tile combinations that work:
- Zellige or handmade tile on the back wall; large format porcelain on the other walls.
- Dark slate or marble on the feature wall; neutral porcelain elsewhere.
- A bold geometric patterned tile on one wall; plain subway tile on the rest.
- Mosaic tile as a full feature wall; large format tile on flanking walls.
Keep the grout color consistent across all tile types for visual continuity between the accent and field tiles.
11. Install Steam Shower Capability
A steam shower generator turns your shower enclosure into a steam room. The generator, typically installed in a nearby cabinet or vanity base, produces steam that enters the shower through a steam head in the wall.
The result is a genuine at-home steam room experience. Steam showers benefit respiratory health, muscle recovery, and skin hydration. They also make your bathroom the most popular room in the house during winter.
Steam shower requirements:
- A sealed shower enclosure (no gaps or open areas where steam escapes).
- A steam generator sized to the shower volume (measured in kilowatts per cubic foot).
- A steam-rated tile and waterproofing system throughout.
- A steam head positioned low on the wall, away from the entry door.
- A dedicated electrical circuit for the generator.
Steam capability adds significant cost to a shower remodel. It also adds a daily experience that most people who install it describe as non-negotiable afterward.
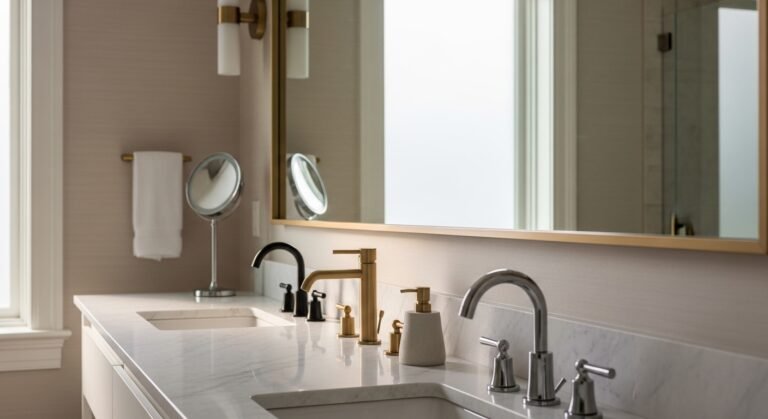
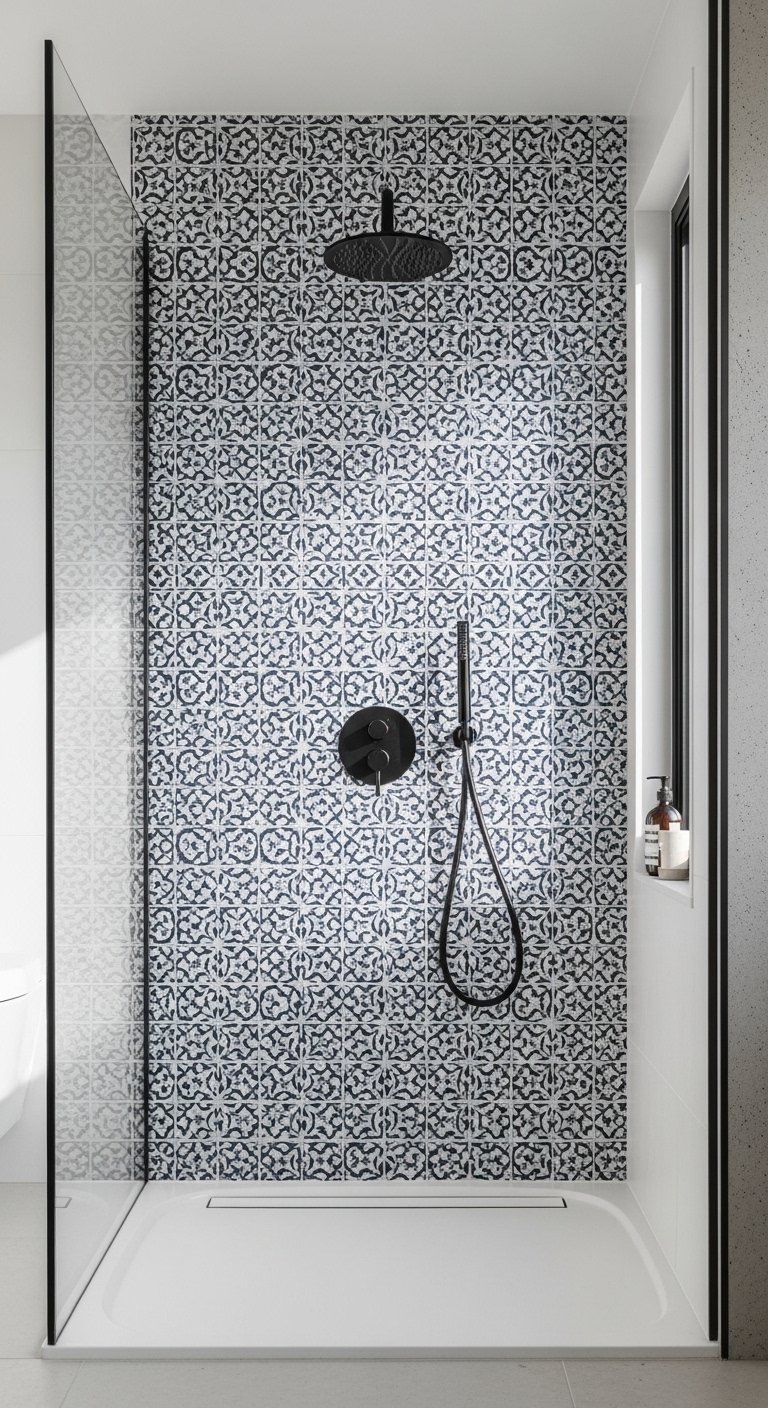
12. Go Dark With Matte Black Fixtures
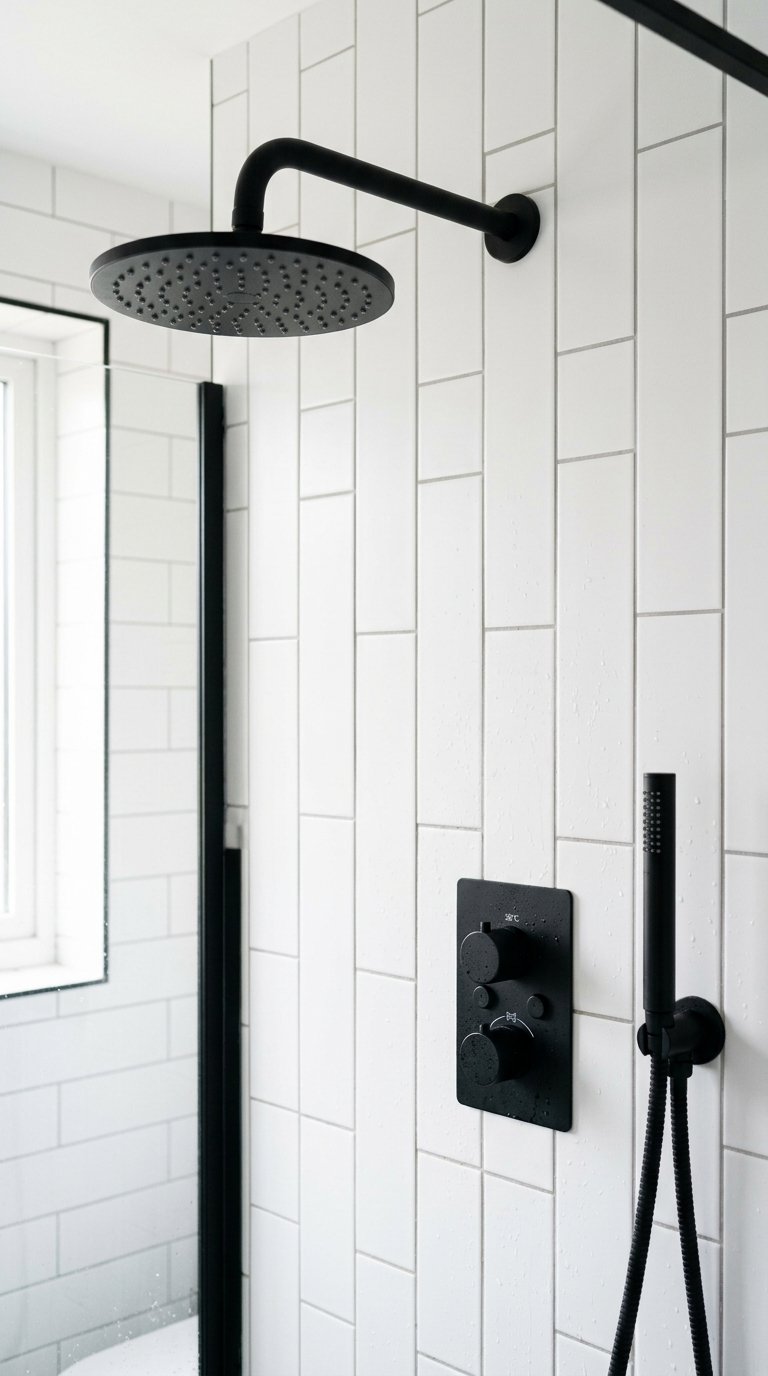
Matte black shower fixtures, showerhead, hand shower, valve trim, drain cover, and towel bar, create a bold, graphic contrast against white or light tile that reads as deliberately designed.
The matte finish resists fingerprints and water spotting significantly better than polished chrome. In a shower environment where water hits every surface multiple times daily, this matters for appearance maintenance.
Matte black fixture considerations:
- Ensure all fixtures come from the same manufacturer’s matte black line for finish consistency.
- Matte black over white large format tile is the most impactful combination.
- Matte black over dark tile (charcoal or black) disappears; use brushed brass or chrome instead.
- Clean with a soft cloth and mild soap only; abrasive cleaners damage the matte coating.
13. Add a Hand Shower on a Slide Bar
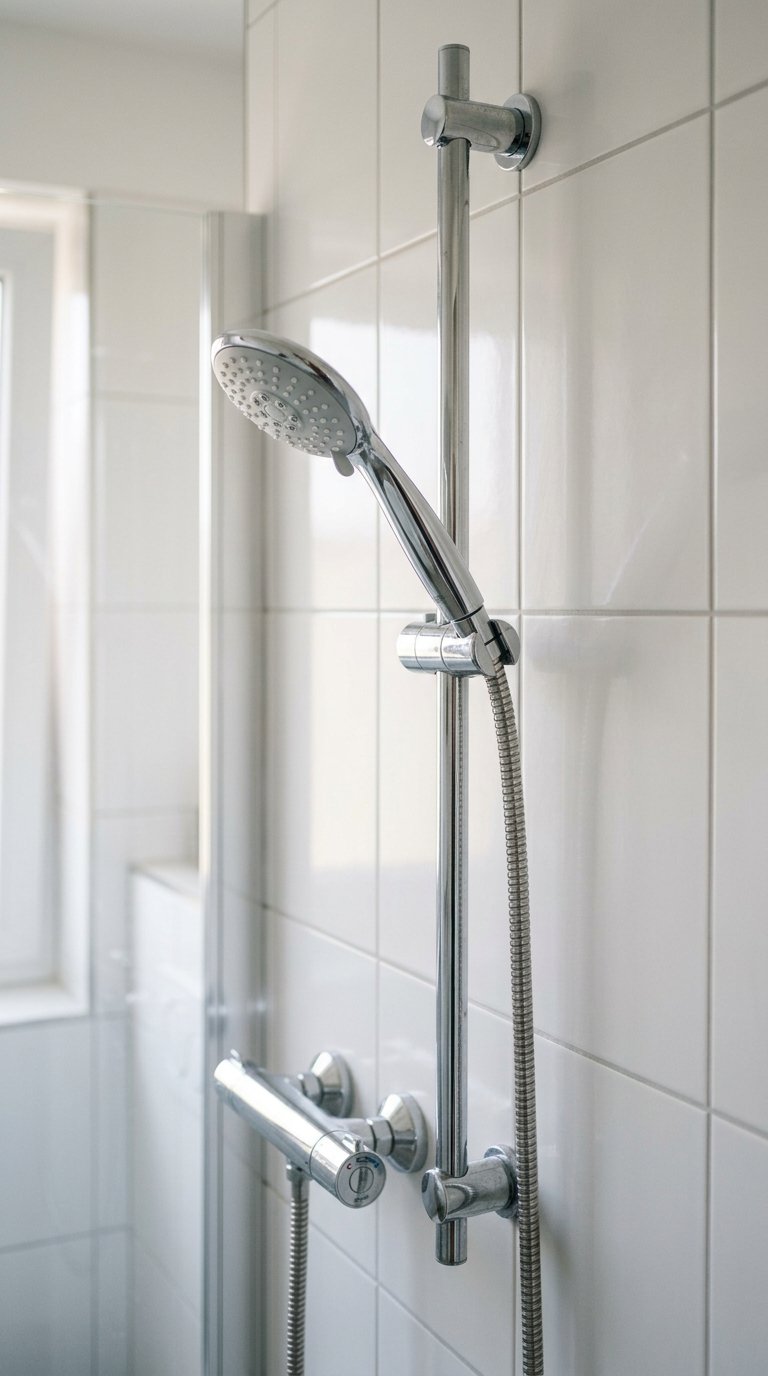
A hand shower on an adjustable slide bar gives every person in the household a showerhead at the right height. It also makes cleaning the shower itself significantly easier, which is a benefit that never stops paying dividends.
The slide bar mounts to the wall and the hand shower clips onto a bracket that slides up and down the bar. Most slide bar systems also include a hose long enough to reach every corner of the shower.
What to look for in a hand shower system:
- A minimum hose length of 59 inches (150cm) for adequate reach.
- A metal slide bar rather than plastic for durability and stability.
- Multiple spray settings: full, pulsating, and aerated at minimum.
- A fixture finish that matches your main showerhead and valve trim.
This upgrade adds more practical daily value than its modest cost suggests.
14. Tile the Shower Ceiling
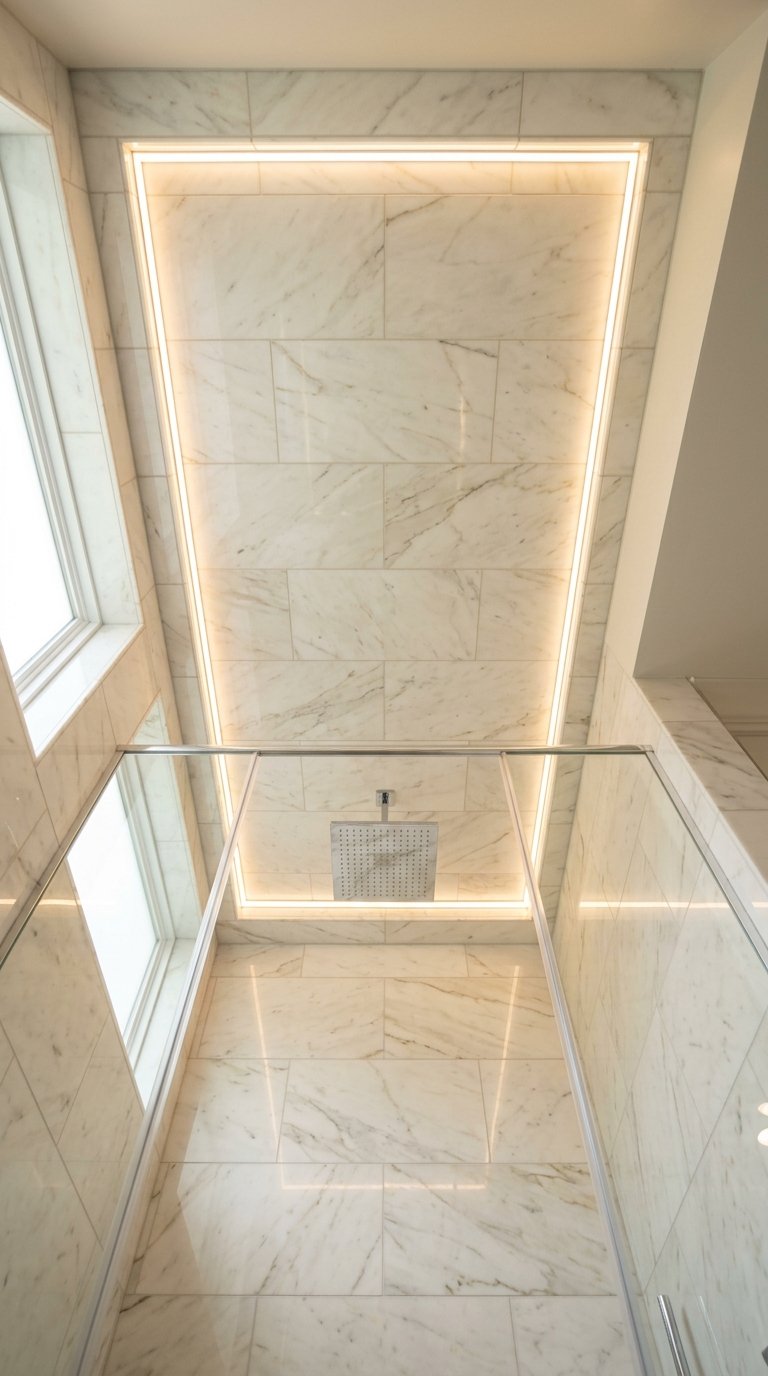
Most shower remodels stop tiling at the wall height. Tiling the shower ceiling, in the same material as the walls or in a contrasting mosaic, completes the shower enclosure as a fully finished, cohesive space.
A tiled ceiling also protects against moisture damage in the ceiling above the shower, which is a genuine structural concern in showers where steam rises directly against an untiled surface.
Ceiling tile considerations:
- Use a small format mosaic tile on the ceiling for easier installation and better adhesion overhead.
- Apply adhesive to both the tile back and the ceiling surface for maximum bond.
- A white or very light ceiling tile keeps the shower from feeling enclosed.
- A contrasting dark ceiling tile creates a dramatic, cocoon-like shower experience.
FYI, a tiled shower ceiling is one of the most underutilized finishing moves in shower remodels. It makes the shower feel completely enclosed and finished in a way that a painted ceiling never achieves.
15. Install Heated Shower Floors
A heated shower floor takes an electric radiant mat under the floor tile and connects it to a thermostat. The floor warms to a set temperature before you step in, eliminating the cold tile shock that makes leaving a warm shower even less appealing.
Electric radiant mats install directly on the shower floor substrate before the tile adhesive and floor tile go down. The thermostat mounts outside the shower on a nearby wall.
Heated floor installation requirements:
- An electric radiant mat rated for wet area installation.
- A GFCI-protected electrical circuit.
- A thermostat with a floor temperature sensor rather than just an air temperature sensor.
- Installation during the tile phase of the remodel, not as an afterthought.
Plan the heated floor during the remodel design phase. Adding it after tiling requires removing the entire floor.
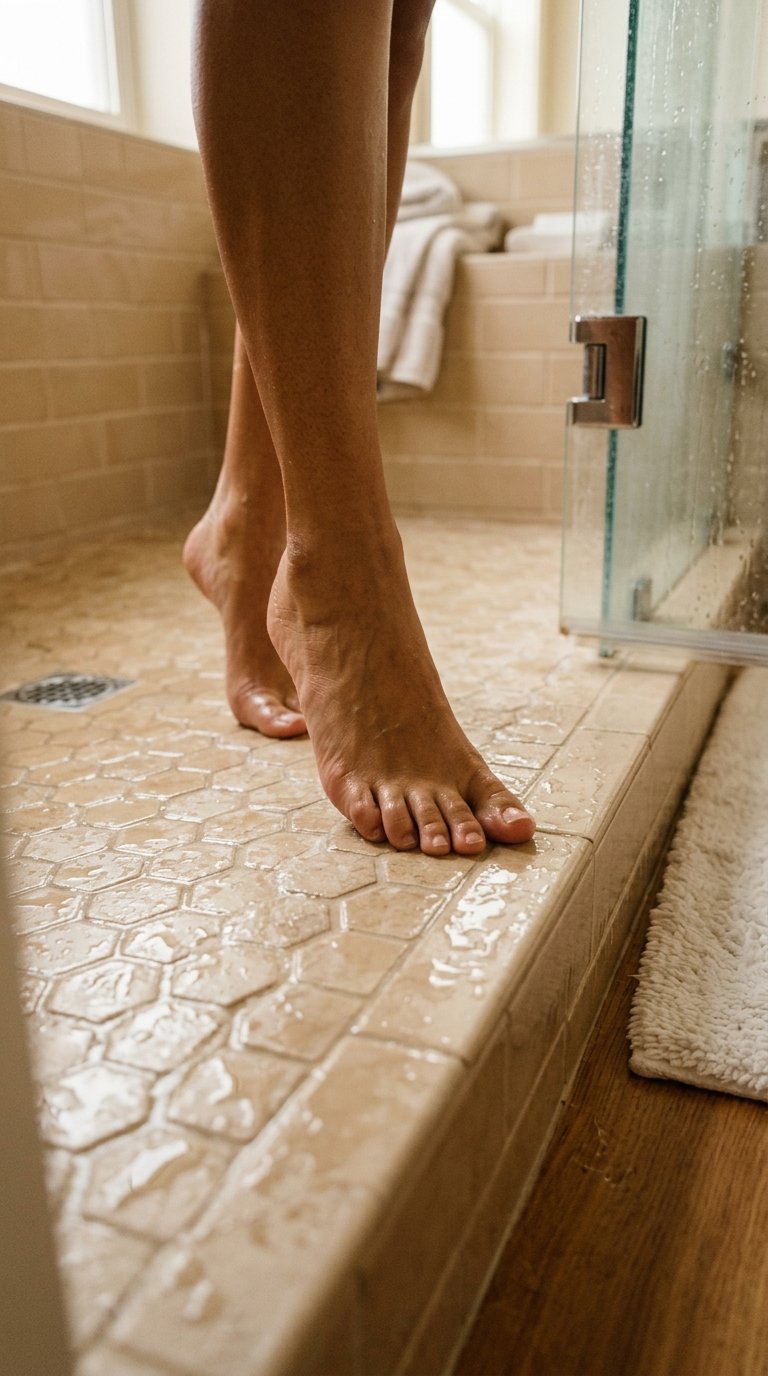
16. Use Continuous Tile From Shower to Bathroom Floor
Running the same floor tile from inside the shower, through the wet room or over the shower threshold, and across the bathroom floor creates a seamless visual connection between the shower zone and the broader bathroom.
This approach works best in a wet room or a shower with a very low or flush threshold. The continuous tile surface makes both spaces feel larger because the eye reads the floor as one unified plane.
Continuous tile execution:
- Use the same tile in the same laying pattern across both areas.
- Ensure the tile is rated for wet area use on the shower floor section.
- Apply a waterproof membrane under the shower floor section only.
- Use the same grout color throughout for a seamless transition.
The visual expansion effect of continuous flooring is one of the most cost-effective ways to make a bathroom feel larger than it is.
17. Add Built-In Lighting Inside the Shower
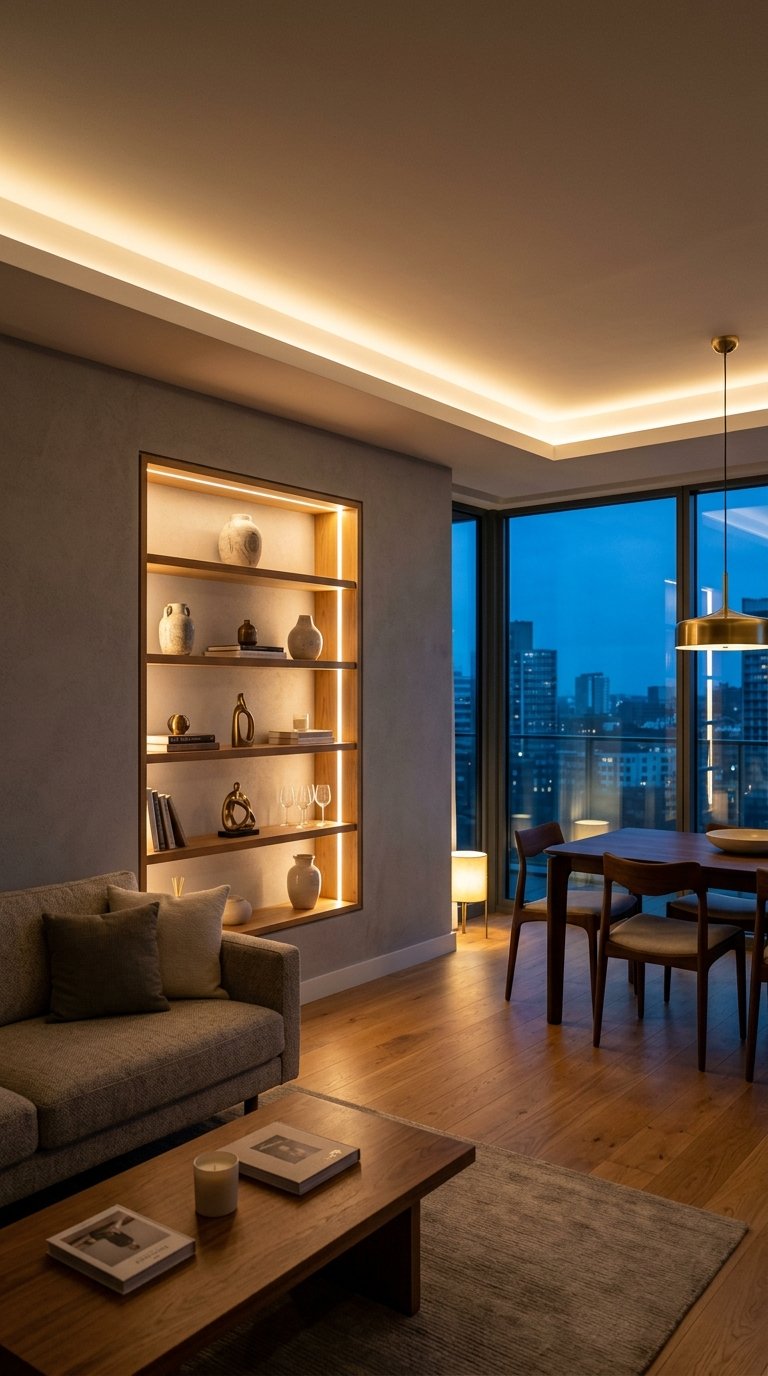
Most showers receive light from a single ceiling fixture outside the shower enclosure or from a basic waterproofed overhead light inside. Neither option provides adequate task lighting for shaving, skincare application, or visibility inside the shower itself.
Recessed waterproofed lighting inside the shower, rated IP65 or higher, provides direct, even light exactly where you need it.
Shower lighting options:
- Recessed ceiling lights in an IP65-rated fitting directly above the shower zone.
- Niche lighting with an LED strip behind a frosted panel inside the shower niche.
- Linear LED strip at the top of the shower wall where it meets the ceiling for indirect ambient light.
- Backlit panels behind translucent stone or glass for a dramatic, diffused effect.
All shower lighting must be rated for wet area use and installed by a licensed electrician.
18. Replace the Shower Curtain With a Glass Panel
A shower curtain in a bathroom with any design investment looks immediately out of place. The movement, the occasional billow into the shower when the water runs, and the mold potential at the bottom edge make it a functional compromise at best.
A fixed glass panel beside a shower opening, or a simple frameless pivot door, replaces the curtain permanently and transforms the appearance of the shower immediately. No track. No rings. No curtain bunching.
Glass panel options by budget:
- Frameless fixed panel with a chrome u-channel base: lower cost, clean result.
- Frameless pivot door: mid-range cost, full enclosure option.
- Fully frameless swing door with minimal hardware: highest cost, most architectural result.
Even the most basic fixed glass panel upgrade from a curtain represents a significant visual improvement in most bathrooms.
19. Use Zellige or Handmade Tile for a Feature Wall
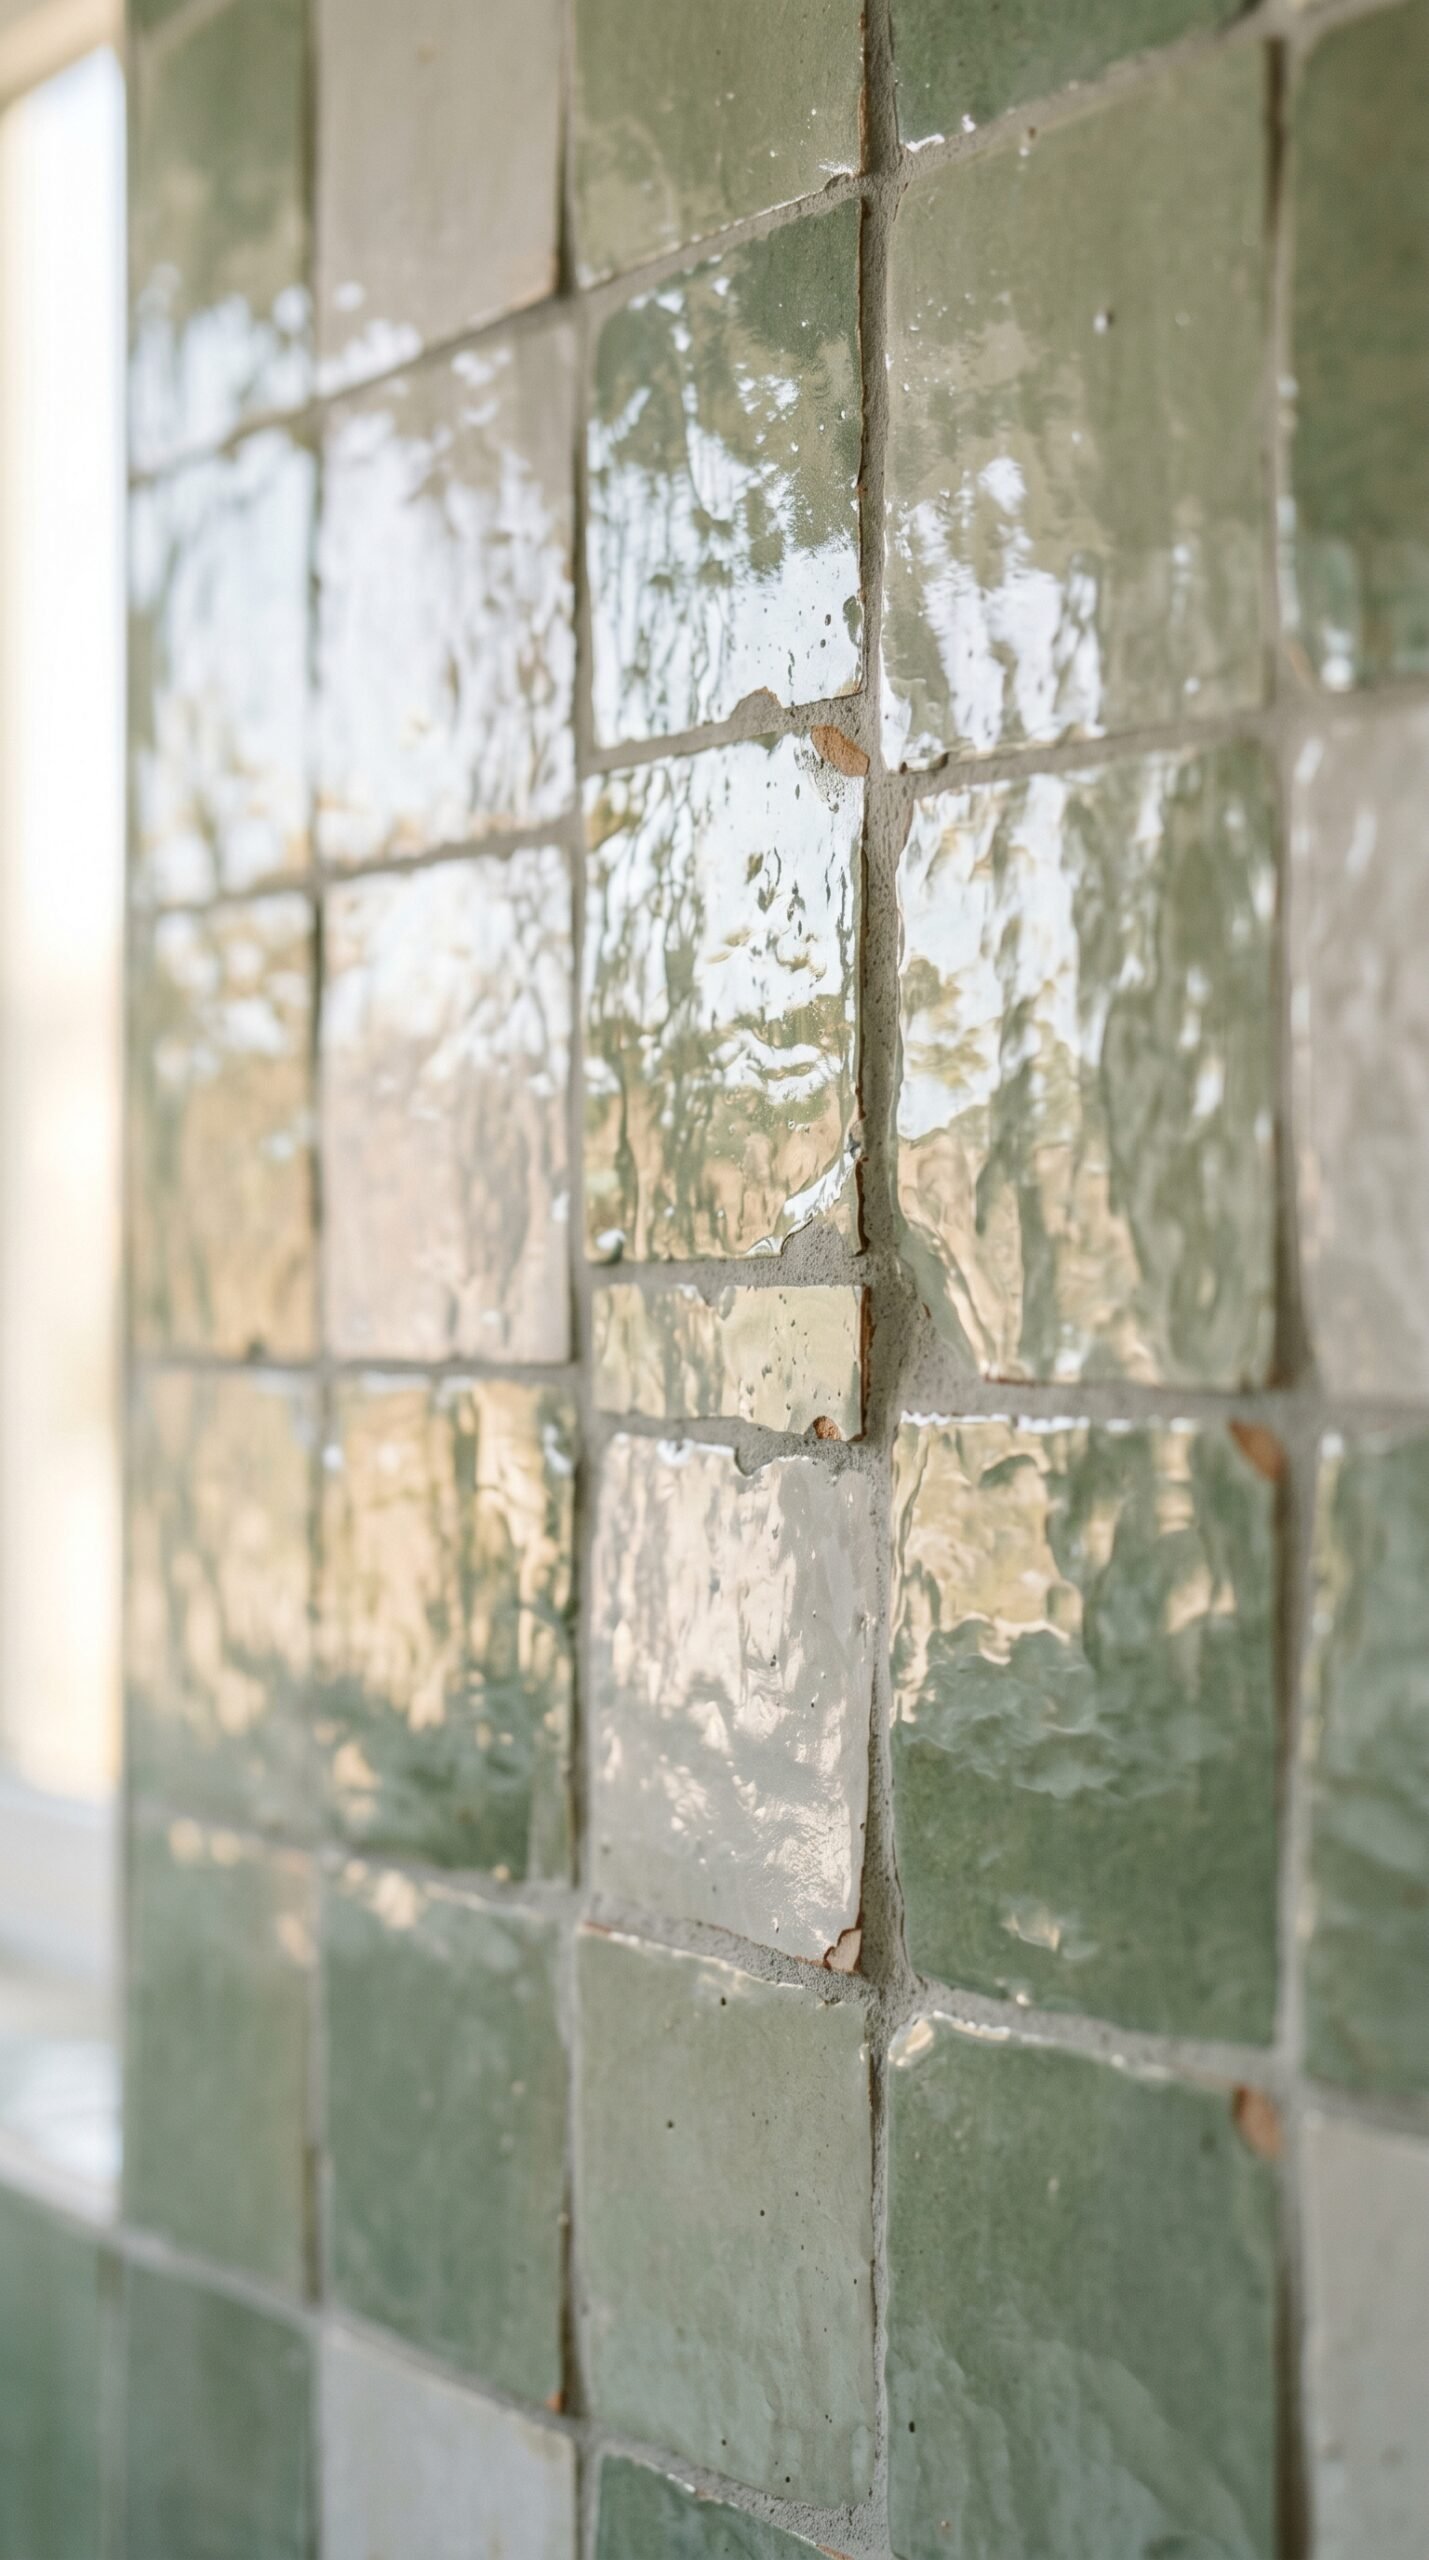
Zellige, the handmade Moroccan tile with its irregular surface and shifting reflectivity, creates a shower wall that catches light differently from every angle and every tile. A zellige shower wall looks genuinely alive in a way that machine-made tile cannot replicate.
The irregular surface of zellige means water runs off it in unpredictable, visually interesting patterns. Combined with good shower lighting, a zellige wall transforms an ordinary shower into the most impressive room in the house.
Zellige in a shower: what to know:
- Requires an experienced tiler familiar with irregular thickness tiles.
- Seal properly before and after grouting to protect the surface.
- Use unsanded grout to avoid scratching the tile surface during application.
- Works best as a single accent wall; full zellige shower enclosures are dramatic but expensive.
20. Install a Smart Shower System
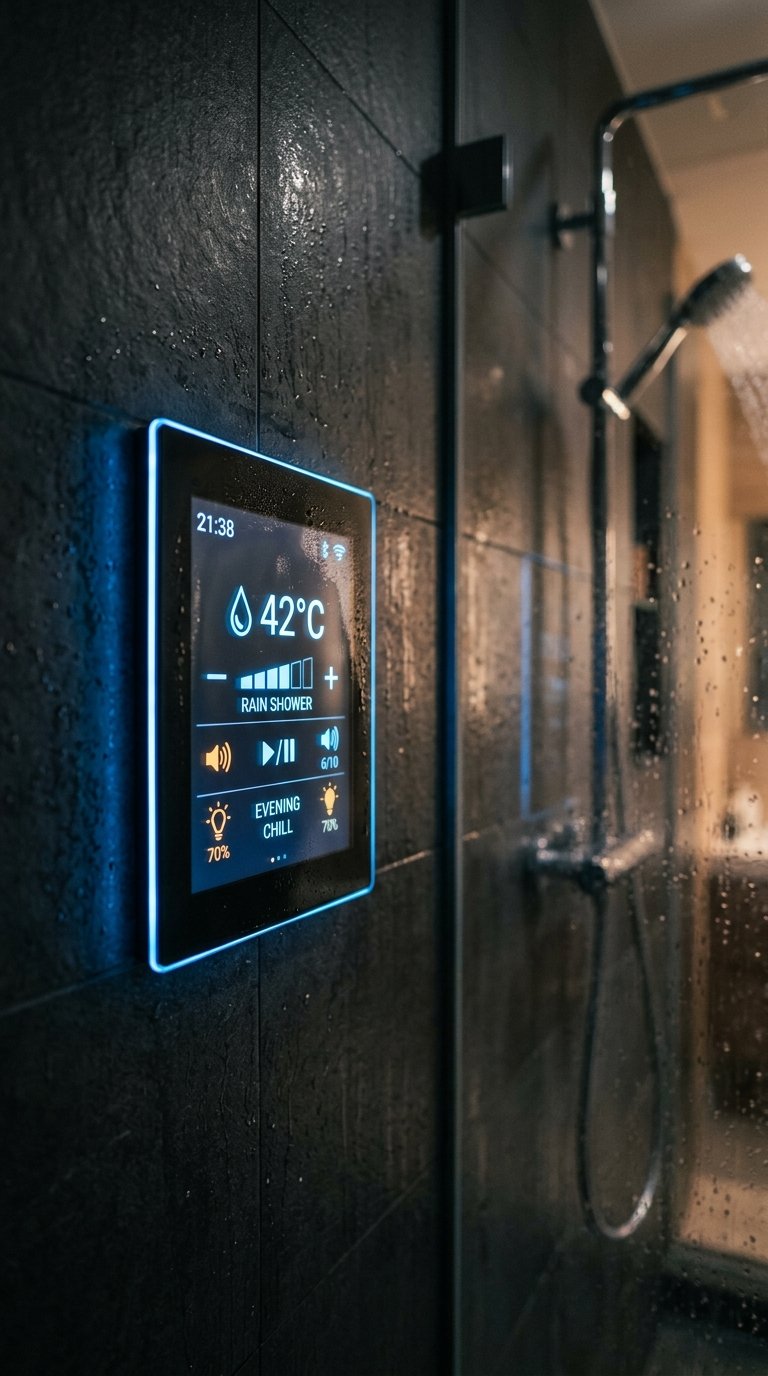
A smart shower system controls water temperature, flow, and outlet selection through a digital interface on the shower wall or through a smartphone app. Some systems allow you to start the shower remotely so the temperature is exactly right when you step in.
Brands like Kohler DTV, Moen U, and Hansgrohe Select all offer digital shower interfaces that replace traditional mechanical valve trim with a touchscreen or digital panel.
Smart shower features worth having:
- Remote start via app so the shower reaches temperature before you enter.
- Preset temperature memory for multiple household users.
- Water usage monitoring for efficiency awareness.
- Compatibility with voice assistant systems for hands-free control.
The cost premium over a standard thermostatic system is real. The daily convenience is also real. Decide which matters more for your household.
21. Create a Double Shower for Two
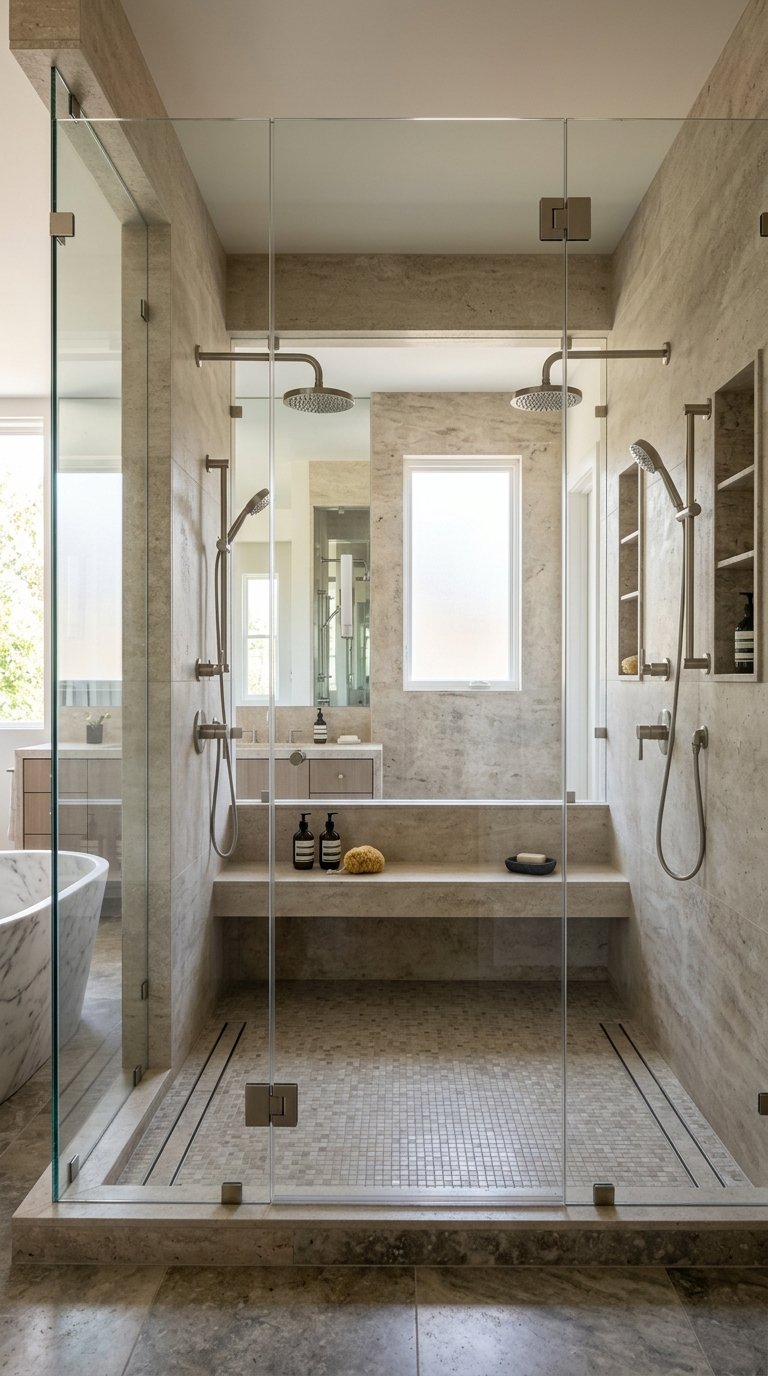
A double shower, wide enough for two people to shower simultaneously with two independent showerhead positions, is one of the most requested master bathroom upgrades among homeowners remodeling their primary suite.
The minimum practical width for a comfortable double shower is 60 inches. Each side needs its own valve and showerhead. A rainfall head above each position and a shared bench between them creates a spa-like result.
Double shower planning requirements:
- Minimum 60 inches wide; 72 inches preferred for genuine comfort.
- Two independent thermostatic valves so each person controls their own temperature.
- A linear drain running the full length of the shower floor for adequate drainage.
- Shared niche storage centered between the two shower positions.
This remodel requires significant floor space. Assess whether combining the shower and bathtub space makes the double shower footprint achievable in your bathroom.
22. Use Fluted or Ribbed Tile for Texture

Fluted and ribbed tiles have moved from a niche design detail to a mainstream shower tile choice because they add genuine three-dimensional texture to a shower wall without requiring a complex or expensive material.
The vertical fluting creates light and shadow variation across the tile surface that flat tiles cannot achieve. A fluted tile shower wall in white or cream catches the light and reads as far more interesting than the same wall in a standard flat tile.
Fluted tile applications in a shower:
- Full height on the feature back wall for maximum texture impact.
- As a wainscot band at mid-wall height with flat tile above.
- On a niche interior for a tactile, detailed accent within the recess.
- On the shower floor in a smaller format for grip and texture underfoot.
Fluted tiles require more care during installation to keep grout lines consistent within the channels.
23. Add a Skylight or Sun Tunnel Above the Shower
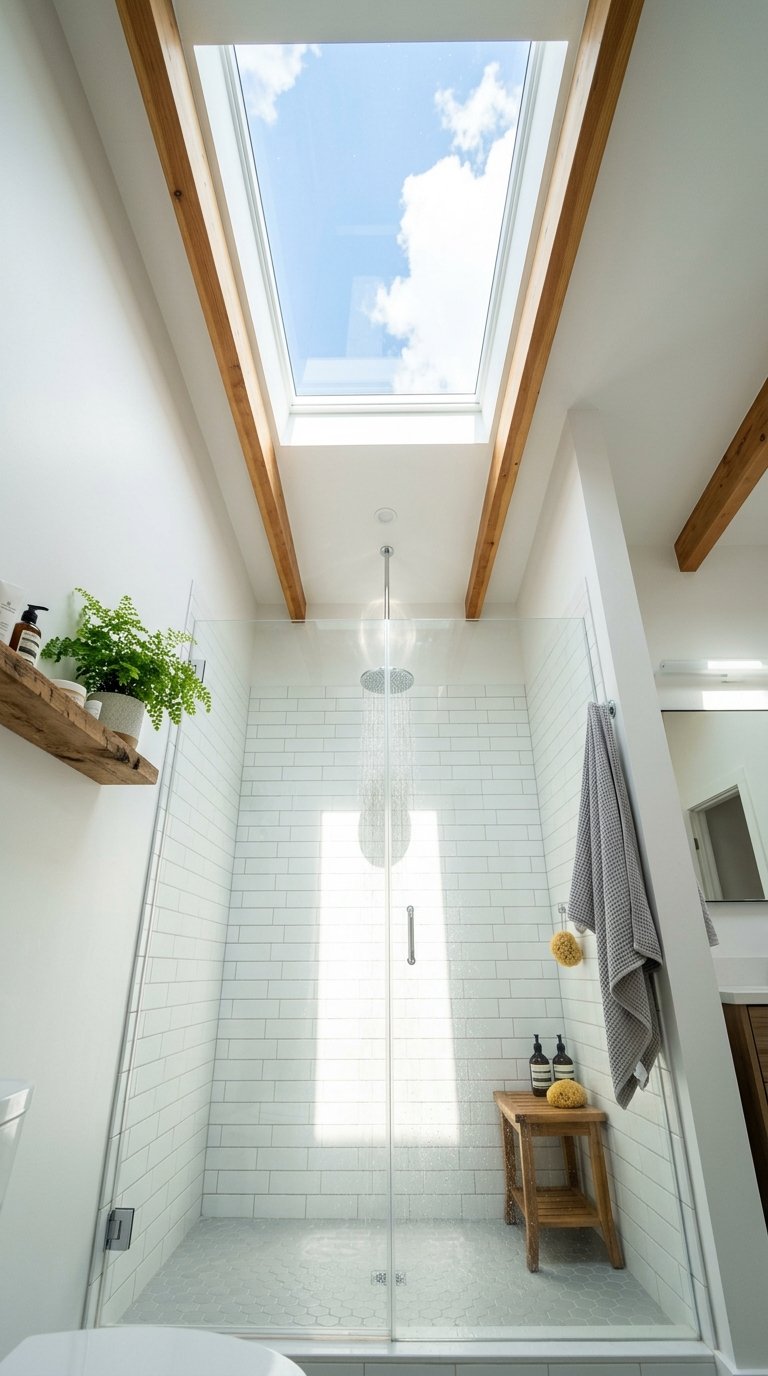
Natural light in a shower changes the experience of using it. Most showers, especially interior bathrooms without windows, rely entirely on artificial light. A skylight or sun tunnel directly above the shower introduces natural light that varies through the day and connects the shower experience to the outside world.
A sun tunnel is a tubular skylight that runs through the roof and ceiling cavity without requiring a full skylight opening. It delivers natural light to rooms far from the roof line and costs significantly less than a traditional skylight.
Skylight and sun tunnel considerations:
- Ensure the skylight or tunnel has an adequate waterproof seal at both the roof and ceiling penetrations.
- Use a double-glazed, low-emissivity skylight to prevent excessive heat gain in summer.
- Position the skylight centrally above the shower zone for even light distribution.
- A venting skylight adds both natural light and ventilation, reducing shower moisture buildup.
24. Reglaze or Resurface Instead of Full Replacement

Not every shower remodel requires demolition. Professional reglazing, also called refinishing or resurfacing, applies a new coating over existing shower tile, walls, and sometimes the base, transforming the appearance without removing anything.
Reglazing costs a fraction of a full tile replacement. It takes one to two days versus a full remodel timeline. It works best on showers that are structurally sound but visually dated: discolored tile, outdated colors, or surface wear that doesn’t warrant full replacement.
When reglazing works:
- The shower has no water damage, mold behind the tile, or structural issues.
- The existing tile is firmly adhered with no cracking or hollow spots.
- The goal is color and surface refresh, not layout change.
- Budget is limited and a partial refresh delivers adequate improvement.
When reglazing does not work:
- Water damage or mold behind the tile requires removal regardless.
- The layout needs to change (moving fixtures or adding a niche).
- The existing tile is loose, cracked, or failing.
25. Upgrade Your Shower Storage System
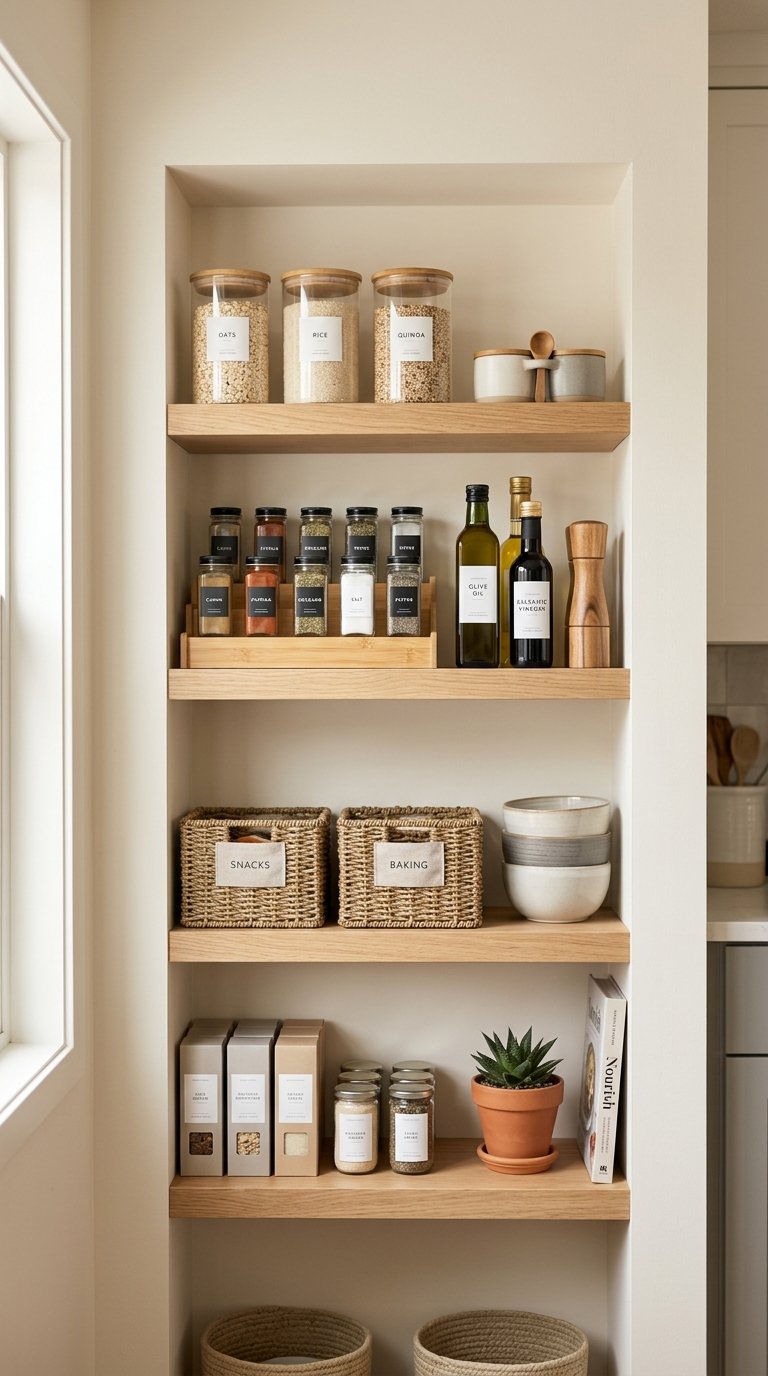
The final shower remodel idea is the one most people overlook until construction is finished: storage. A beautifully tiled, well-fitted shower with nowhere to put your products reverts to a wire caddy hanging from the showerhead within a week.
Plan your shower storage deliberately during the design phase. One or two built-in niches handle daily products. A built-in bench ledge adds surface storage. A recessed soap dish handles bar soap cleanly. A corner shelf at an appropriate height handles shared products.
Complete shower storage checklist:
- One niche at shoulder height for shampoo and conditioner.
- One niche lower down for body wash and shaving products.
- A soap dish or small ledge for bar soap users.
- A bench with a ledge surface for foot placement and product storage.
- A hook or rail inside the shower for a loofah or washcloth.
Storage planned during the remodel costs a fraction of what it costs to add after the fact. Plan it first.
Final Thoughts
A shower remodel works best when you identify your actual frustrations with the existing shower and address those specifically. Cold floors, inadequate light, insufficient storage, poor water pressure, and visual datedness all have direct solutions in this list.
You don’t need to implement all 25 ideas. Pick the five to eight that address your specific pain points and do those well. A shower that solves real daily problems outperforms a visually impressive one that misses what you actually needed.
Start with the valve and the showerhead. Get those right and everything else builds on a solid functional foundation. The tile, the lighting, the storage, and the enclosure all matter. But nothing matters more than a shower that works exactly the way you want it to every single morning.