23 Open Kitchen Remodel Ideas to Transform Your Space
You want to open up your kitchen. You have a wall you are staring at and a contractor who keeps quoting numbers that make your eye twitch.
Here is the thing. An open kitchen remodel is one of the highest-return projects you do to a home. It changes how the space feels, how the light moves, and how your family actually uses the room. Done right, it adds real value. Done wrong, it costs twice as much to fix.
These 23 open kitchen remodel ideas cover layout, storage, materials, lighting, and the details most people miss until it is too late. Every idea here earns its place.
1. Remove the Wall Between Kitchen and Living Room
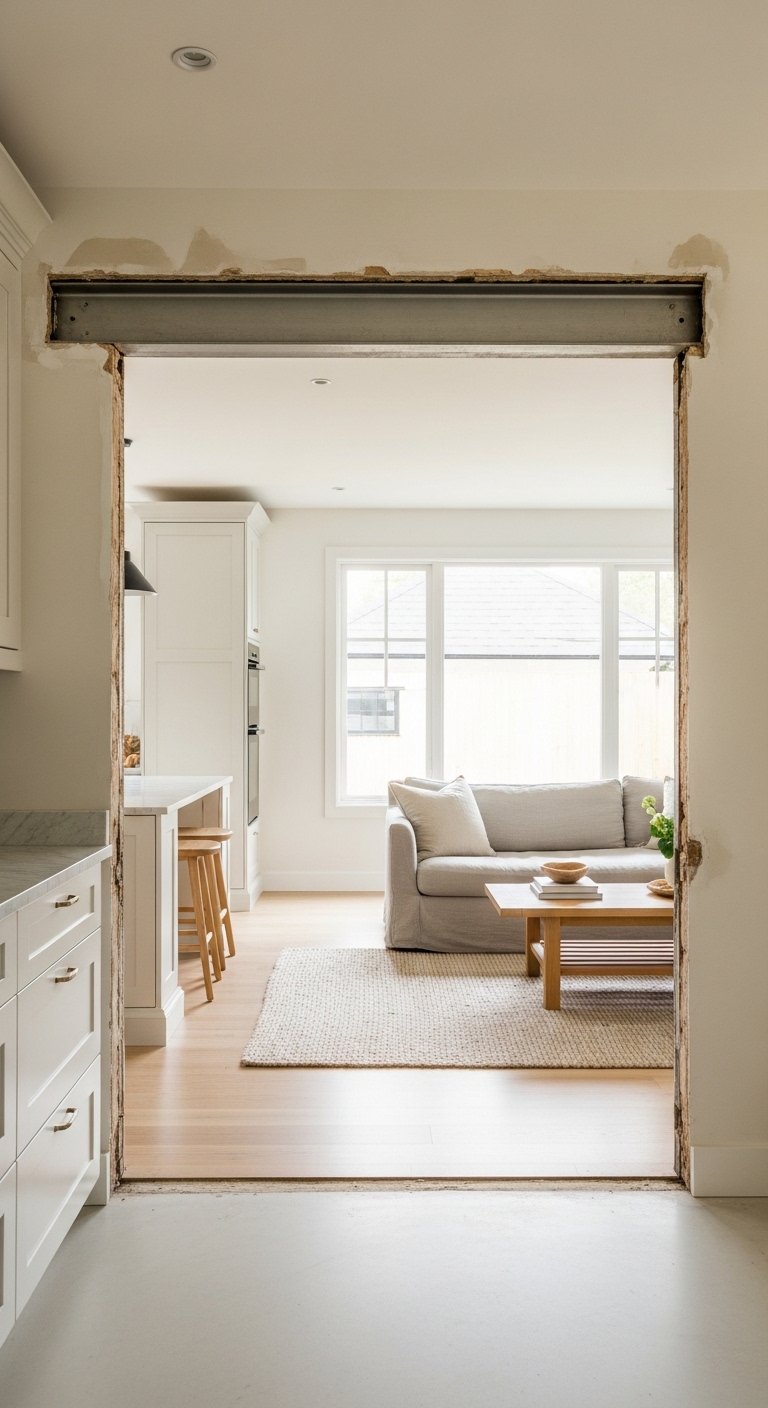
This single decision changes everything about how your home feels.
Removing a non-load-bearing wall between the kitchen and living room creates an open plan space that feels larger, brighter, and more connected. Most homes built before the 1990s have this wall. Most homeowners who remove it never look back.
Before you start swinging a sledgehammer, hire a structural engineer to confirm the wall is non-load-bearing. A load-bearing wall removal requires a steel or wooden beam to carry the load above. Budget for that possibility before you commit.
The cost of wall removal varies between $1,000 and $10,000 depending on whether structural support is needed. The increase in perceived square footage and natural light is immediate and significant.
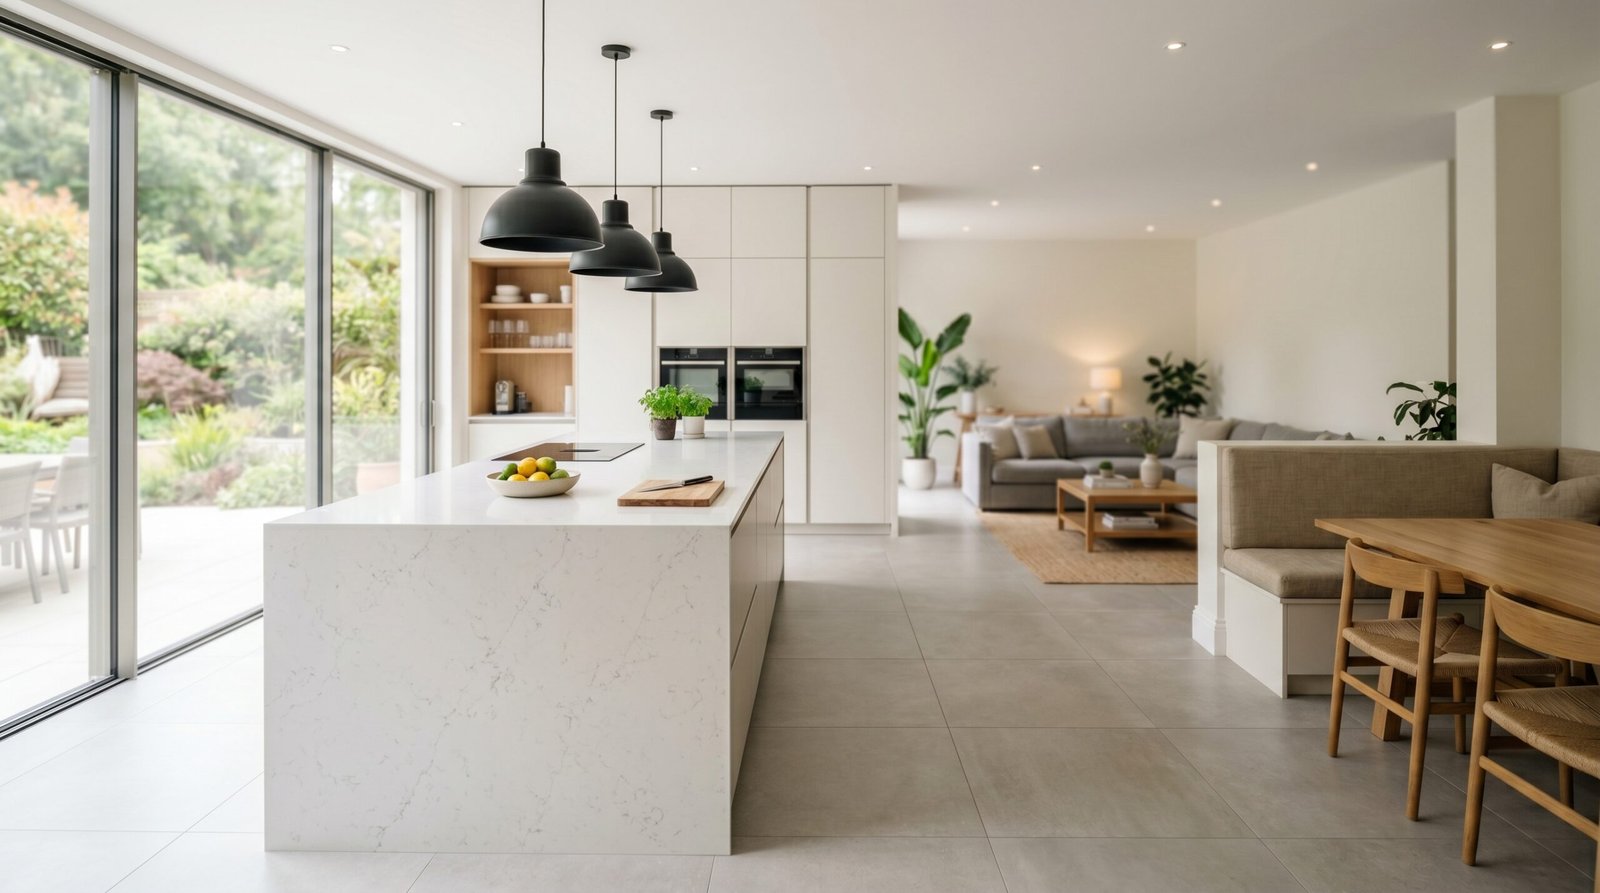
2. Install a Kitchen Island With Seating
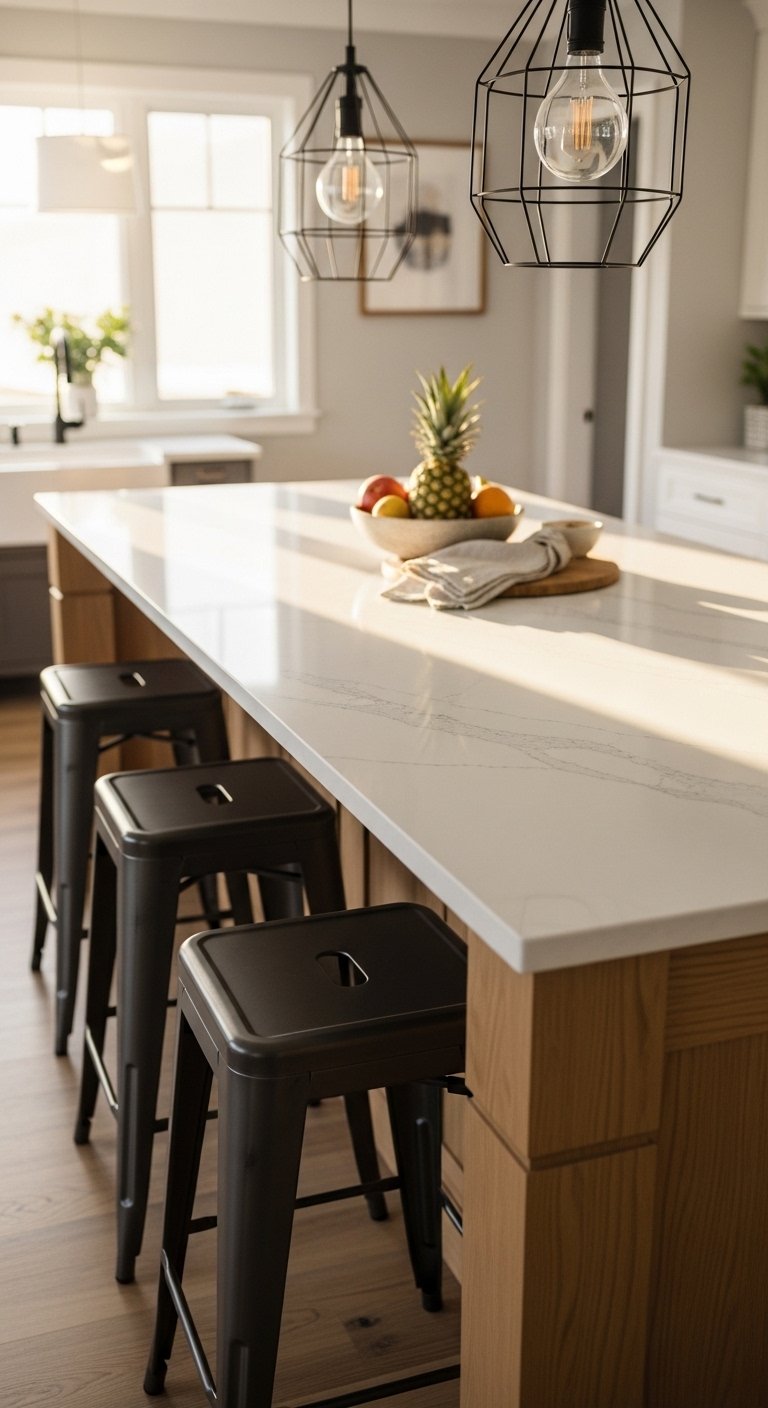
An island does three things at once. It adds prep space, storage, and a place for people to sit and talk to you while you cook.
A kitchen island with seating on one side replaces the need for a separate dining table in smaller open plan kitchens. It keeps the floor plan clear and creates a natural social zone between the kitchen and living area.
Standard island height is 90cm. Bar stool height for a 90cm island is 60 to 65cm seat height. Get this wrong and your guests sit uncomfortably for every meal.
Size the island to your floor plan. A minimum of 90cm clearance on all walkable sides is non-negotiable. Less than that and the kitchen stops functioning properly the moment two people are in it at the same time.
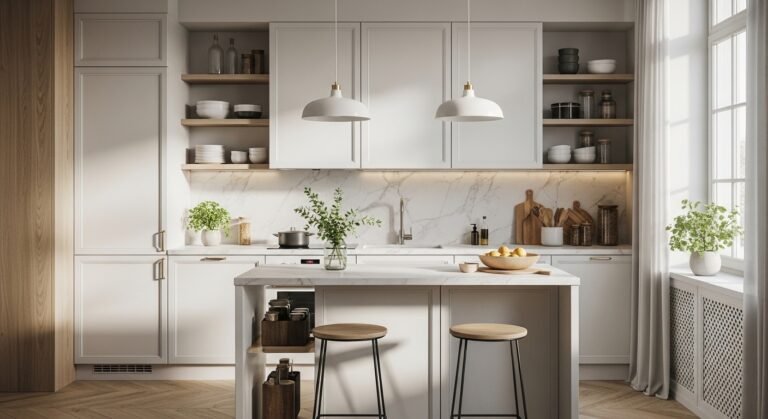
3. Use an Open Shelving Wall Instead of Upper Cabinets
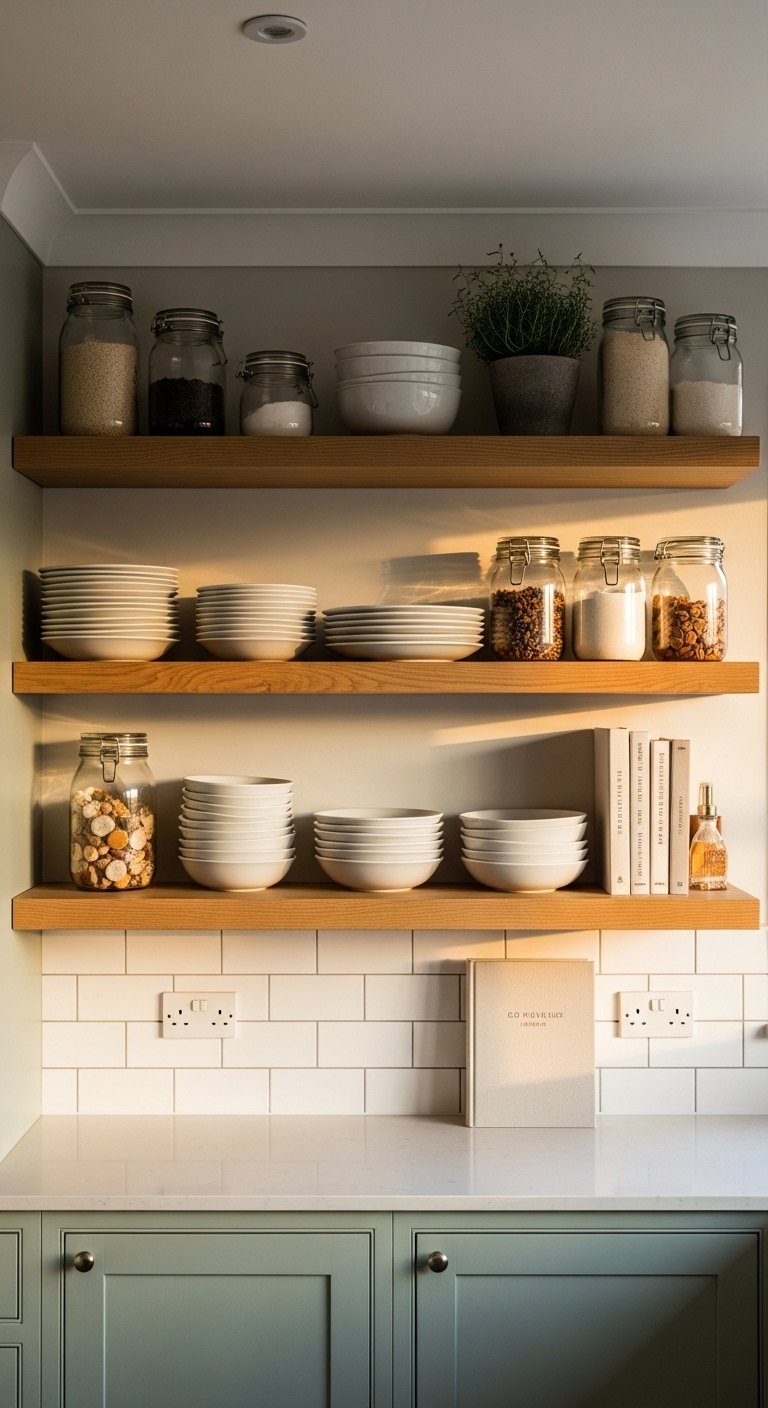
Upper cabinets close the kitchen off. Open shelves open it up.
Replacing upper wall cabinets with floating open shelves keeps the sightlines clear, makes the room feel taller, and forces you to keep only what you actually use on display. That last part is either a feature or a problem depending on how tidy you are. 🙂
Open shelves work best in kitchens with a disciplined owner. If your current cabinets hide chaos, open shelves will display that chaos to everyone in the room.
Use shelves in natural oak, painted MDF, or powder-coated steel depending on your kitchen style. Keep the shelf depth at 30cm for plates and bowls. Deeper shelves collect clutter faster than you expect.
4. Add a Pass-Through Window to the Dining Area
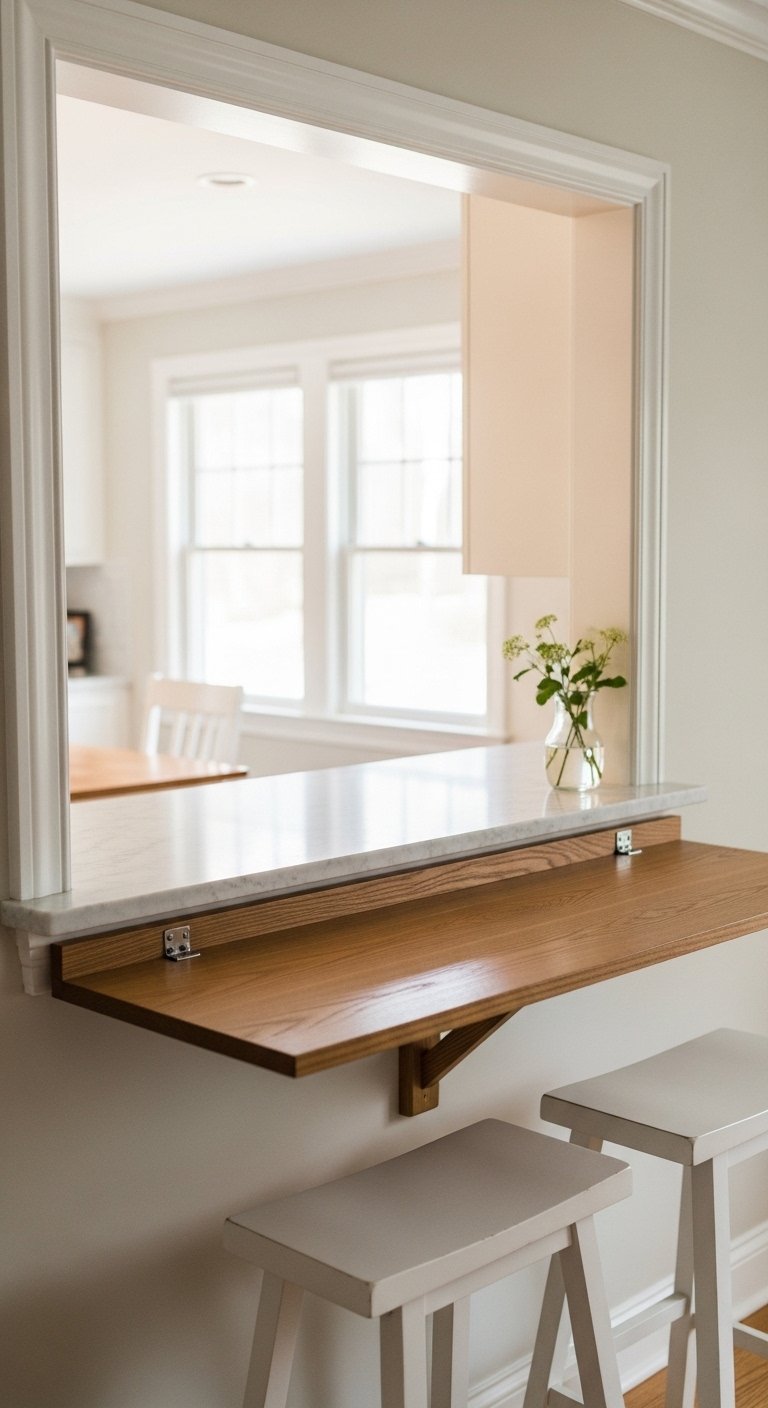
A pass-through window between the kitchen and dining area gives you the feel of open plan without full wall removal.
Cut an opening in the wall at counter height, finish the edges cleanly, and you create a serving window that connects the two spaces visually and practically. Food passes through without anyone carrying plates around corners.
This works particularly well in older homes where full wall removal is structurally complex or cost-prohibitive. It is also a reversible modification, which matters if you ever sell.
Add a fold-down wooden shelf on the dining side and the pass-through doubles as a breakfast bar with minimal additional cost.
5. Choose Waterfall Countertops for the Island
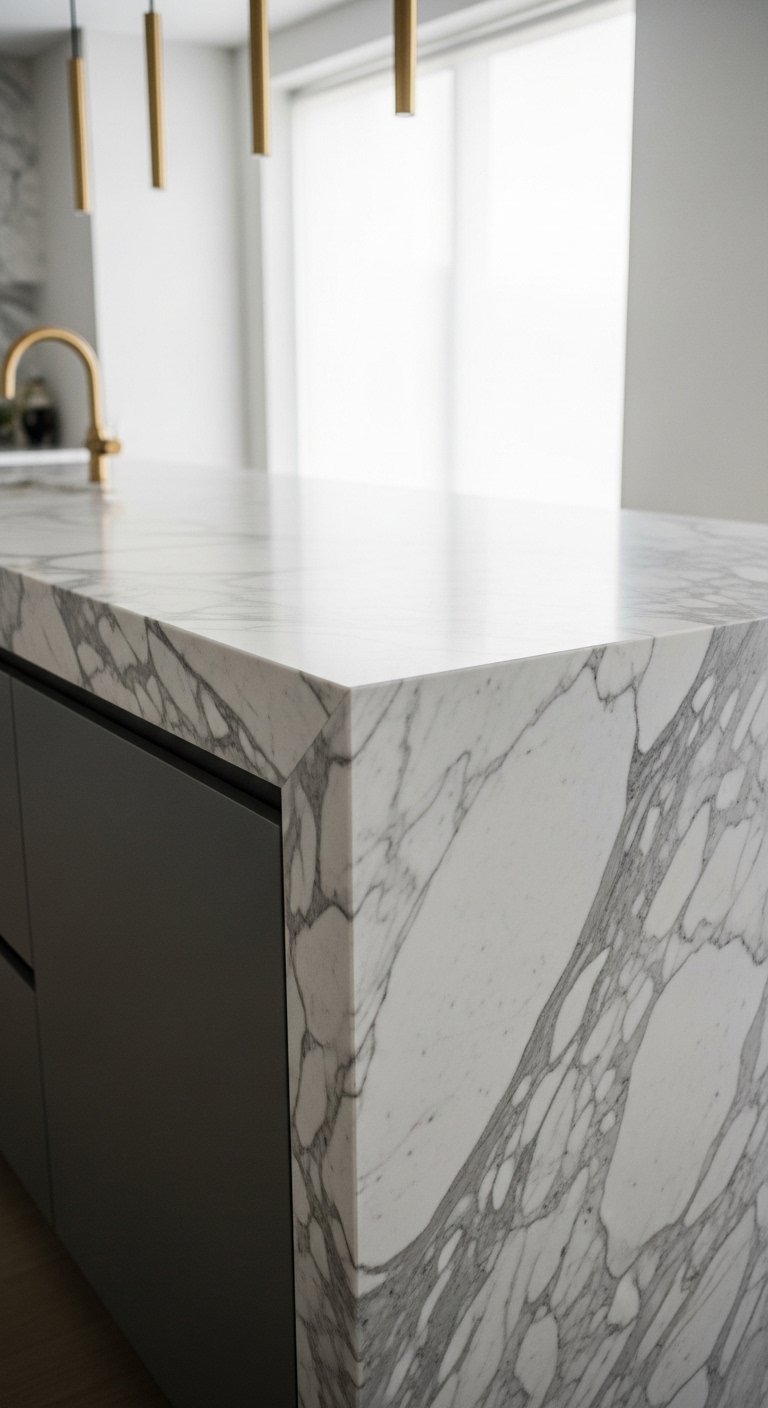
A waterfall countertop extends the island surface material down both sides to the floor, creating a continuous vertical face on each end of the island.
It looks expensive. It photographs beautifully. And it costs significantly more than a standard countertop edge finish. Whether it is worth it depends entirely on how central the island is to your kitchen’s visual design.
In an open plan kitchen where the island is visible from the living room, a waterfall countertop earns its cost. It reads as a design-forward feature from a distance and anchors the island as the room’s focal point.
Marble and quartz work best for waterfall edges. Butcher block waterfall ends look heavy and dated quickly. Stick to stone or engineered stone for this particular feature.
6. Install Pendant Lights Above the Island
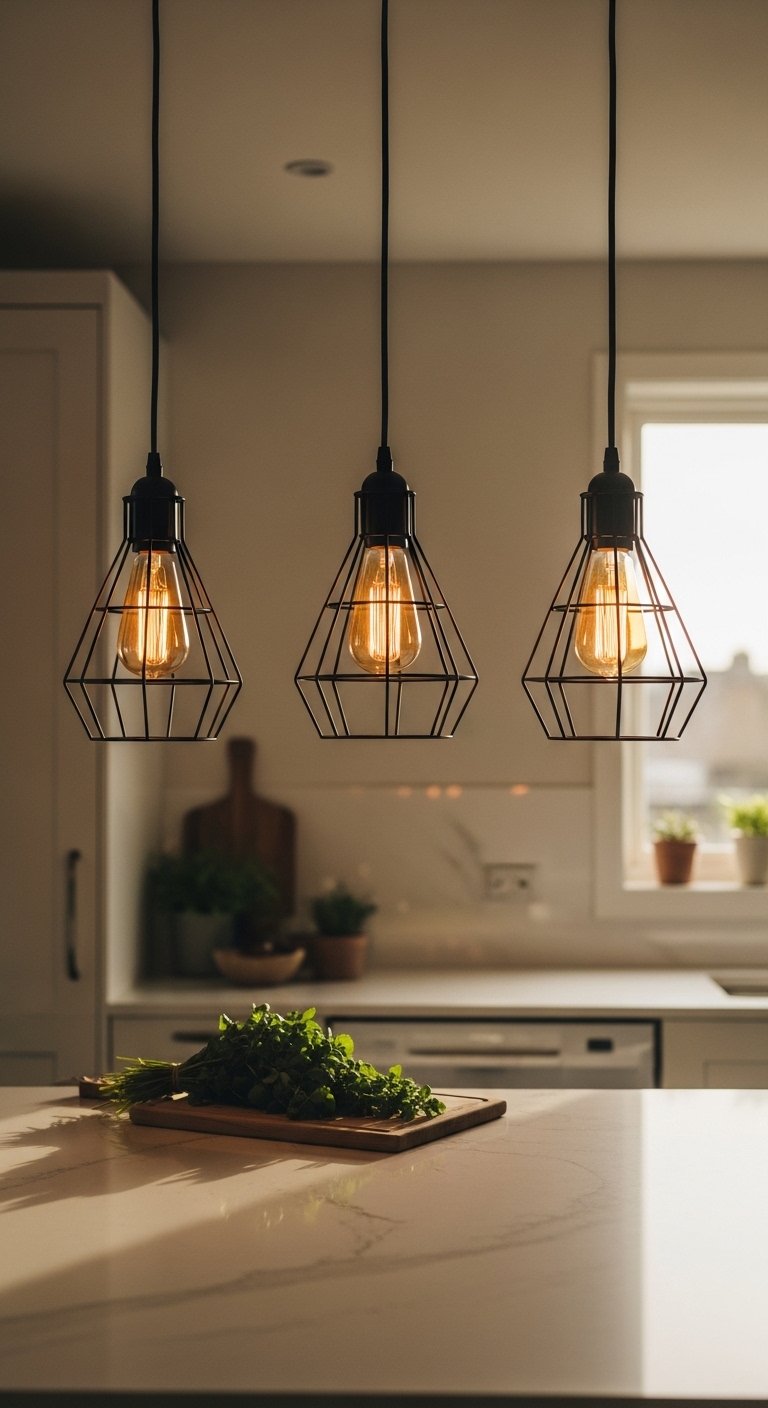
Lighting above a kitchen island does two things. It illuminates the work surface. It also defines the island as a distinct zone within the open plan space.
Two or three pendant lights hung in a row above the island is the standard approach and it works well for a reason. The spacing between pendants should equal the spacing from each outer pendant to the island edge. This creates visual balance without requiring a designer.
Hang pendants at 75 to 90cm above the island surface for task lighting. Higher than that and the light spreads too widely. Lower than that and tall people hit them with their heads.
Choose a pendant style that connects the kitchen to the living area visually. In an open plan space, the kitchen lighting is visible from the sofa. It needs to belong to the same design language as the rest of the room.
7. Use a Consistent Flooring Material Throughout
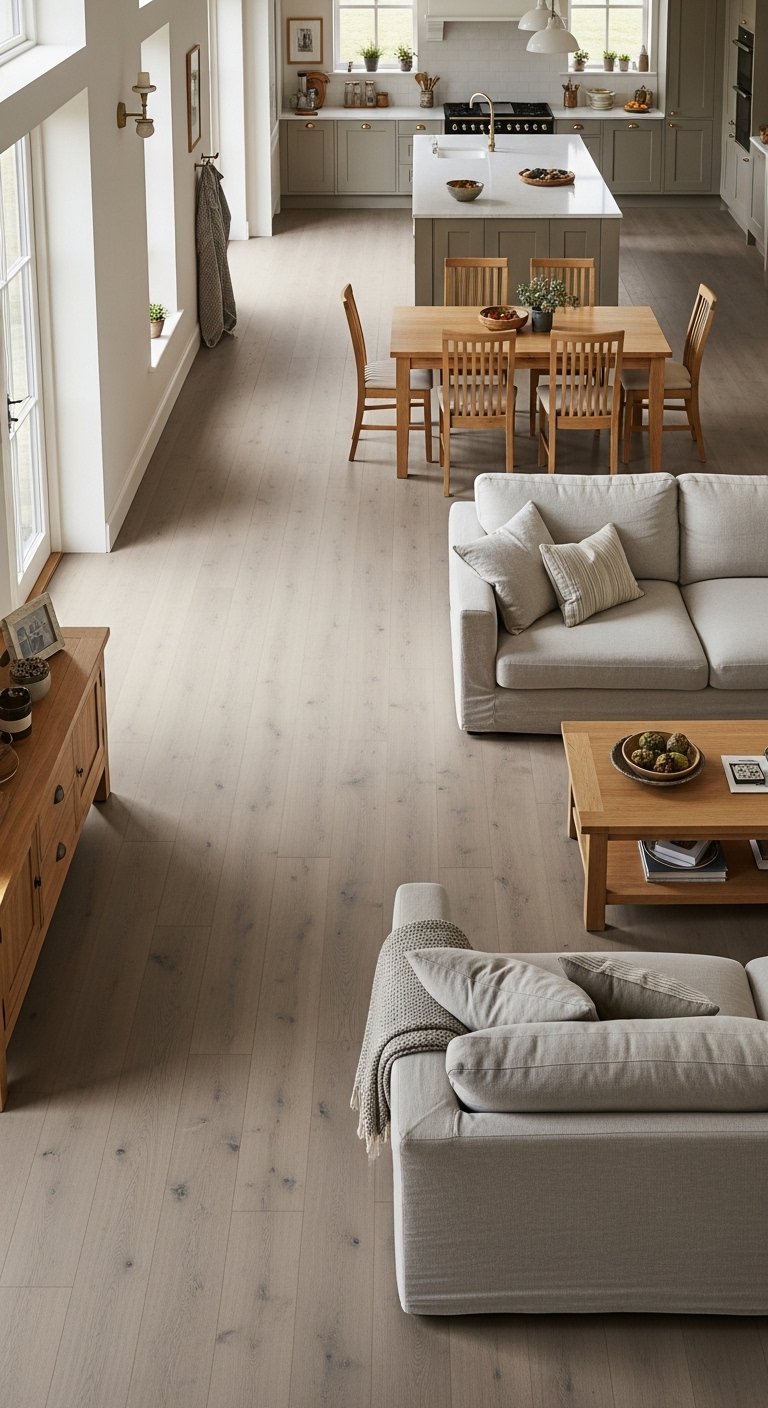
The single fastest way to make an open plan kitchen feel disjointed is to use different flooring in the kitchen versus the living area.
One continuous flooring material running from the kitchen through the dining area and into the living room makes the entire open plan space feel intentional and larger. The eye reads no visual boundary and the space expands accordingly.
Large format tiles, engineered hardwood, and luxury vinyl plank all work well across open plan spaces. Standard hardwood is not ideal in the kitchen zone due to moisture sensitivity. Engineered hardwood handles kitchen conditions better.
If you are working with an existing floor in the living area that you want to keep, match it as closely as possible in the kitchen rather than using a contrasting material.
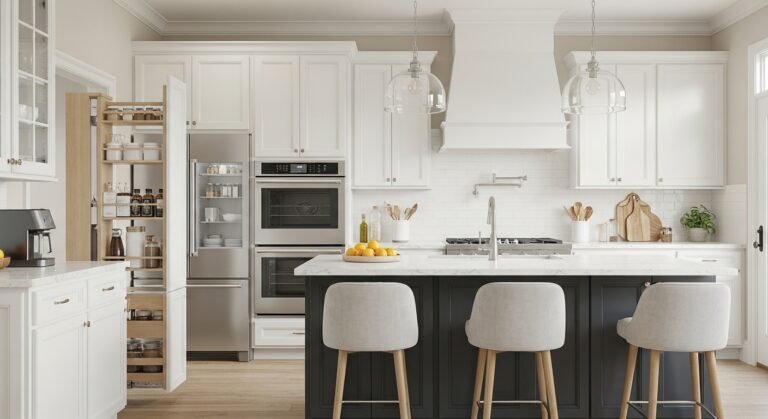
8. Build a Butler’s Pantry Behind the Kitchen
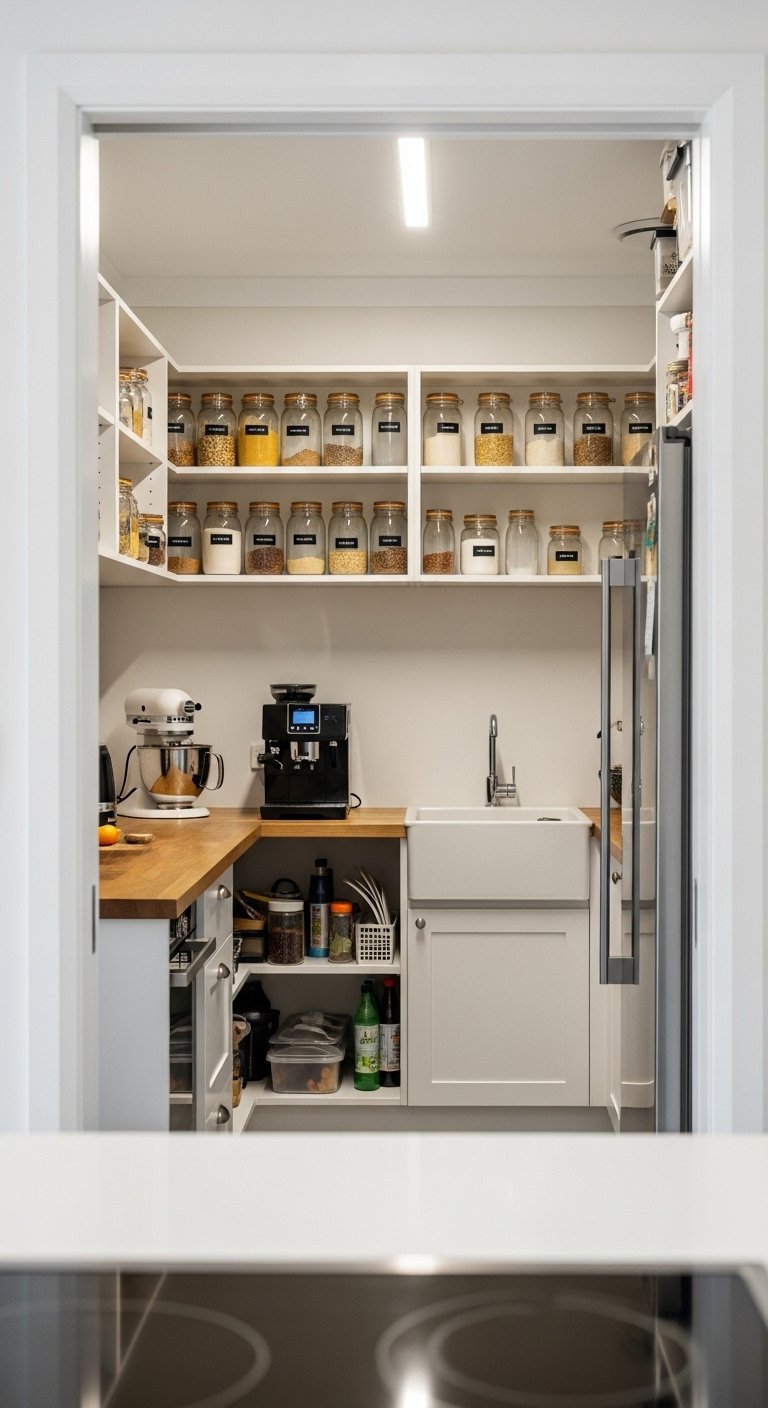
An open kitchen looks clean and uncluttered. A butler’s pantry is where the clutter actually lives.
A butler’s pantry is a small enclosed room or deep alcove directly behind or beside the main kitchen. It holds appliances you use occasionally, bulk food storage, extra crockery, and anything else that would mess up the clean lines of your open kitchen.
This is the idea that separates a good open kitchen remodel from a great one. The open kitchen stays beautiful because all the functional mess has somewhere to go.
Even a 1.5 metre deep alcove with a door makes a significant difference. Full butler’s pantries run between 2 and 4 metres deep and include their own bench space, sink, and secondary appliances.
9. Install Floor-to-Ceiling Cabinetry on One Wall
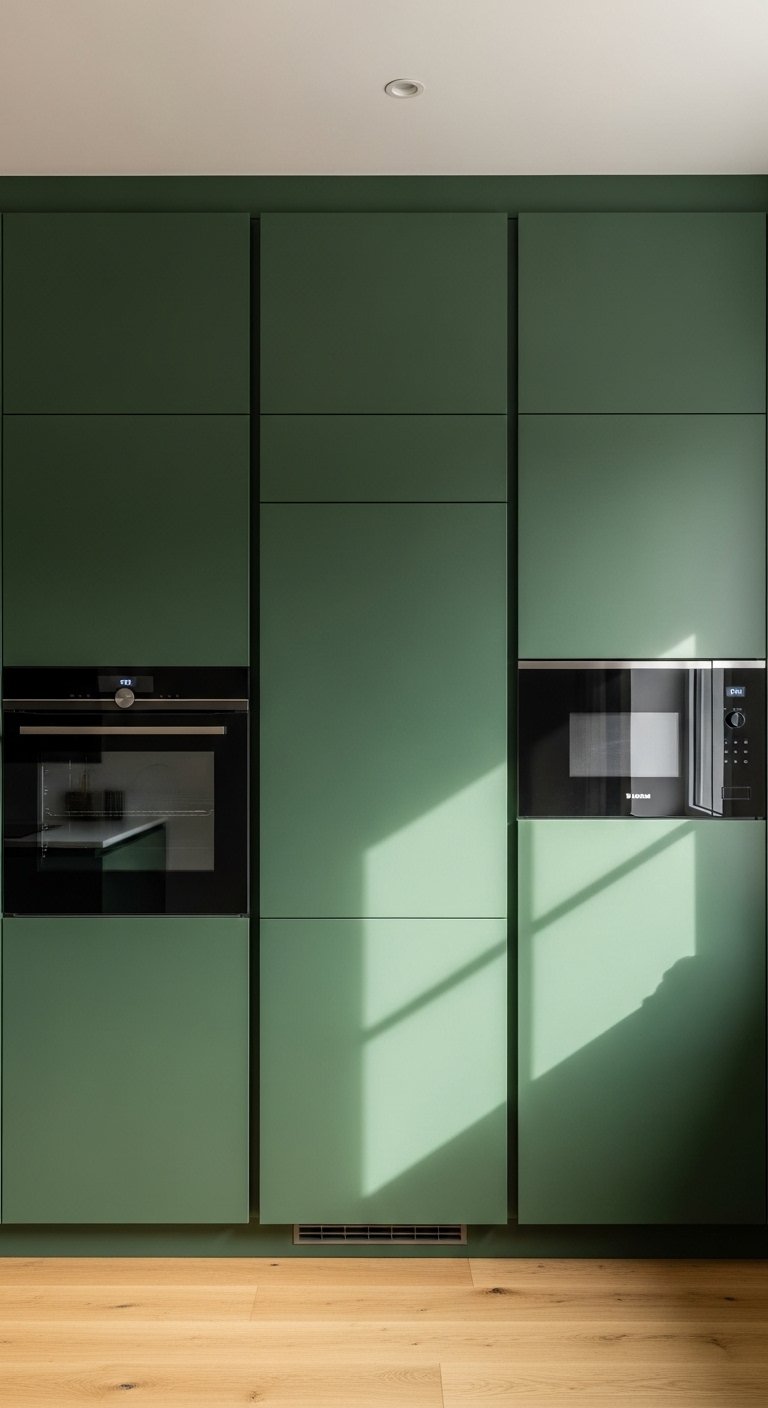
Open plan kitchens lose upper cabinet storage when you remove walls. Floor-to-ceiling cabinetry on one wall recovers that storage without cluttering the open space.
Tall cabinetry running from floor to ceiling on a single wall creates a clean, architectural look that reads as a design feature rather than pure storage. Handleless cabinet fronts in a single color reinforce this effect.
The key is keeping the cabinetry flush and handle-free so the wall of cabinets reads as a flat architectural surface rather than a collection of individual units.
Include integrated appliances within this cabinetry run where possible. A built-in oven, microwave, and refrigerator flush with the cabinet faces makes the entire wall look intentional and resolved.
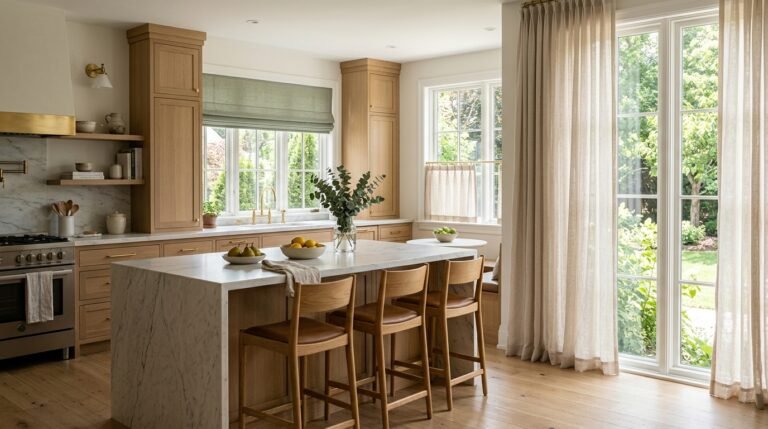
10. Add a Breakfast Bar Along a Window Wall
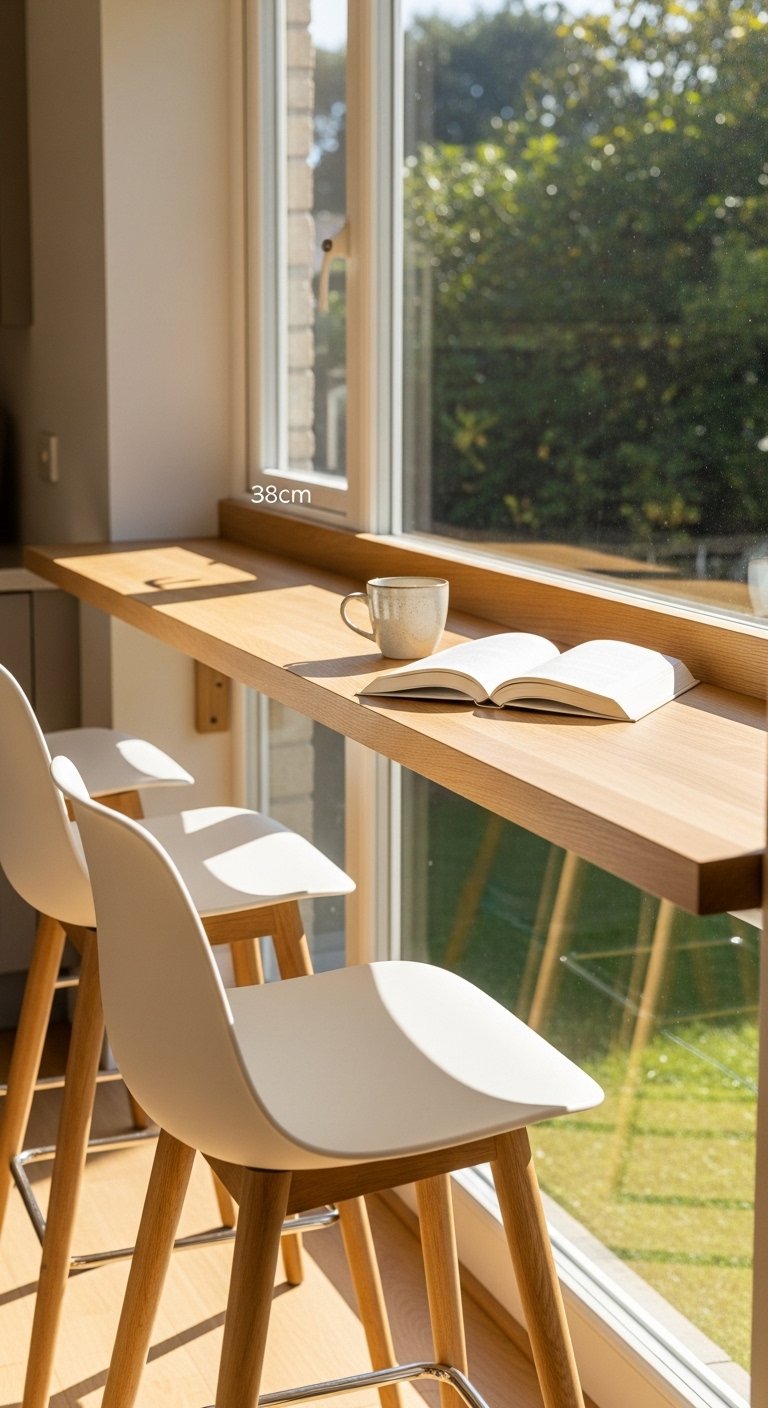
A breakfast bar along a window wall gives you a dining spot, natural light, and a view without consuming floor space in the main kitchen zone.
Mount a 35 to 40cm deep shelf at counter height along the window wall. Add bar stools on the room side. The window provides natural light from above and in front of the seated person, which is genuinely pleasant for morning coffee.
This works especially well in open plan kitchens that face a garden or outdoor space. The breakfast bar becomes a transition zone between inside and outside, particularly if you add a window that opens above the bar.
Keep the bar depth shallow. Deeper than 40cm and it starts functioning as a cluttered surface rather than a clean dining spot.
11. Use Two-Tone Cabinetry
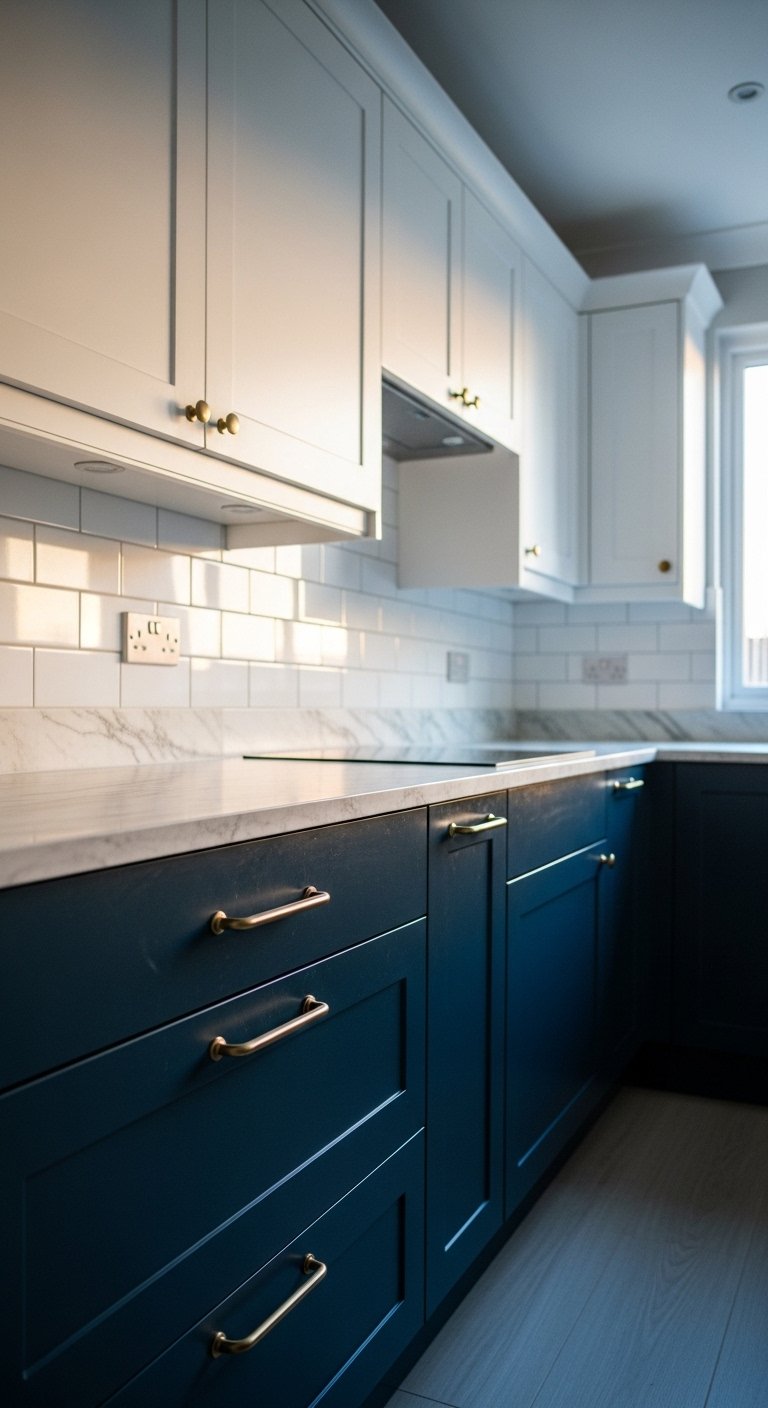
Two-tone cabinetry uses one color on the lower cabinets and a different color on the upper cabinets or island. It adds visual depth to the kitchen without requiring expensive materials.
The most reliable two-tone combination is a darker lower cabinet with a lighter upper cabinet or island. This grounds the kitchen visually and keeps the upper portion of the room feeling light and open.
Popular combinations include navy lower cabinets with white uppers, forest green lowers with cream uppers, and charcoal lowers with light grey uppers. All of these work in open plan kitchens because they add interest without overwhelming the connected living space.
Avoid two tones that compete equally for attention. One color should lead. The other should support.
12. Install a Range Hood as a Statement Piece
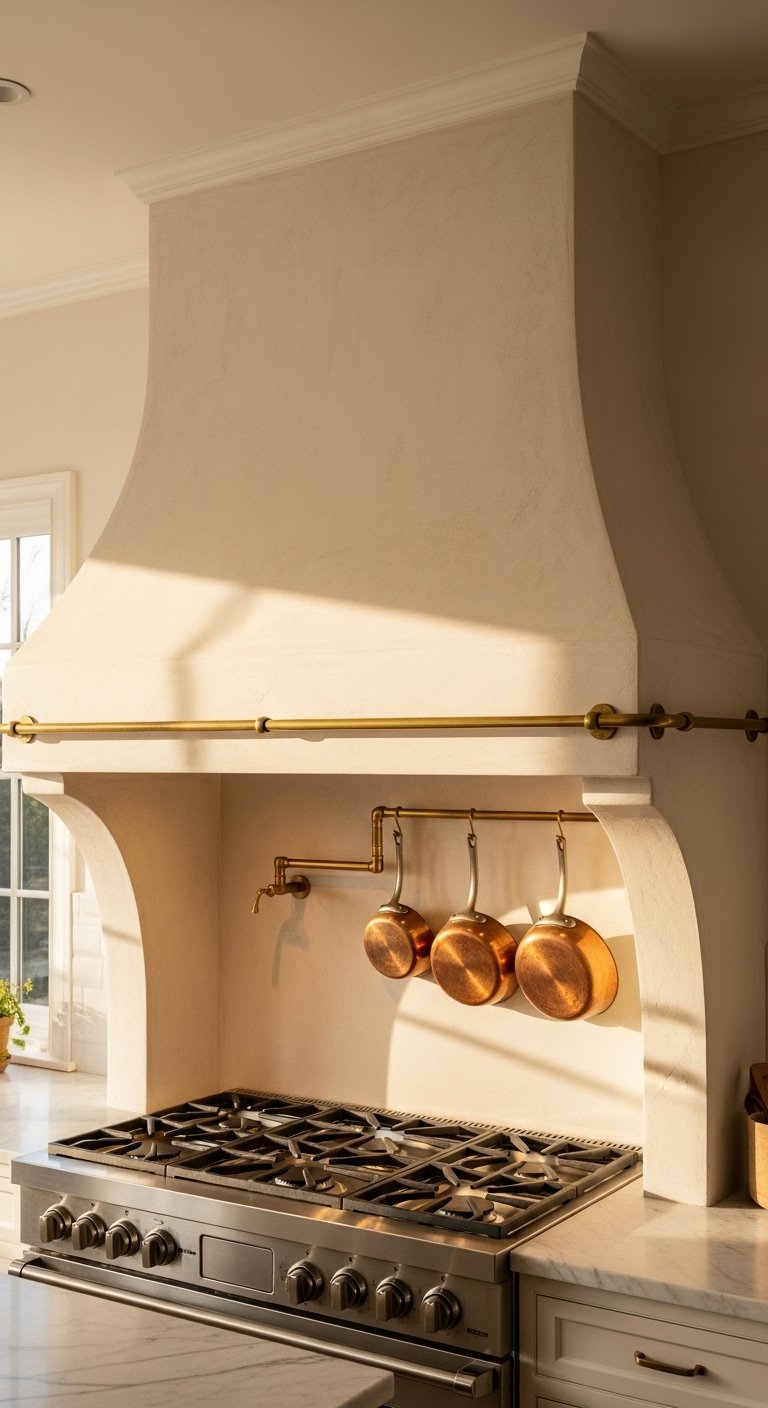
In an open plan kitchen, the range hood sits in the sightline from the living room. It deserves more attention than a standard stainless steel box.
A statement range hood in plaster, painted wood, or blackened steel becomes a focal point that anchors the cooking zone and signals where the kitchen begins within the open plan space.
Plaster hoods suit transitional and Mediterranean-style kitchens. Blackened steel hoods work in industrial and modern kitchens. Painted timber hoods suit farmhouse and Shaker-style kitchens.
Size the hood generously. A hood that is too small for the cooktop looks wrong and also performs poorly. The hood should extend at least 15cm beyond the cooktop on each side.
13. Create a Dedicated Coffee Station
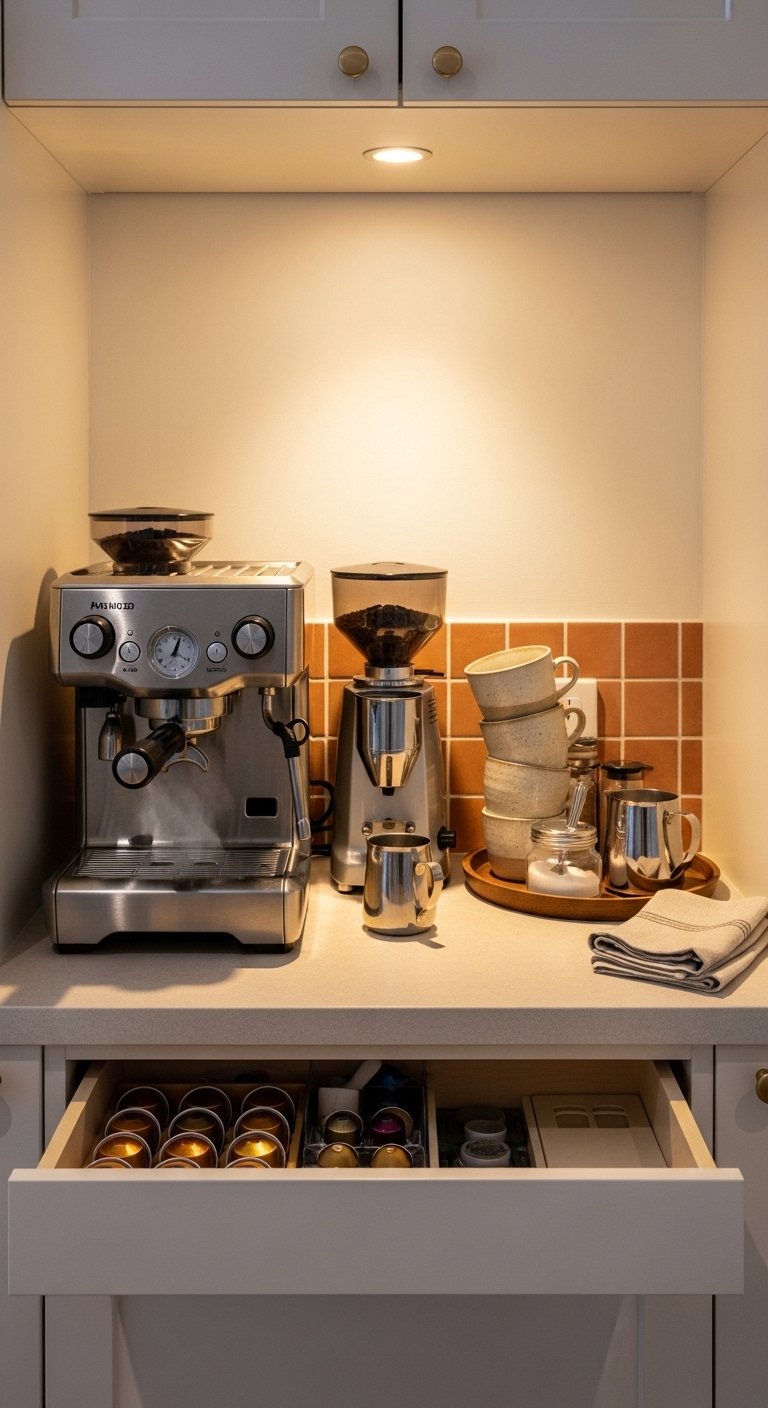
Every open kitchen remodel should include a dedicated coffee station. IMO, this is the most underrated kitchen feature in residential design.
A coffee station is a 60 to 90cm section of bench space dedicated entirely to the coffee machine, grinder, cups, and coffee supplies. It keeps these items off the main prep area and gives morning routines a fixed, organized home.
Build it into a corner or at the end of a cabinet run where it does not interrupt the main work triangle. Add a small drawer below for coffee pods, filters, and spoons.
Include a power outlet at bench height specifically for this zone. Running extension cords across a kitchen bench is the kind of thing that drives people quietly insane.
14. Use Large Format Tiles on the Kitchen Floor
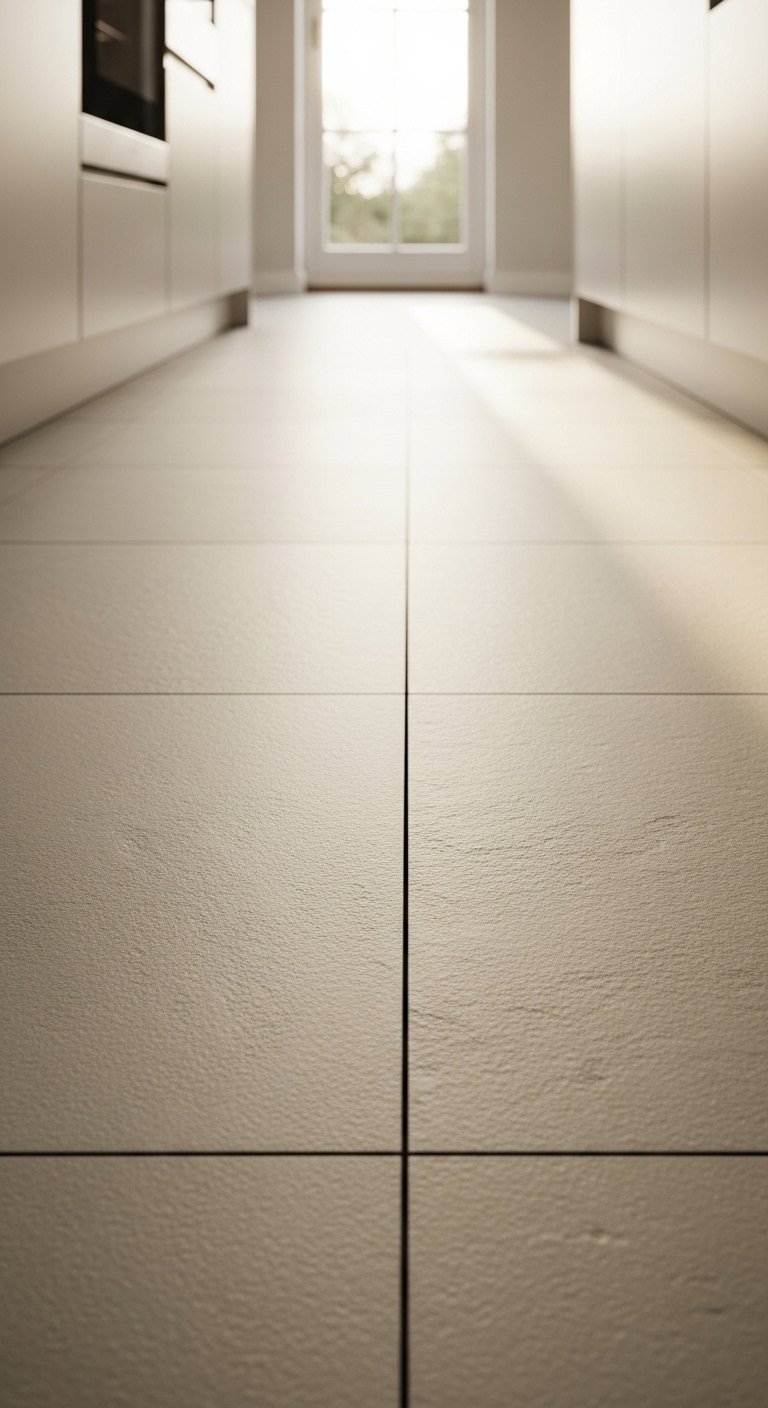
Large format floor tiles make a kitchen floor look more expensive and the room feel larger.
Tiles of 60x60cm or larger reduce the number of grout lines visible across the floor. Fewer grout lines mean a cleaner, more continuous surface that reads as larger from a normal standing position.
Large format tiles also clean more easily than small mosaic tiles because there is less grout surface to collect grease and debris. In a kitchen floor, this matters every single day.
Use a rectified tile for large format applications. Rectified tiles have precise, consistent edges that allow tighter grout joints, which further reduces the visual interruption of the grout lines.
15. Add a Scullery or Prep Sink to the Island
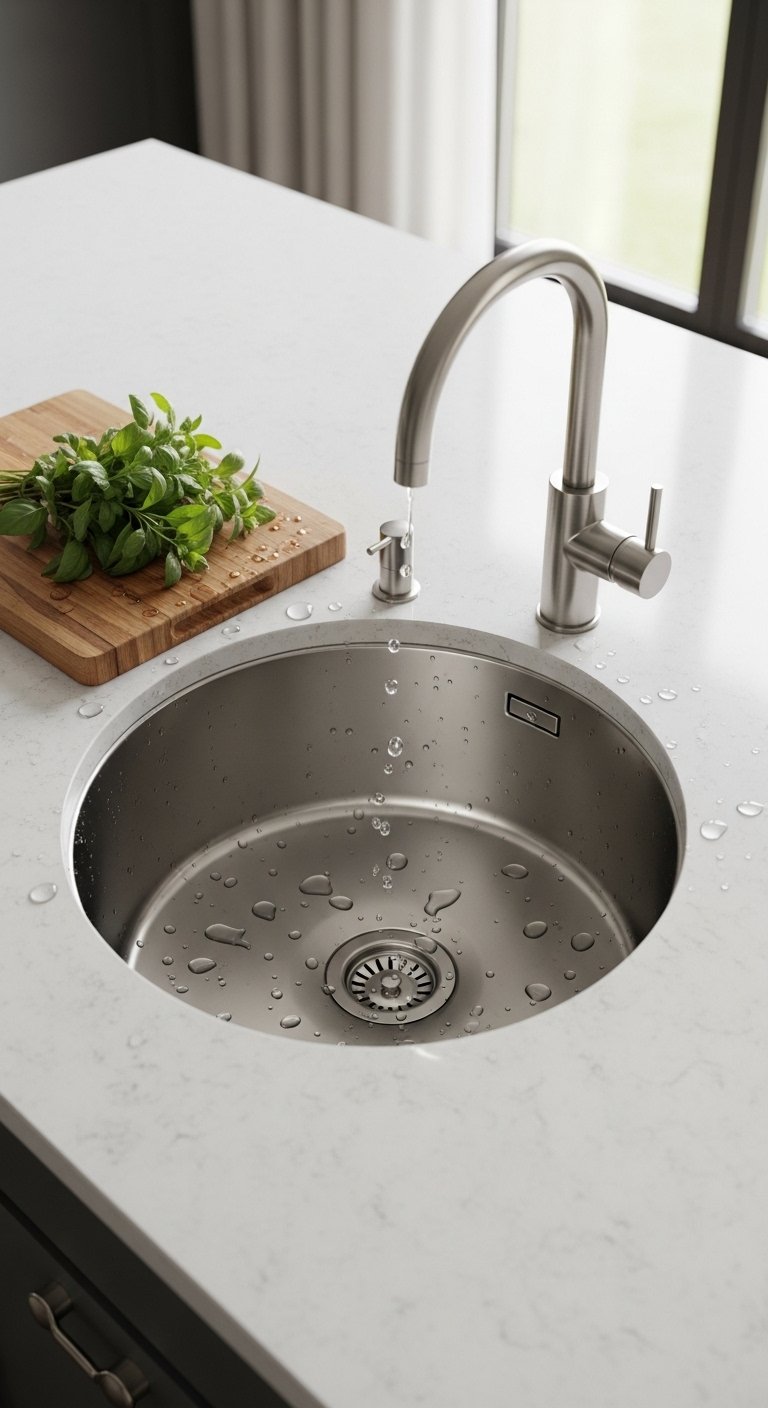
A prep sink in the island keeps vegetable washing and food preparation away from the main sink, which handles washing up and rinsing.
Two sinks in an open kitchen remodel sounds like a luxury. After six months of use, it feels like a necessity. The prep sink keeps the island functional during meal preparation without creating a pile-up at the main sink.
A round or rectangular undermount prep sink at 30 to 40cm wide is sufficient. You do not need a full second sink. You need enough space to wash produce and fill a pot.
Add a simple pull-out tap rather than a full mixer tap at the prep sink. It costs less, takes up less visual space, and does the job equally well.
16. Install Under-Cabinet Lighting
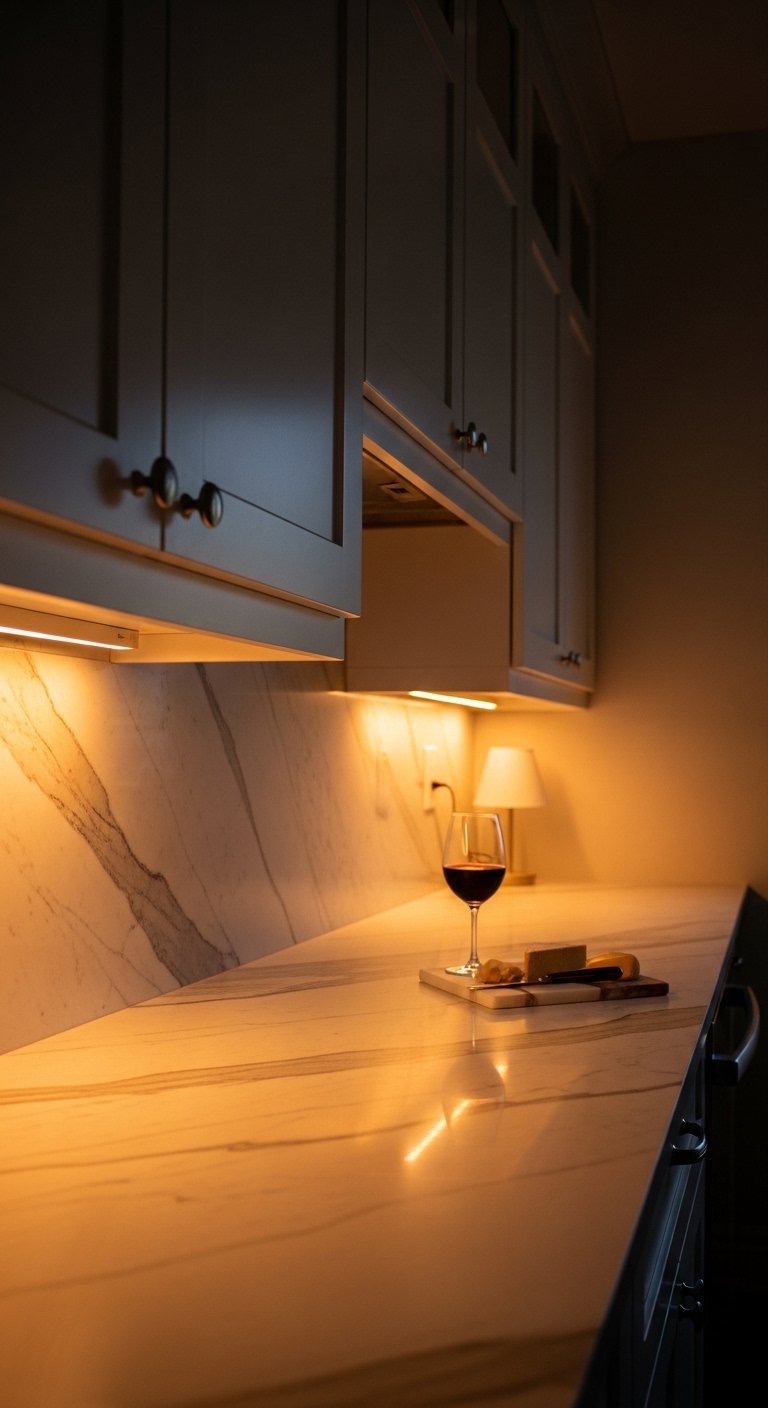
Under-cabinet lighting illuminates the work surface directly and adds a layer of ambient light to the kitchen at night.
LED strip lights mounted to the underside of upper cabinets or open shelves cost very little and make a significant visual difference to how the kitchen looks after dark. In an open plan space where the kitchen is visible from the living area in the evening, this matters.
Use warm white LED strips at 2700K to 3000K. The cooler white light in the kitchen looks clinical and harsh in the evening. Warm white integrates with the ambient lighting of the connected living space.
Hardwire the strips into a separate switch from the main kitchen lights. Being able to turn on only the under-cabinet lights creates a low-level evening setting that works well when you are not actively cooking.
17. Choose Integrated Appliances
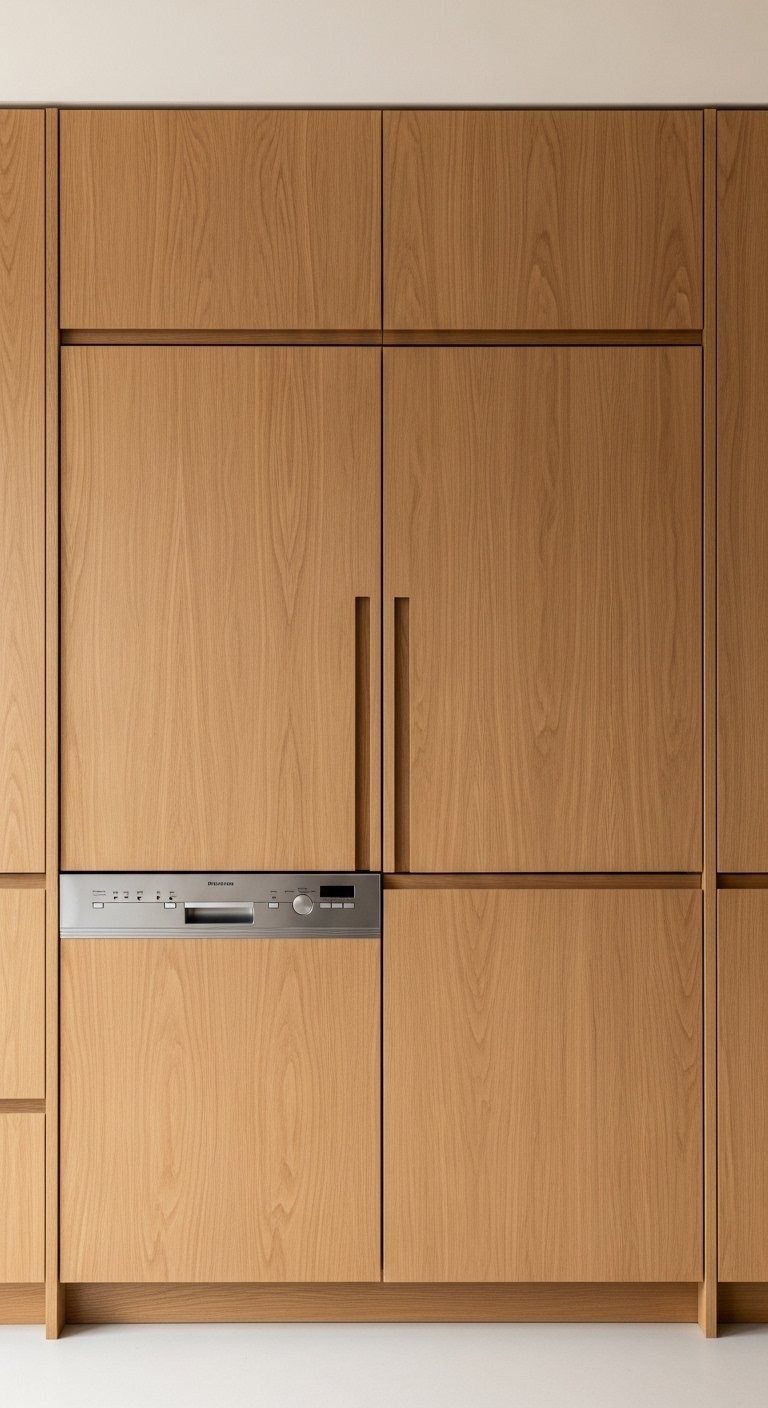
Integrated appliances sit behind cabinet doors that match the rest of the kitchen. From the outside, the refrigerator, dishwasher, and sometimes even the microwave look like cabinet panels rather than appliances.
In an open plan kitchen where the cooking zone is visible from the living room, integrated appliances make the kitchen read as a piece of furniture rather than a functional workspace.
The cost premium for integrated appliances over freestanding equivalents runs between 20 and 40 percent. Whether that cost is justified depends on how visible the appliances are from the living area and how much the overall kitchen design matters to you.
The dishwasher is the appliance most worth integrating first. It sits at eye level in the main sightline and a stainless steel dishwasher door is visually disruptive in an otherwise resolved kitchen design.
18. Add a Sliding or Bi-Fold Door to the Garden
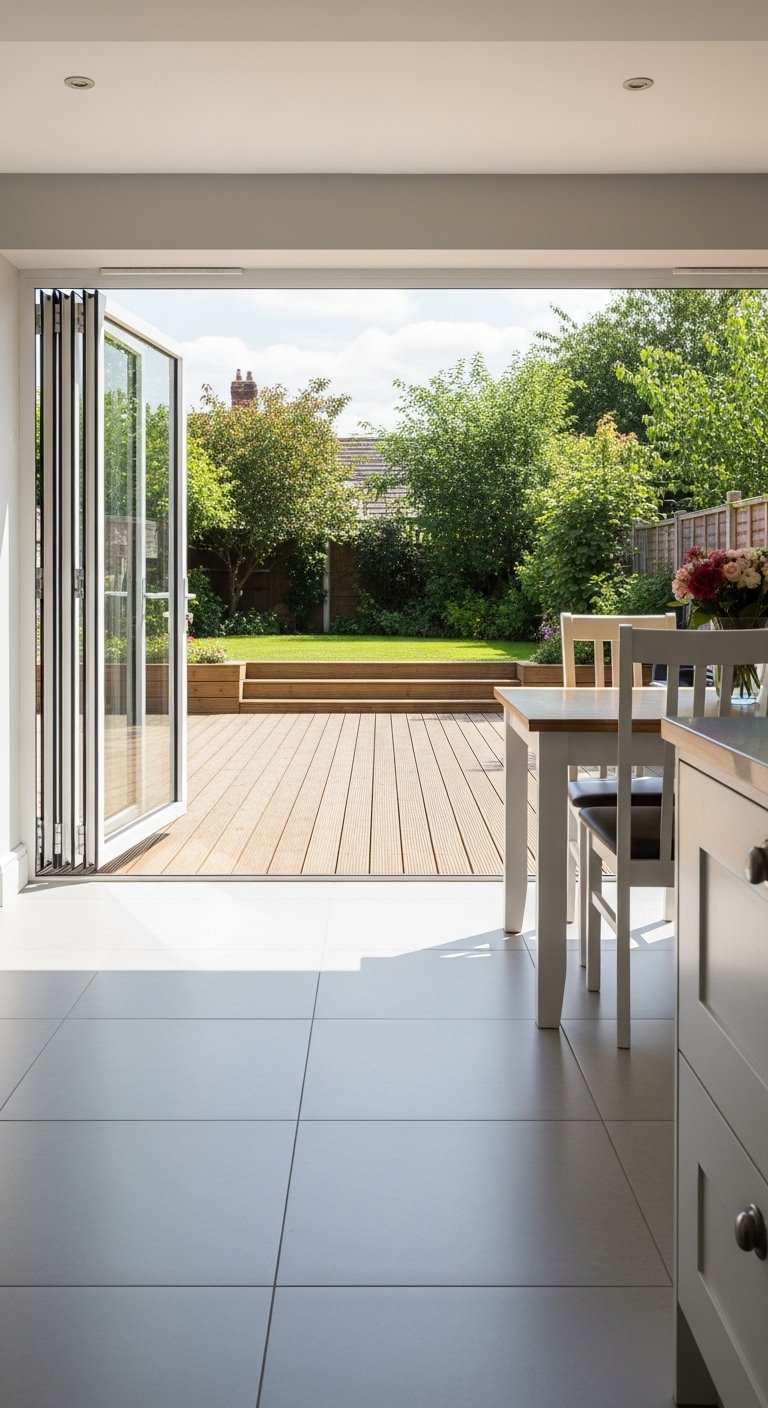
An open kitchen that connects directly to an outdoor space doubles its effective floor area during warmer months.
A large sliding door or bi-fold door system on the garden-facing wall of an open plan kitchen creates an indoor-outdoor flow that changes how the entire ground floor functions. The kitchen, dining, and garden become one continuous space when the doors are open.
Bi-fold doors open the full width of the wall. Sliding doors leave one panel always covering part of the opening. For maximum connection to the garden, bi-fold doors are the better choice despite their higher cost.
Align the indoor floor level with the outdoor patio level where possible. A flush threshold between inside and outside removes the visual and physical barrier completely.
19. Use a Quartz or Dekton Countertop
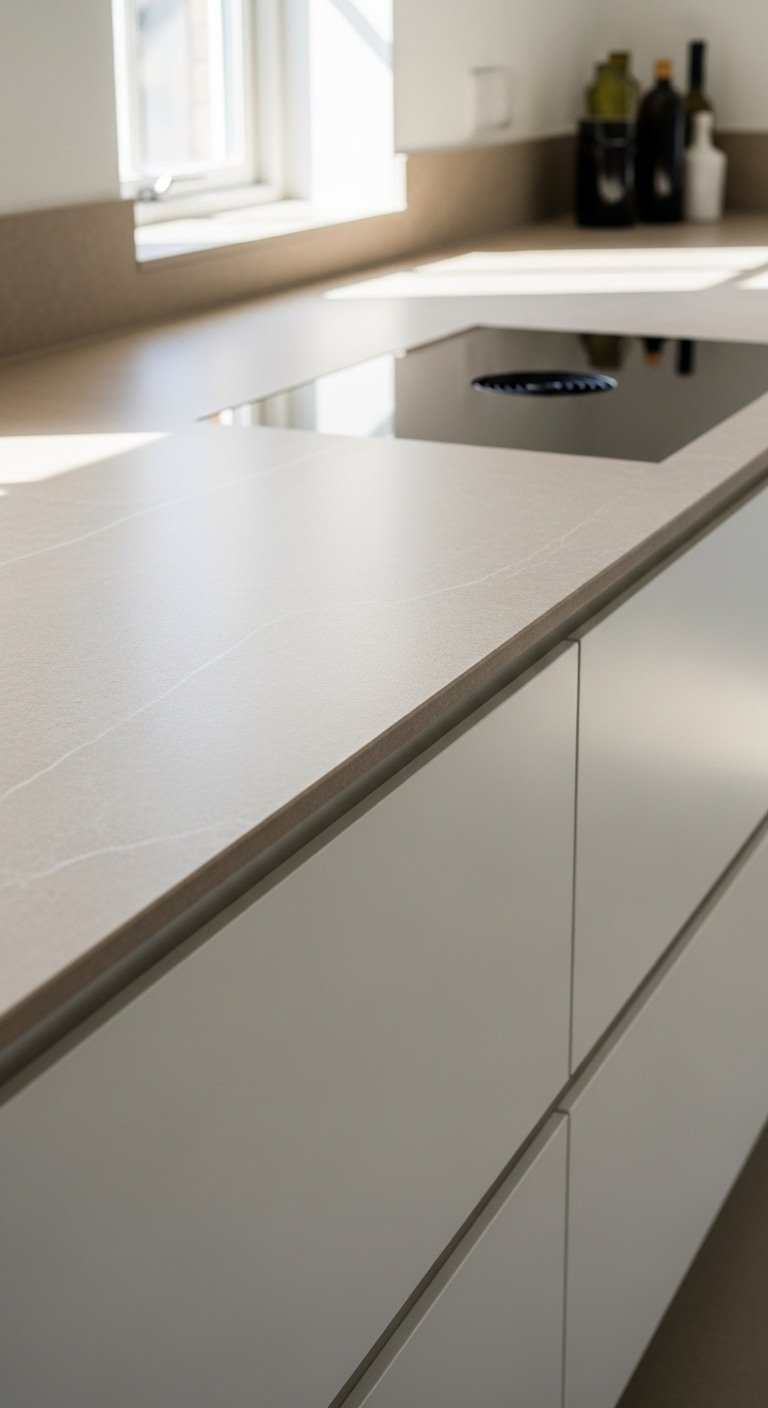
Countertop material choice has a larger impact on kitchen maintenance than almost any other decision.
Quartz countertops are engineered stone with a resin binder. They resist staining, do not require sealing, and handle heat moderately well. Dekton is a sintered surface that handles heat better than quartz and resists UV fading, making it suitable for kitchens with direct sun exposure or indoor-outdoor bench extensions.
Natural marble looks beautiful and requires significant maintenance. It stains from acids, scratches from abrasion, and etches from everyday kitchen use. If you want the marble look without the maintenance, a high-quality quartz in a marble finish performs better in a working kitchen.
Avoid laminate countertops in an open kitchen remodel. They date quickly and do not hold up to the visibility that an open plan kitchen demands.
20. Install a Herringbone or Subway Tile Backsplash
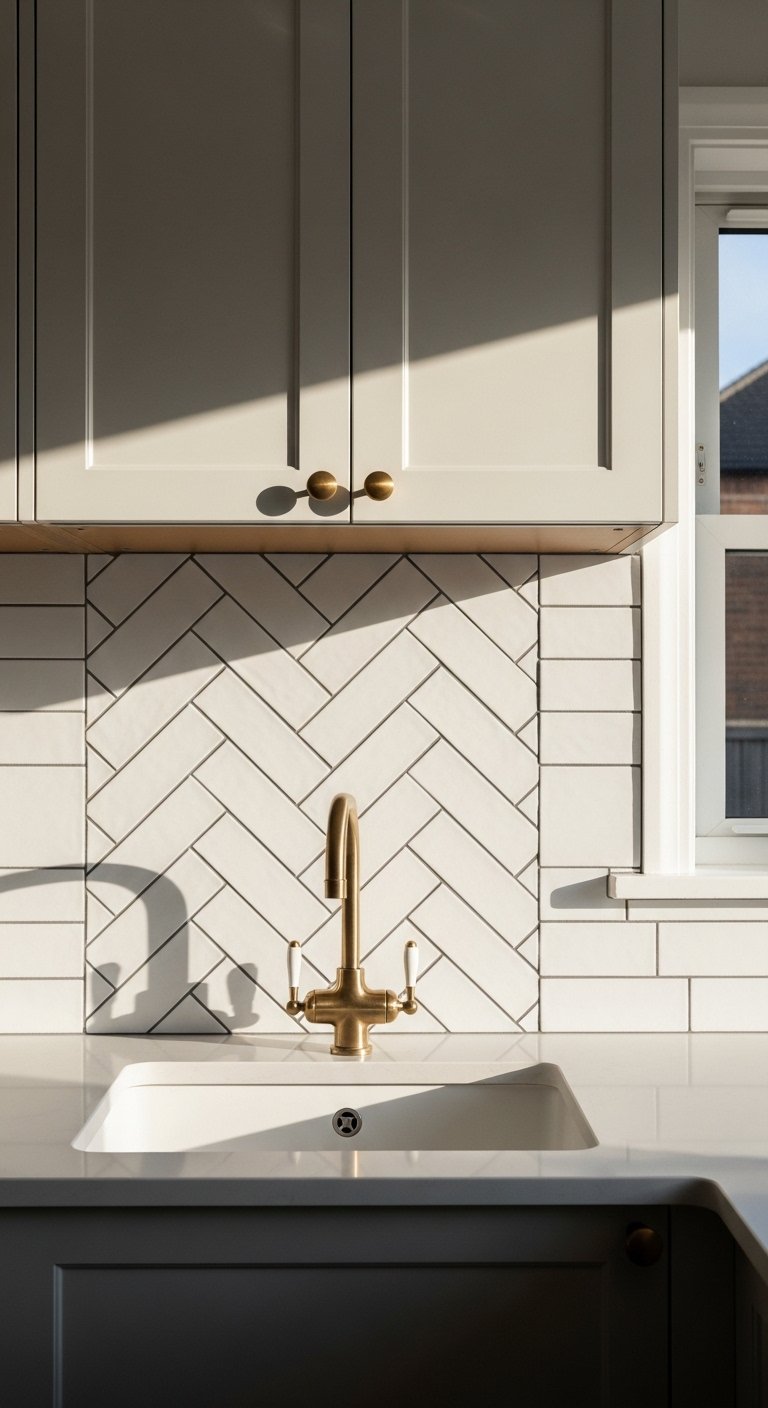
The backsplash runs behind the cooktop and sometimes across the full length of the kitchen wall. In an open plan kitchen, it is visible from the living area and contributes to the overall design of the room.
Subway tiles in a herringbone pattern add visual texture and movement without competing with the rest of the kitchen design. They work in traditional, transitional, and modern kitchens equally well.
White subway tile in a herringbone pattern with a dark grout is the most durable-looking combination. Light grout shows grease and requires more frequent cleaning. Dark grout hides everyday kitchen grime without needing constant attention.
Full slab backsplashes in matching countertop material are the premium alternative. A single slab of quartz or stone running from bench to range hood creates a seamless, high-end look that works particularly well behind a statement range hood.
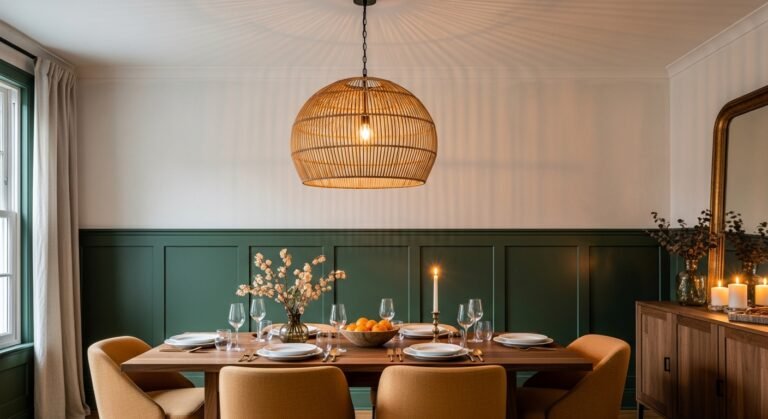
21. Add a Built-In Banquette Dining Seat
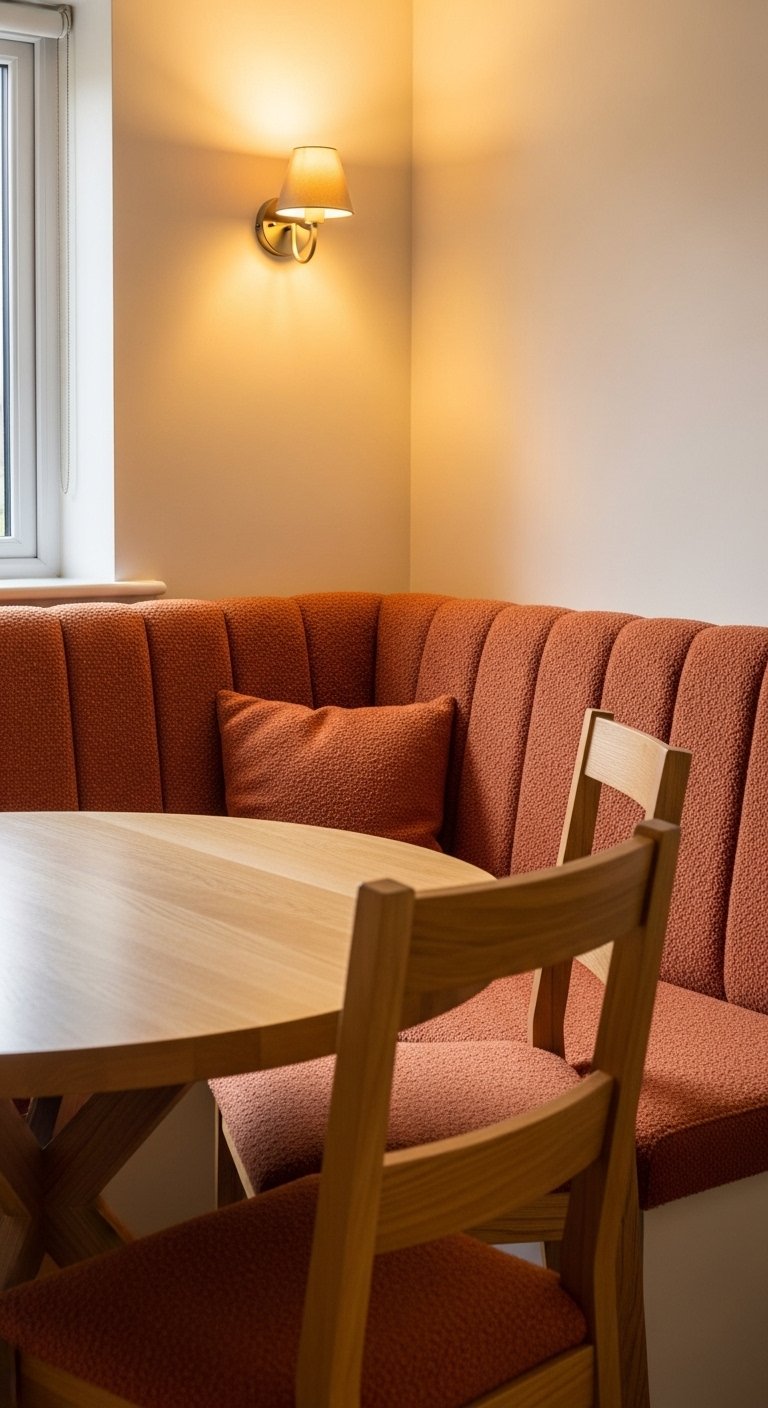
A built-in banquette is a fixed upholstered bench seat built into a corner or against a wall of the dining area within the open plan space.
It seats more people than a standard dining chair arrangement in the same footprint. It also adds storage underneath the seat if you build lift-up storage into the base.
A banquette dining setup in a kitchen remodel reads as a high-end design feature while actually being one of the more affordable custom joinery additions you make. The materials cost is low. The labor is straightforward for any competent joiner.
Use a durable, wipeable fabric or leather for the upholstery. A banquette in a kitchen-adjacent dining area will collect food spills. Dry-clean-only fabric in this location is a decision you will regret within a month.
22. Use Handleless Cabinet Doors
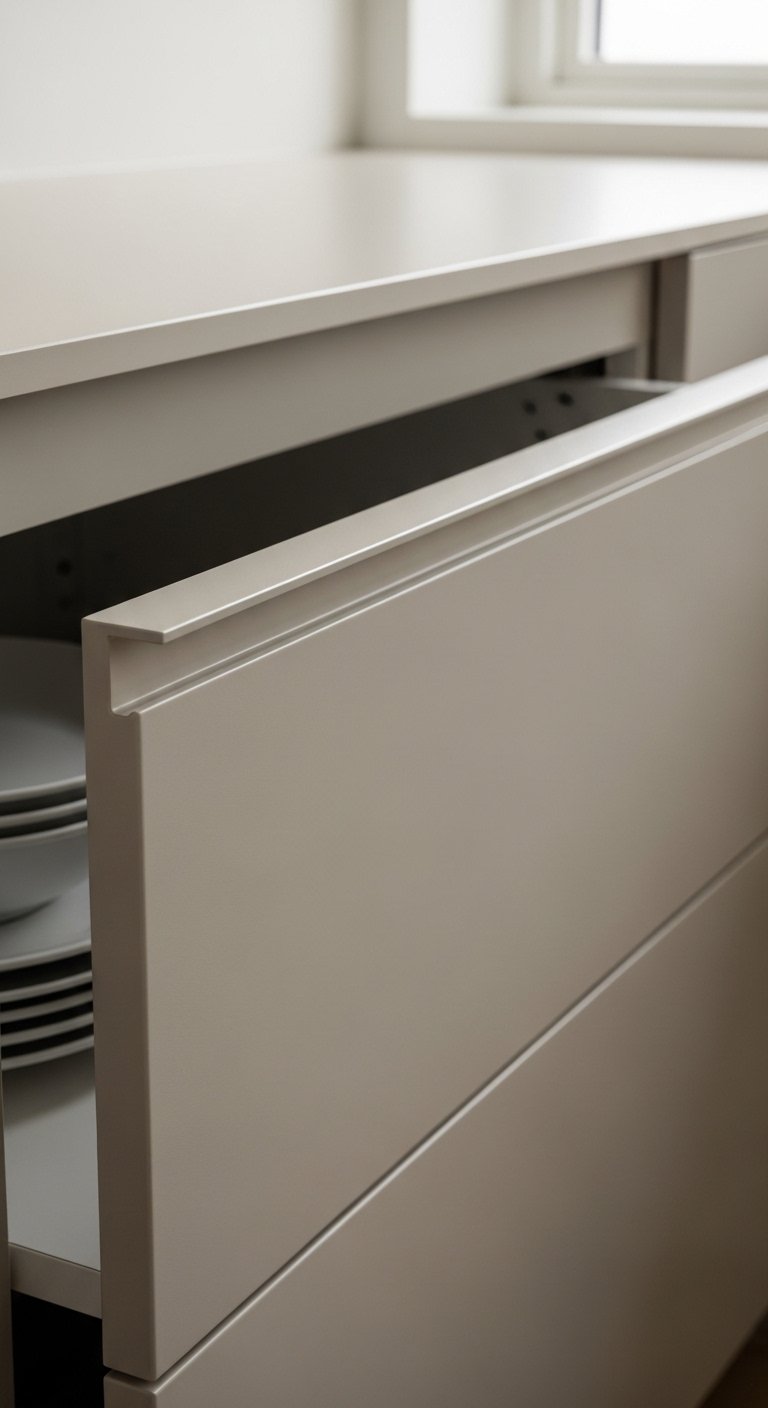
Handleless cabinet doors use an integrated finger pull channel or a push-to-open mechanism instead of visible hardware.
In an open plan kitchen, handleless cabinets create a clean, uninterrupted surface that reads as minimal and resolved from a distance. The living area sightline into the kitchen sees a flat, architectural surface rather than rows of handles.
Push-to-open mechanisms are the cleanest option visually but wear out faster than integrated channel pulls. For high-use cabinets like the bin drawer and the most-used pantry door, use an integrated channel pull. Reserve push-to-open for lower-traffic cabinet doors.
The cost difference between handleless and standard handle cabinets is minimal when specified at the design stage. Retrofitting handleless doors to an existing cabinet carcass costs more.
23. Install a Concealed Rangehood or Downdraft Extractor
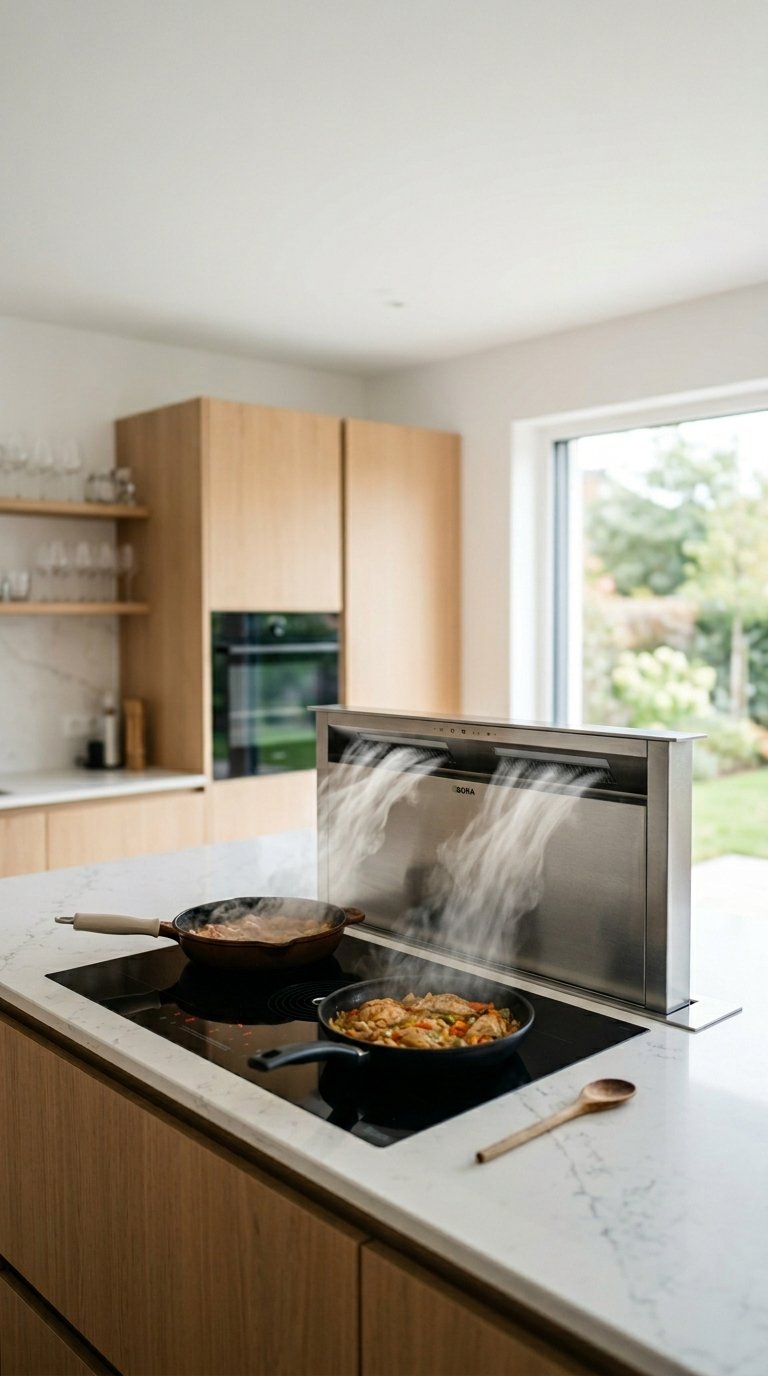
A downdraft extractor sits flush with the cooktop surface and rises mechanically when in use. When cooking is done, it retracts back into the bench.
This eliminates the range hood from the visual equation entirely, which matters in an open plan kitchen where an overhead hood interrupts the sightline between the kitchen and living area.
Downdraft extractors work best with induction cooktops. They struggle to capture steam and smoke from high-heat gas cooking effectively. If you cook at high heat regularly, a concealed ceiling-mounted extractor with a remote motor is a better alternative.
The cost of a quality downdraft extractor runs significantly higher than a standard overhead hood. Brands like Bora, Elica, and Gutmann produce reliable units in the $2,000 to $5,000 range. Budget units in this category perform poorly and fail quickly.
Final Thoughts
An open kitchen remodel is not a single decision. It is 20 to 30 decisions made in sequence, each one affecting the next.
Start with the structural decisions. Wall removal, floor plan, island placement. Get those right first. Everything else sits on top of those foundations.
Then work through materials, storage, and lighting. These are the decisions that determine how the kitchen functions every day, not just how it looks in photos.
You do not need all 23 ideas. You need the right 8 or 10 for your specific home, your specific budget, and how your household actually uses the space. Pick those, execute them without cutting corners on the details that matter, and the result will earn its cost many times over.
The best open kitchen remodel you do is the one you stop second-guessing and start building.