25 Kitchen Peninsula Ideas to Add Space, Storage & Style
Your kitchen works against you. Not enough counter space, nowhere for guests to sit, and that awkward gap between the kitchen and the living room that makes the whole open-plan feel unfinished.
A peninsula fixes all three problems at once. It’s a kitchen island attached to the wall or cabinetry on one end, which means no plumbing relocation, no structural work in most cases, and a fraction of the cost of a full kitchen remodel. These 25 ideas show you exactly what a peninsula delivers and how to get the most from yours.
1. Add a Waterfall Edge Peninsula for a High-End Look
A waterfall edge peninsula wraps the countertop material down the side panel of the unit, creating a continuous vertical surface that reads as furniture-grade and custom-built. Quartz waterfall edges cost $500 to $1,500 extra over a standard countertop but add significant perceived value to the kitchen.
The waterfall side also protects the cabinet carcass from knocks and spills better than a painted wood panel. In white, grey, or black quartz, this detail makes a builder-grade kitchen look renovated without touching a single cabinet.
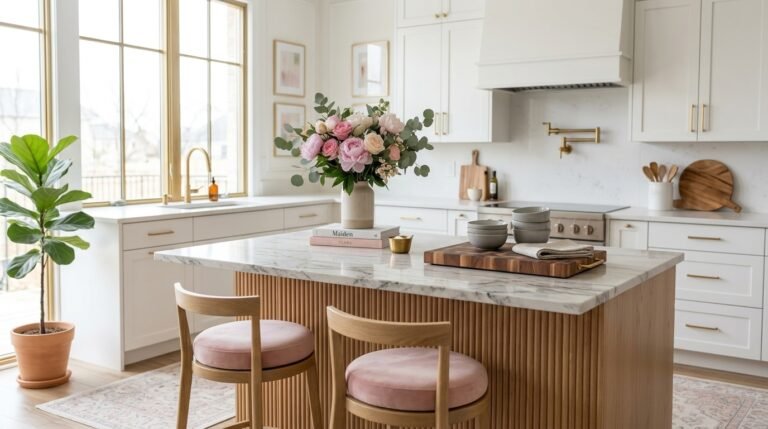
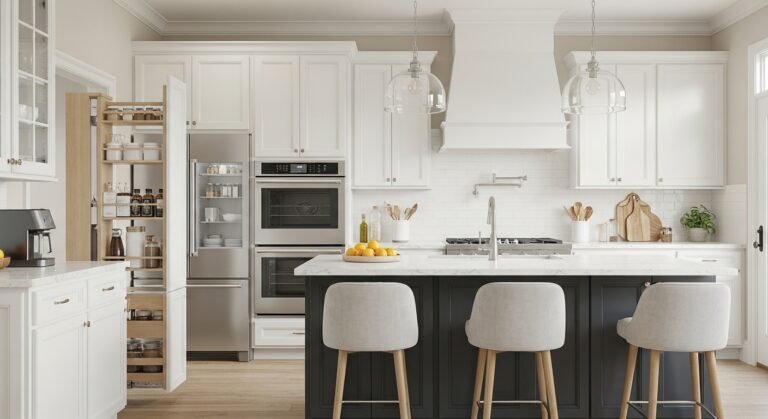
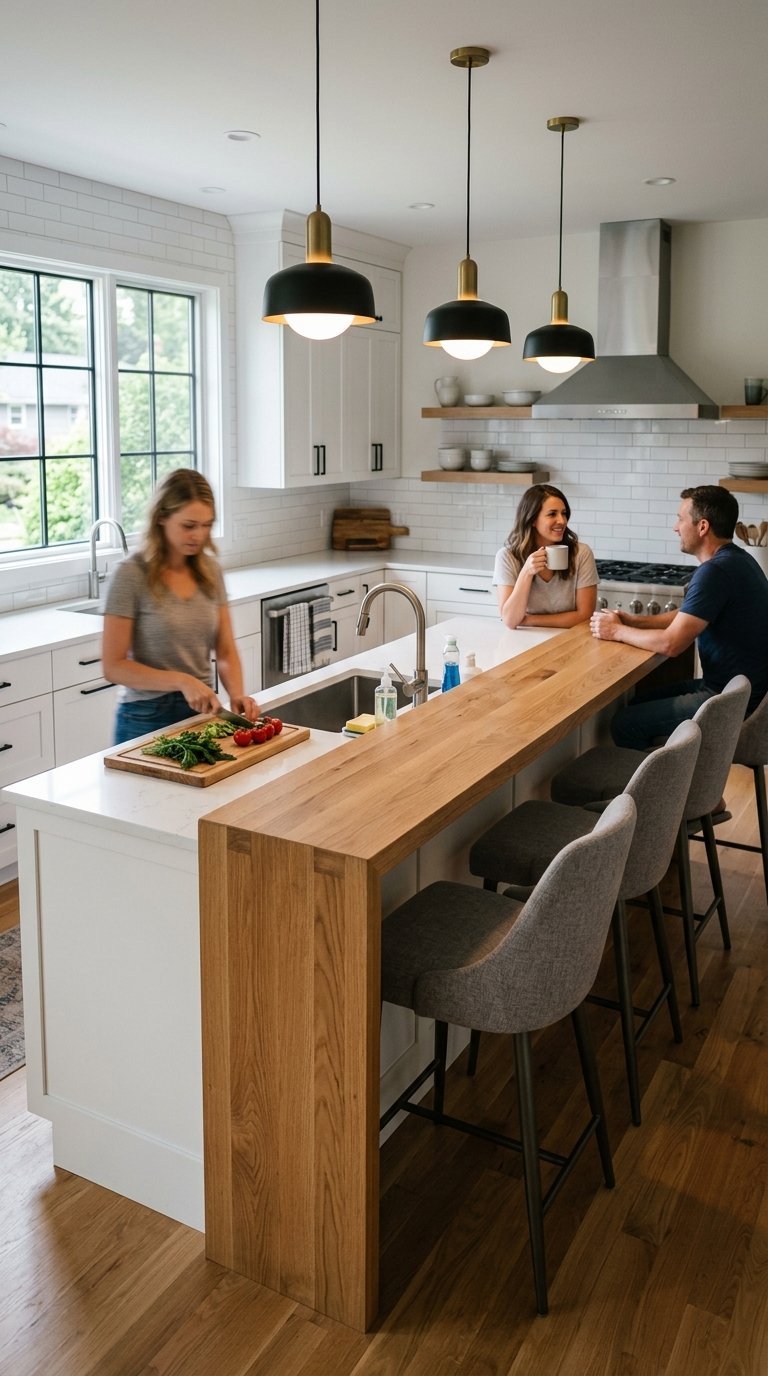
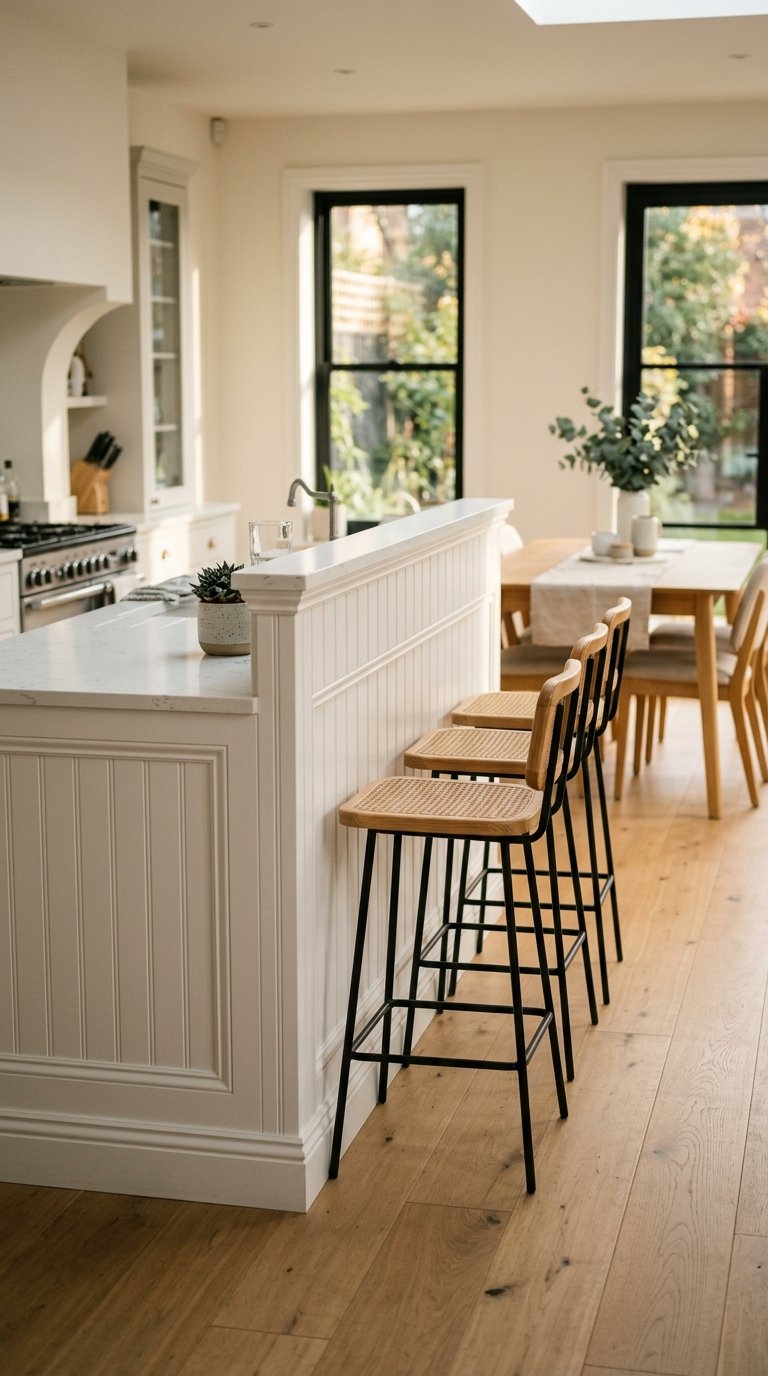
2. Build a Peninsula with Bar Seating on the Overhang Side
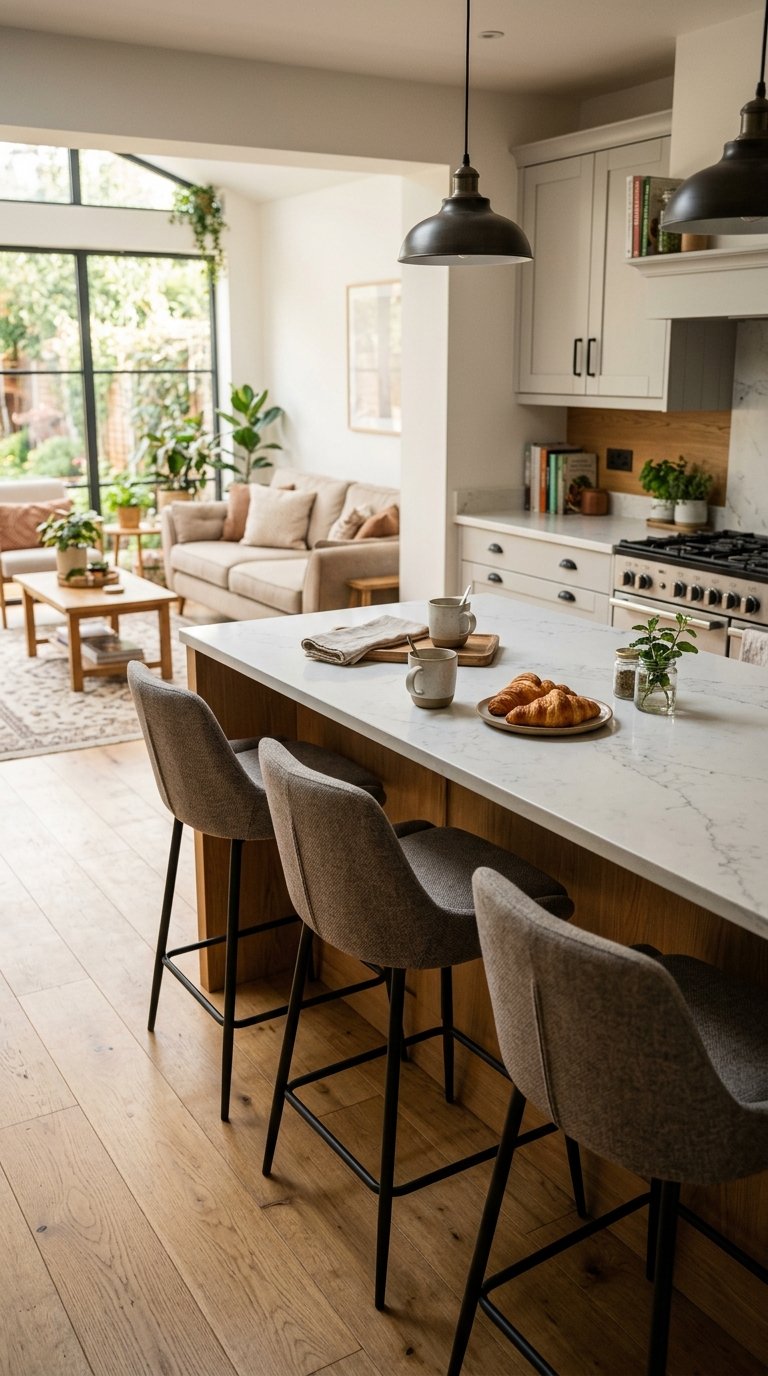
A peninsula overhang of 12 to 15 inches accommodates bar stools and turns the structure into a casual dining spot. Standard counter-height peninsulas at 36 inches pair with 24 to 26 inch counter stools; bar-height peninsulas at 42 inches use 28 to 30 inch bar stools.
This eliminates the need for a separate dining table in smaller open-plan kitchens. Three bar stools along a 6-foot peninsula gives you seating for three without occupying any additional floor space beyond the peninsula footprint.
3. Install Open Shelving on the Living Room Side of the Peninsula
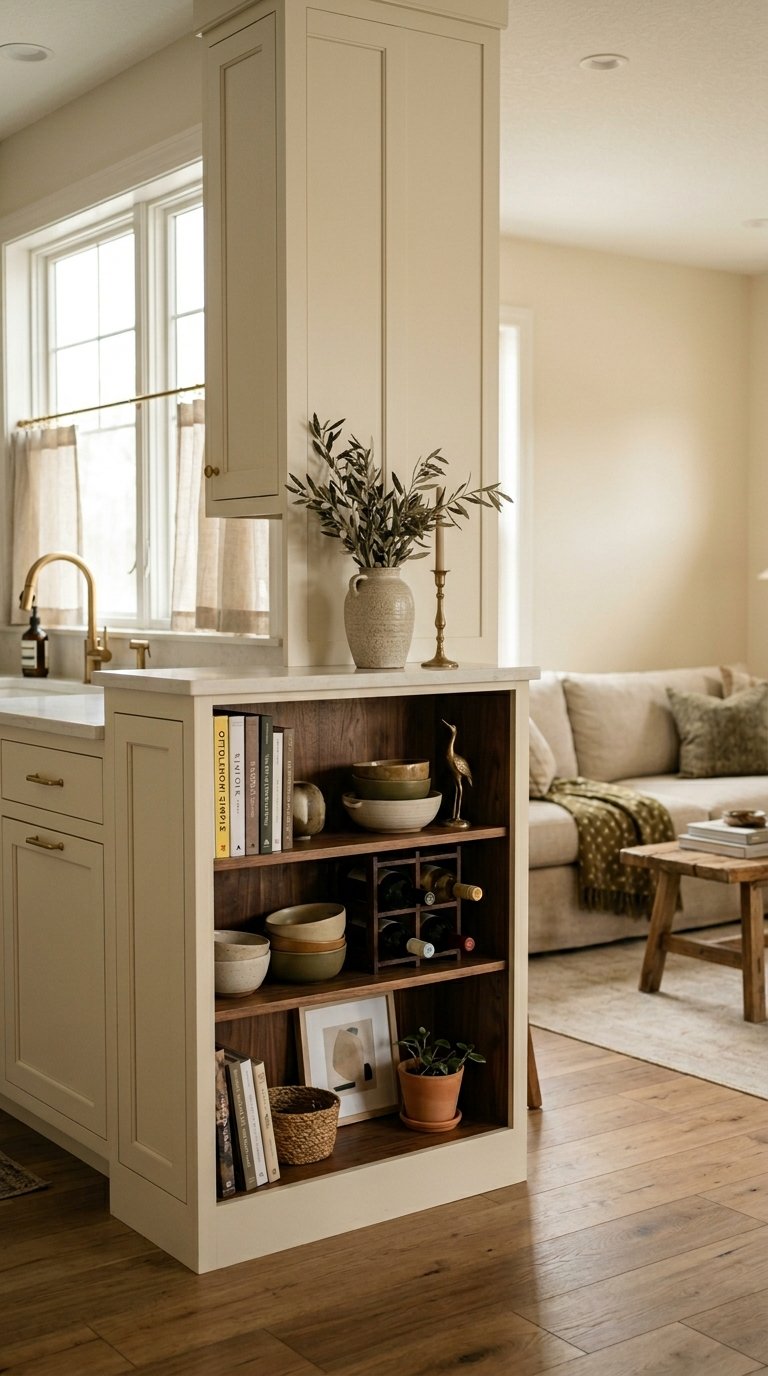
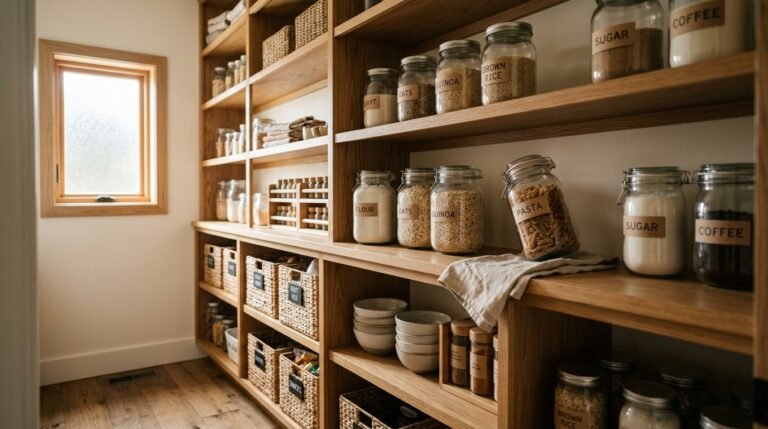
The side of your peninsula facing the living room doesn’t need to be a blank cabinet face. Open shelves on that side hold cookbooks, decorative objects, a wine rack, or a small speaker, turning dead panel space into functional display storage.
Open shelving on a peninsula costs less than installing additional cabinet doors and gives the kitchen a more open, intentional feel. Paint the shelf interiors a contrasting colour to the cabinet exterior for a detail that looks custom without the custom price.
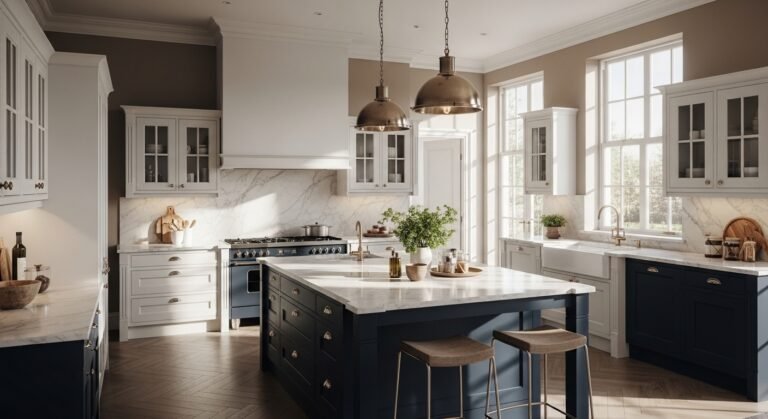
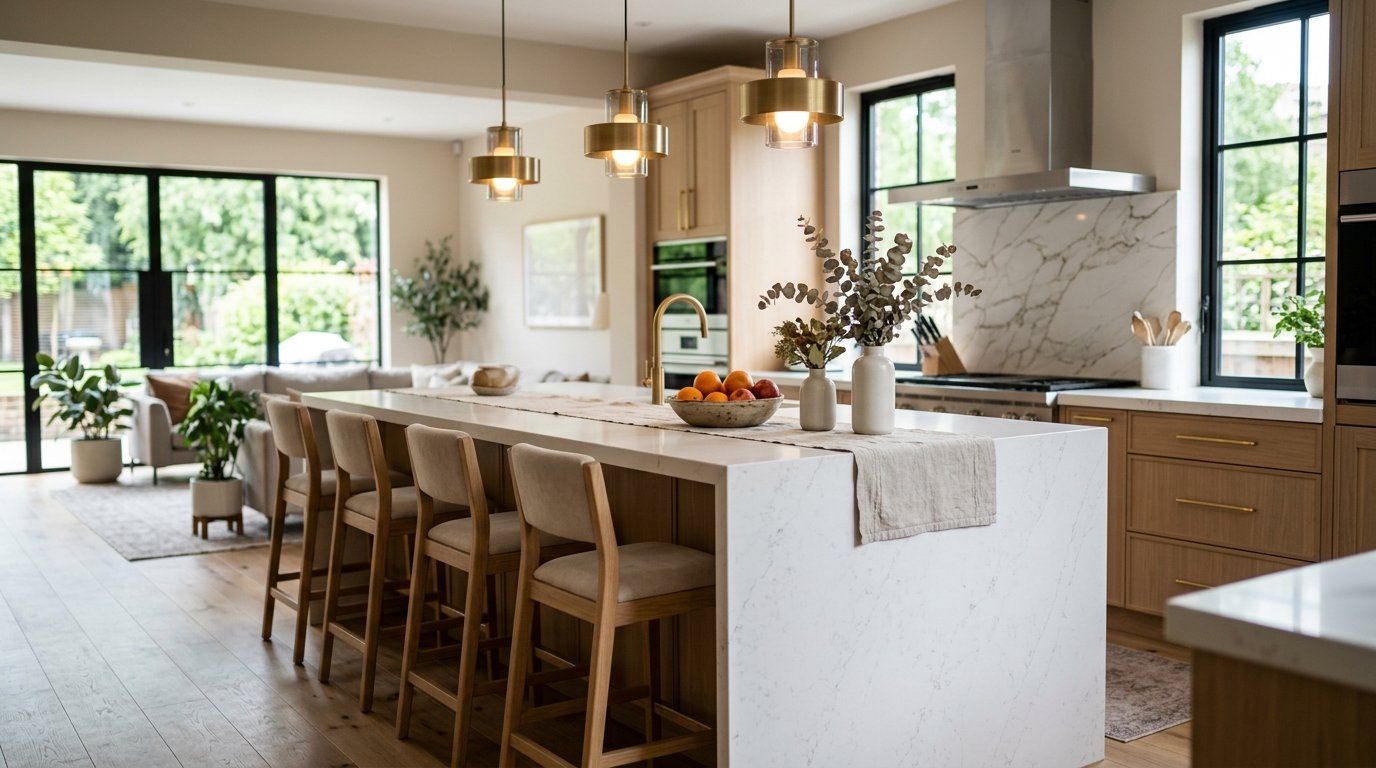
4. Use the Peninsula as a Breakfast Bar with Pendant Lights Above

Pendant lights hung directly above the peninsula seating zone define the area as a distinct dining space within an open-plan kitchen. Hang pendants 28 to 34 inches above the countertop surface for the right proportion and illumination level.
Three pendants spaced evenly above a 6-foot peninsula create a lighting moment that anchors the whole room. Rattan, matte black, or smoked glass pendants each suit different kitchen styles and cost $40 to $300 per fixture.
5. Add a Prep Sink to the Peninsula for a Second Work Zone
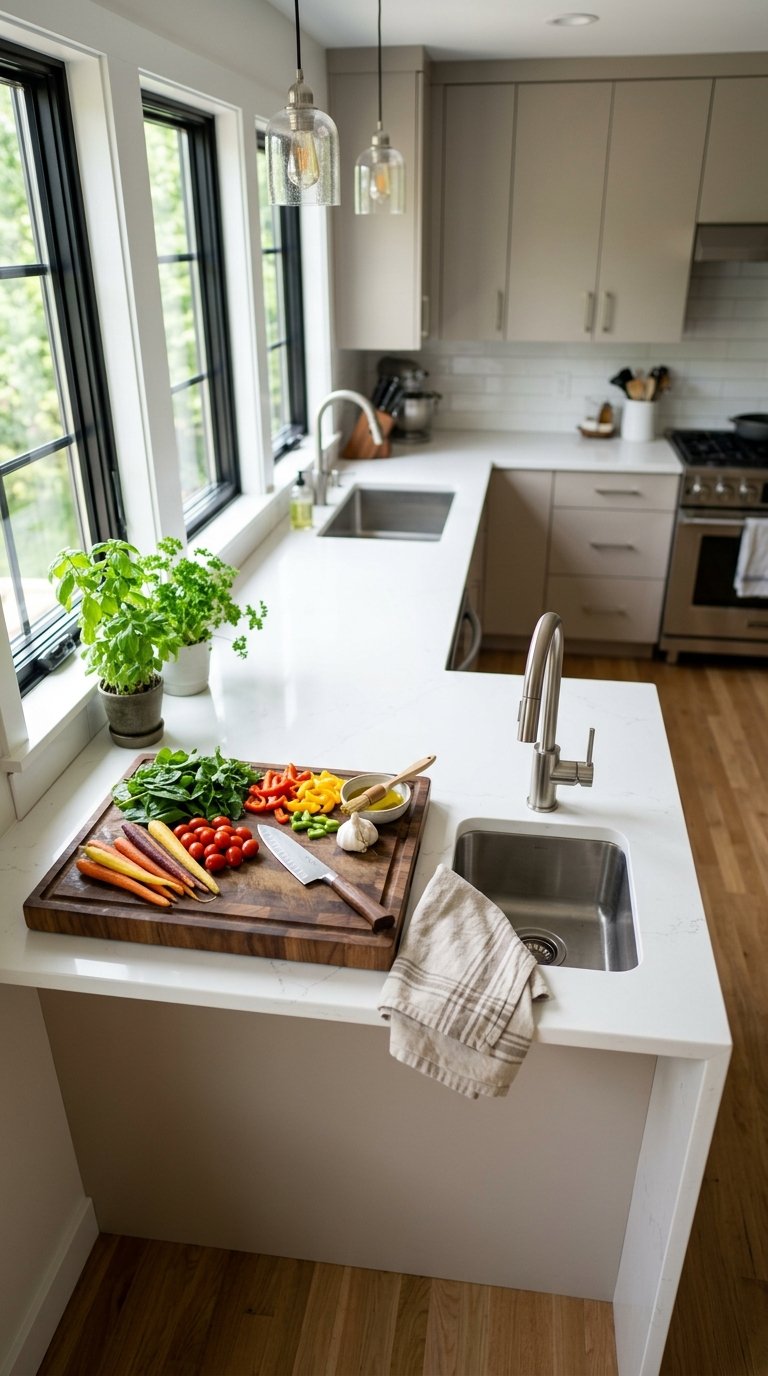
A prep sink on the peninsula surface creates a second work zone that separates washing and prep tasks from the main cooking area. A small 15 to 18 inch undermount prep sink costs $150 to $400, plus plumbing connection costs of $200 to $500.
The investment pays off immediately in larger households where two people cook simultaneously. The prep sink also works as a bar sink when entertaining, keeping drink prep separate from food preparation.
6. Build a Peninsula with Deep Drawers Instead of Cabinet Doors
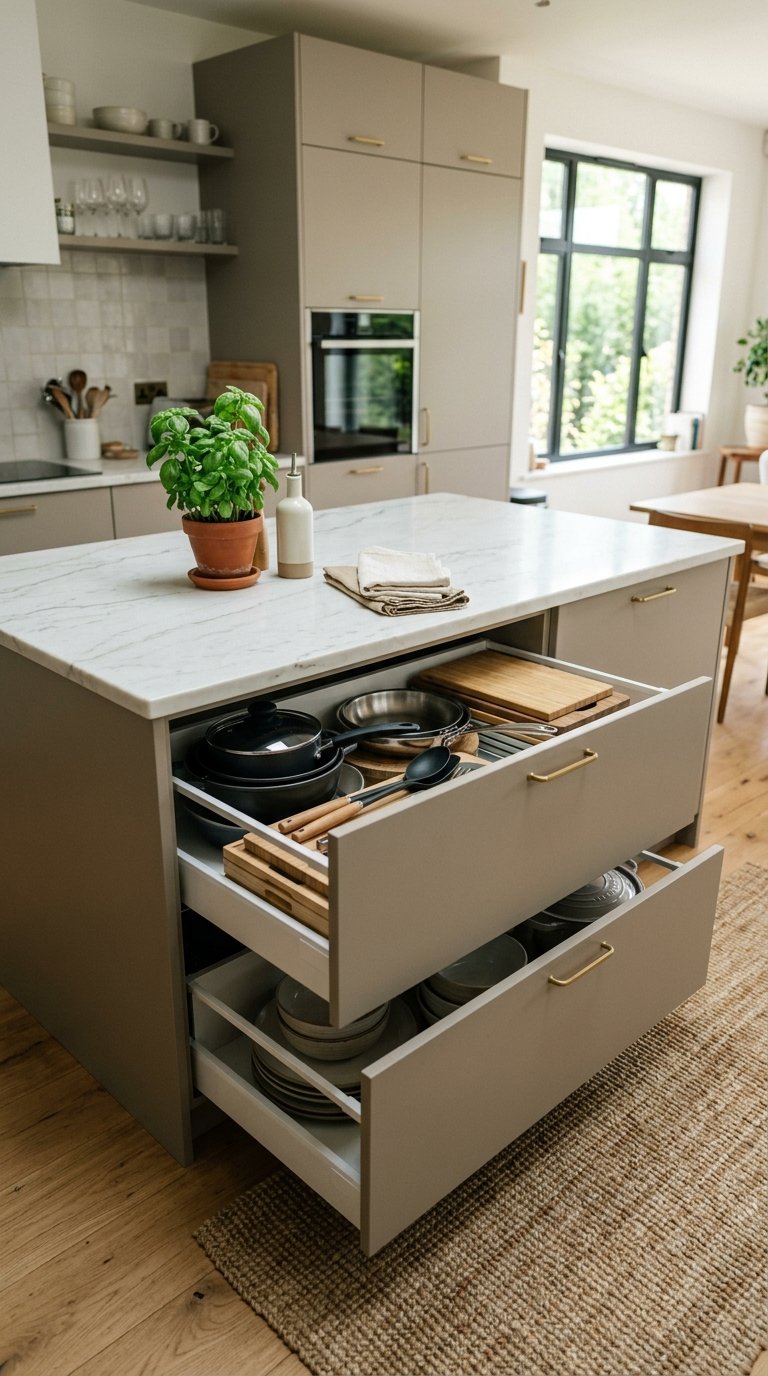
Deep drawers outperform cabinet doors on peninsula storage because you access everything from the front without crouching or reaching to the back. Three-drawer stacks in 18 to 24 inch widths hold pots, pans, cutting boards, and baking sheets upright and accessible.
Soft-close drawer systems cost $30 to $80 per drawer set to upgrade, and the difference in daily usability is significant. This is the storage configuration professional kitchen designers choose first because it eliminates the awkward cabinet-floor-corner problem entirely.
7. Design a Two-Tier Peninsula with a Raised Breakfast Bar
A two-tier peninsula has a lower prep surface at standard 36-inch counter height and a raised bar section at 42 inches on the seating side. The height difference hides prep mess from guests sitting at the bar, which is more useful than it sounds during a dinner party. :/
The raised section also gives the peninsula a more architectural profile, making it look like a designed feature rather than an added afterthought. This configuration costs $300 to $800 more than a single-height peninsula but solves both the prep privacy and seating height problems simultaneously.
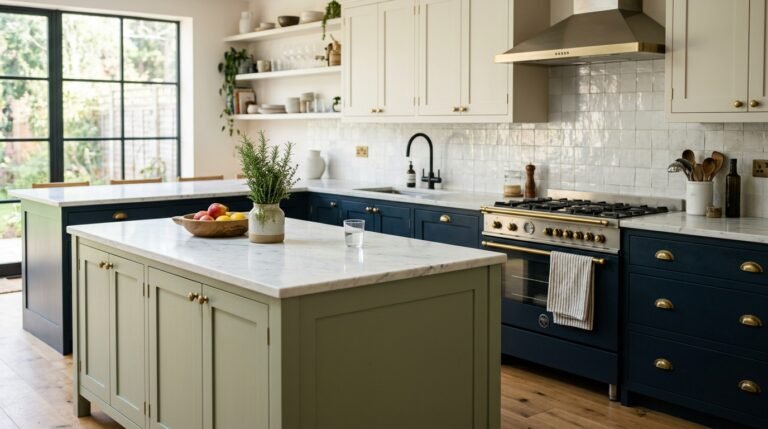
8. Use a Contrasting Colour on the Peninsula Cabinets
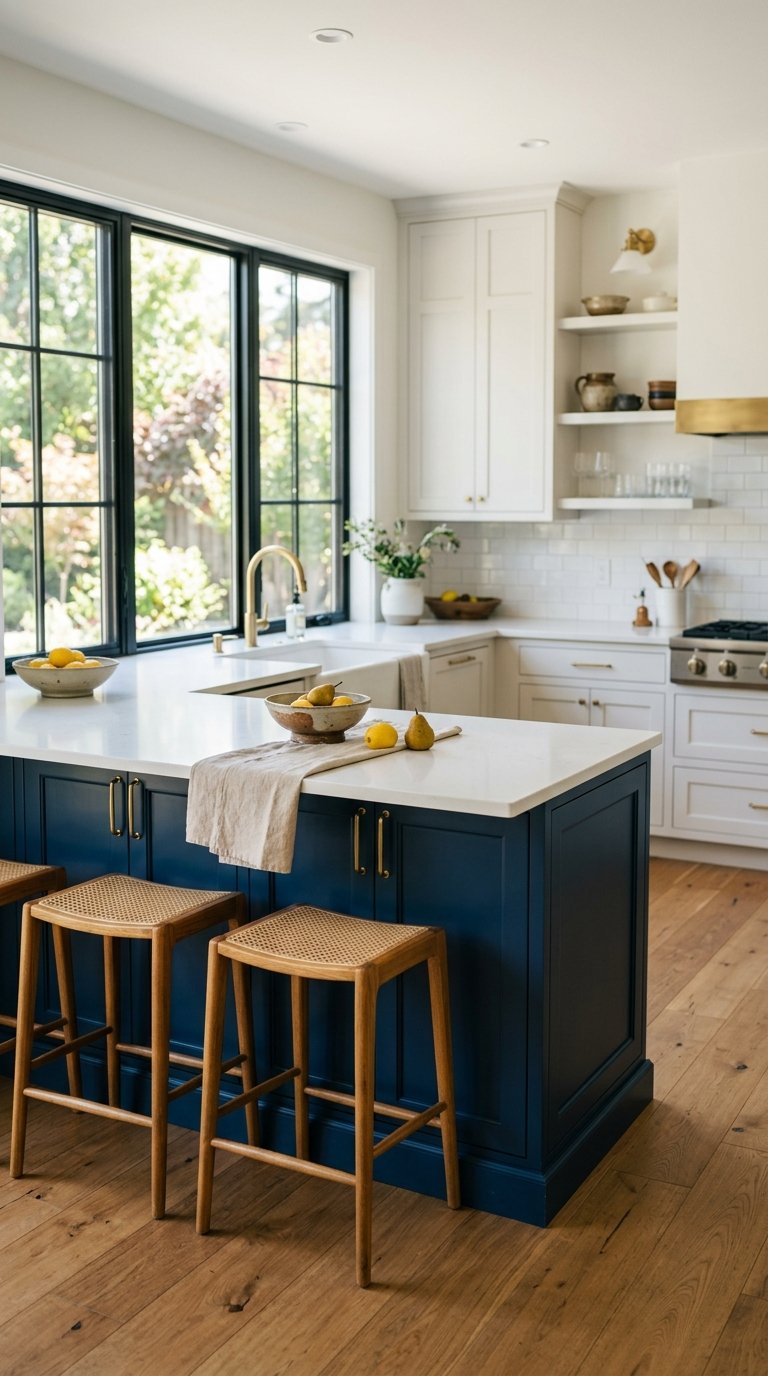
Paint your peninsula cabinets a different colour from the rest of the kitchen to make it read as a distinct design element. Navy, forest green, charcoal, and terracotta all work as peninsula accent colours against white or cream perimeter cabinetry.
The contrast makes the kitchen feel larger because the eye reads two separate zones rather than one continuous run of cabinets. A single quart of cabinet paint costs $30 to $60 and transforms the peninsula without any structural change.
9. Install a Built-In Wine Rack at the End of the Peninsula
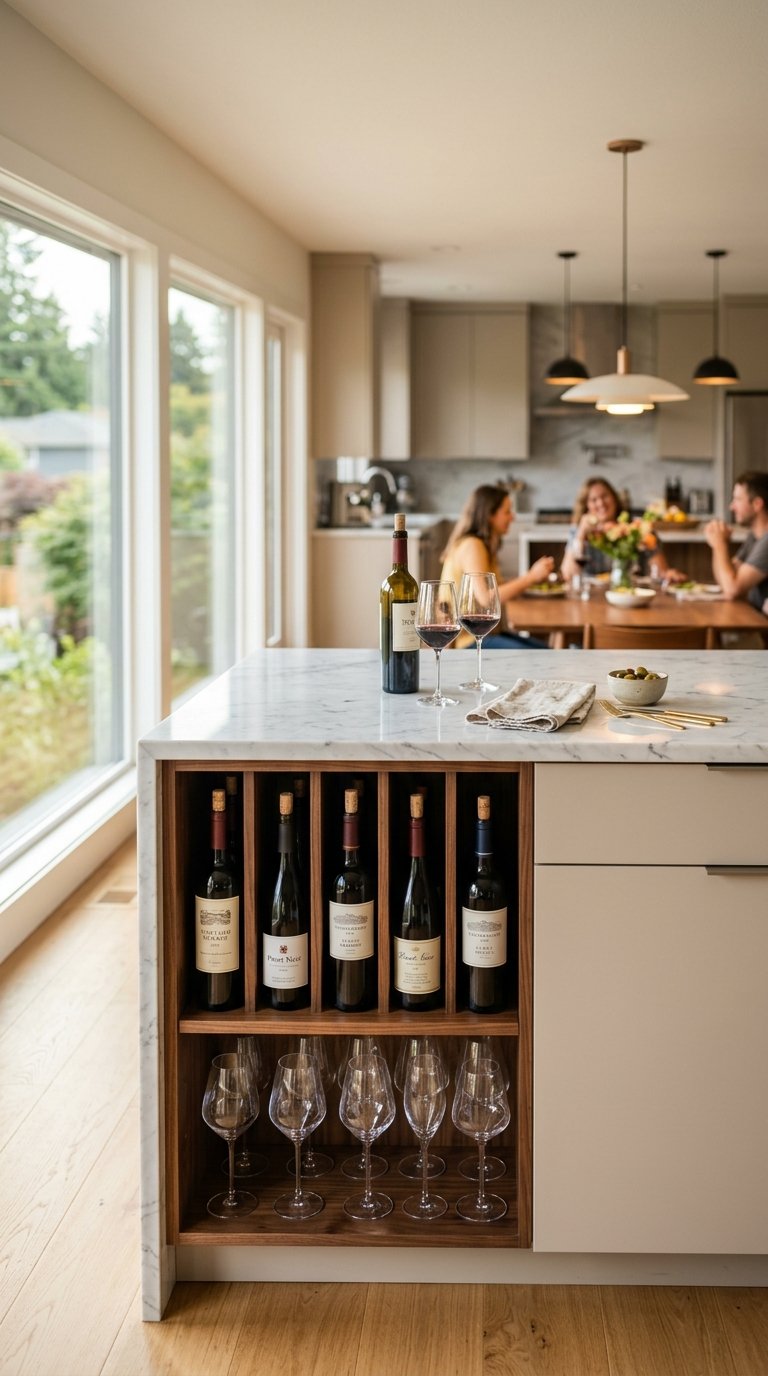
A built-in wine rack at the end panel of a peninsula holds 12 to 20 bottles and turns unused corner space into a functional display feature. Modular wine rack inserts fit standard 15 to 18 inch cabinet openings and cost $80 to $200.
Position the wine rack on the side facing the dining or living area so bottles are accessible without entering the kitchen work zone. It signals to anyone walking in that this kitchen was thought through, not assembled from a catalogue.
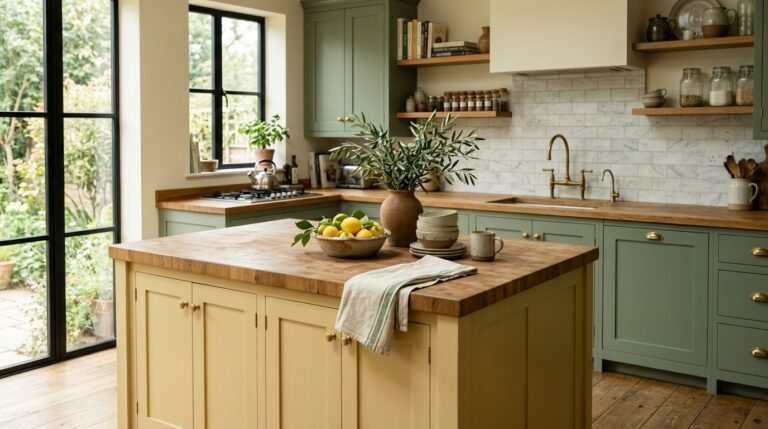
10. Add a Butcher Block Top to a Peninsula for a Warm Contrast
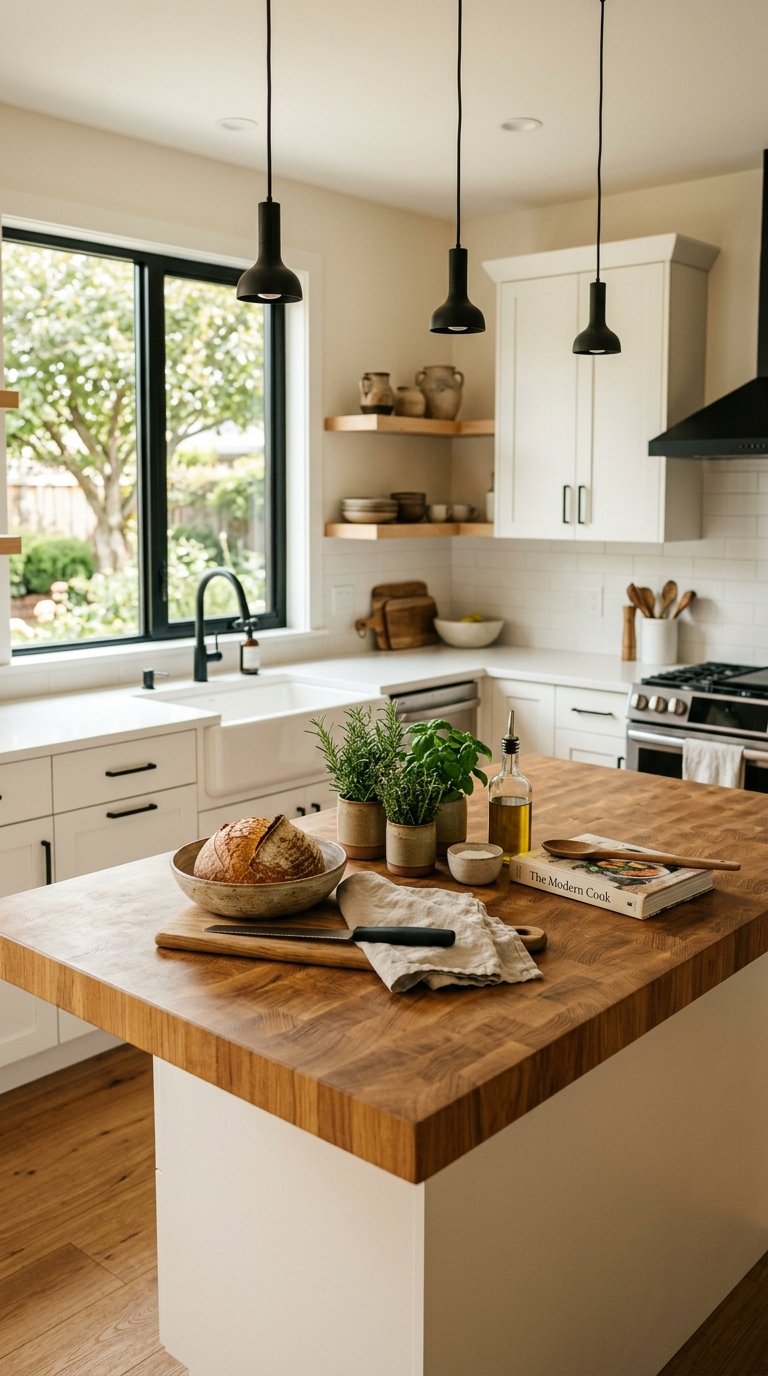
A butcher block countertop on a peninsula paired with stone or quartz perimeter counters creates a warm material contrast that makes the kitchen feel designed rather than uniform. IKEA’s SKOGSHULT butcher block runs $200 to $400 and cuts to fit most peninsula sizes.
Butcher block also provides a dedicated chopping surface that doesn’t dull knives the way stone or quartz does. Oil it with food-safe mineral oil every three months and it improves with age rather than showing wear.
11. Create a Peninsula with a Built-In Charging Station
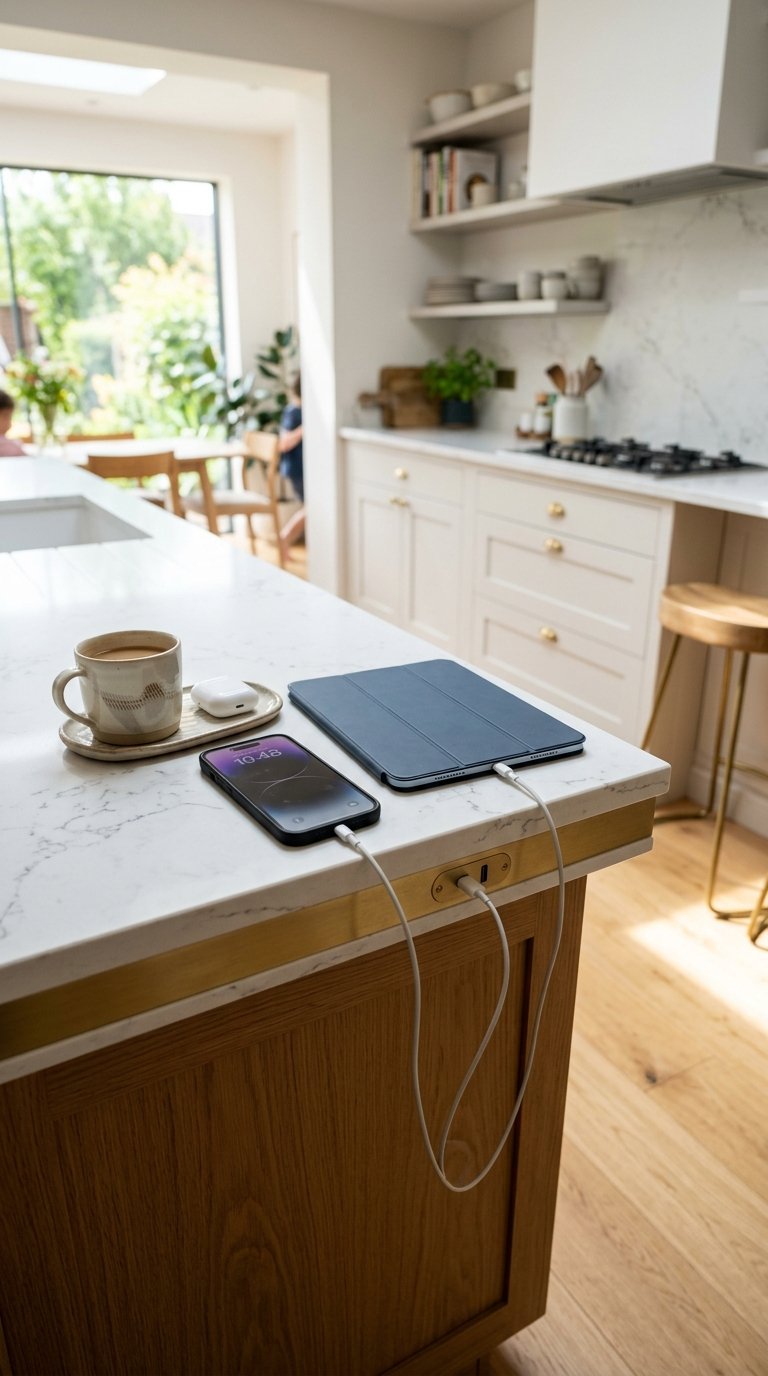
A USB charging strip recessed into the peninsula countertop edge or built into a drawer face keeps phones, tablets, and earbuds charged at the kitchen hub. Recessed countertop charging stations cost $40 to $150 and install with a standard hole saw.
The kitchen peninsula is where most households deposit devices when they arrive home. Building in a charging station acknowledges that reality and eliminates the cable clutter that accumulates on every flat surface near an outlet.
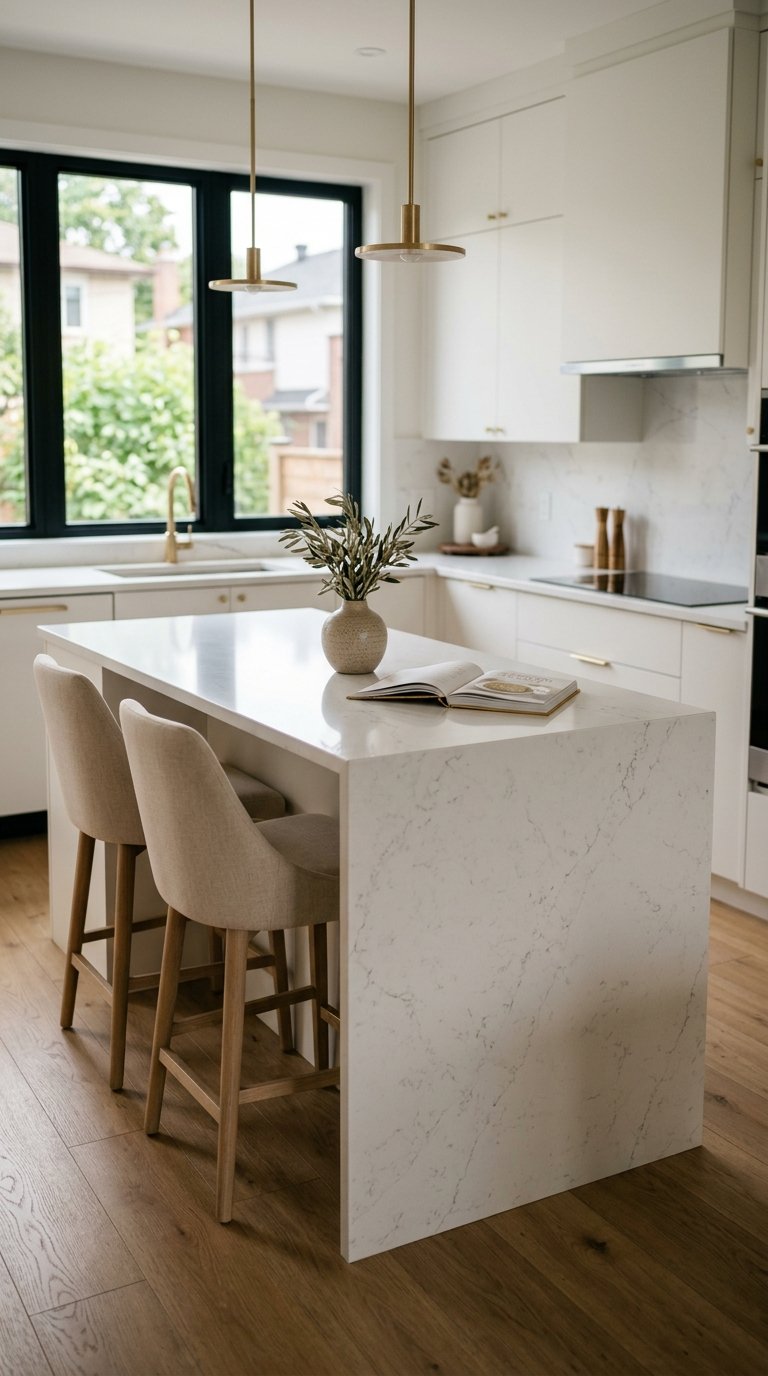
12. Use a Marble Peninsula Top as the Kitchen’s Focal Point
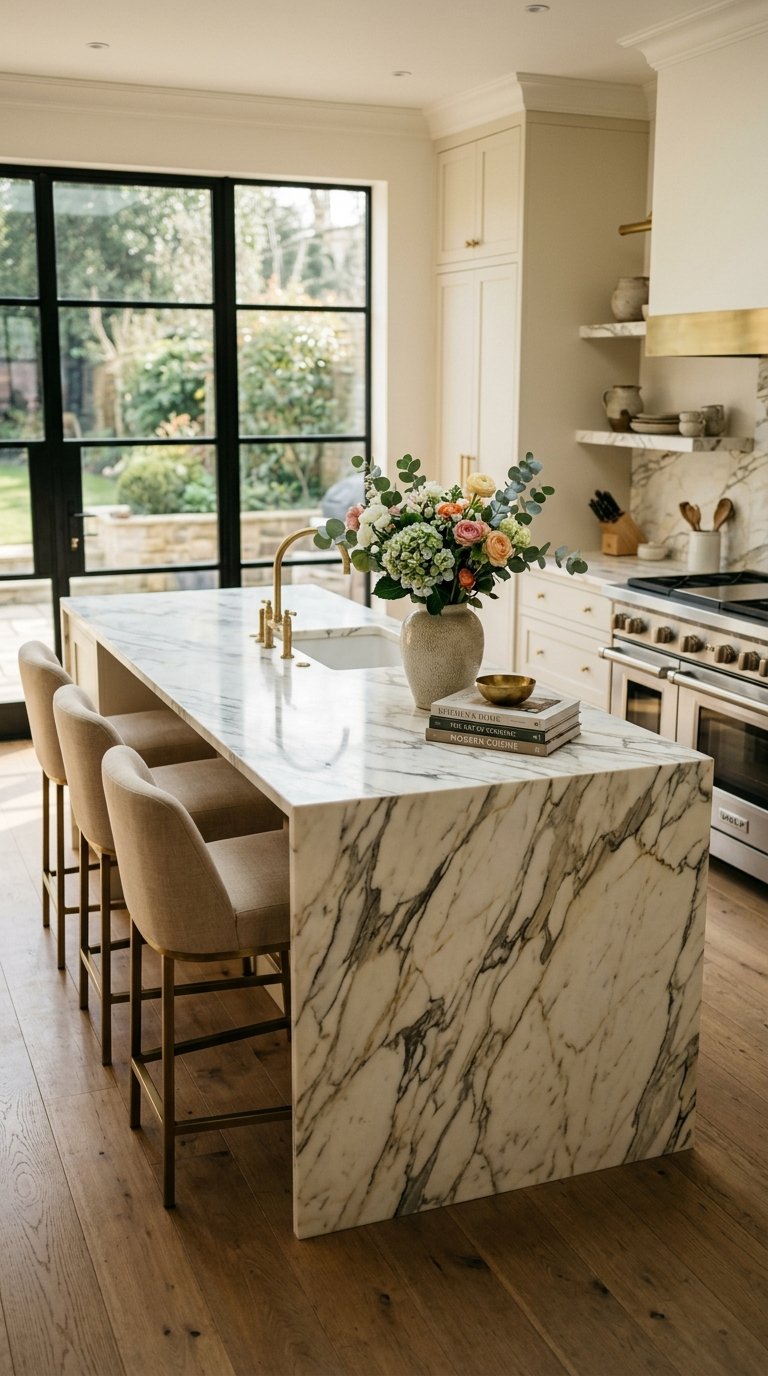
A marble peninsula countertop with bold veining becomes the room’s centrepiece without any additional decoration. Calacatta or Statuario marble runs $60 to $150 per square foot installed, and a standard 3 x 6 foot peninsula top costs $1,080 to $2,700 in material alone.
For the look at a lower price point, sintered stone surfaces like Dekton or Neolith replicate marble veining with better durability and stain resistance. A sintered stone peninsula top costs $50 to $120 per square foot and doesn’t require sealing.
13. Build a Peninsula with Hidden Toe-Kick Drawers
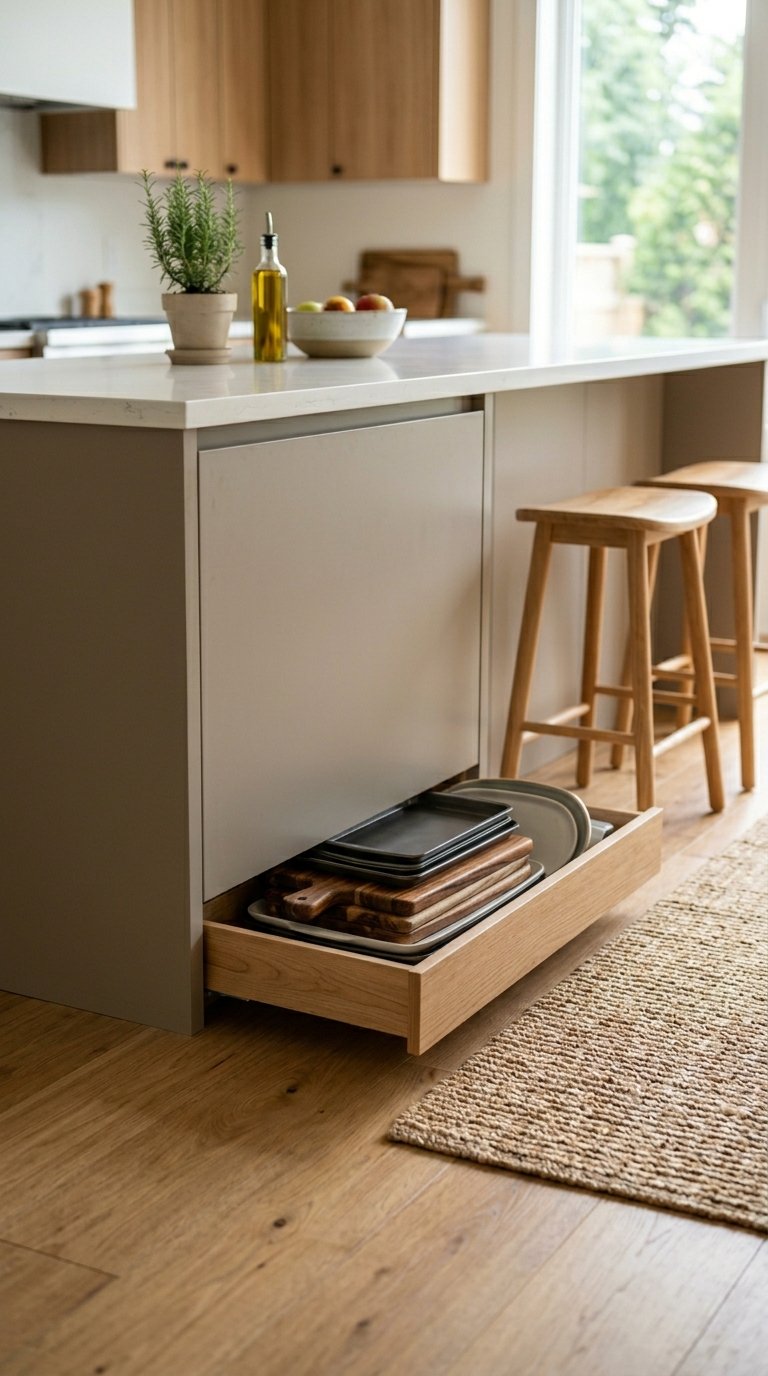
Toe-kick drawers sit in the recessed base of the peninsula (the kick plate area) and use every inch of cabinet depth that standard builds leave wasted. Each toe-kick drawer holds flat items like baking sheets, platters, cutting boards, and tablecloths.
A set of two toe-kick drawers costs $100 to $300 to add during a build or retrofit into an existing peninsula. This is the storage idea most homeowners wish they’d included from the start, and it adds zero visual bulk to the kitchen.
14. Design an L-Shaped Peninsula That Wraps Around a Corner
An L-shaped peninsula wraps from the kitchen wall around a corner, creating two working surfaces and substantially more counter space than a straight run. The inside corner of the L works as a dedicated appliance zone (coffee station, toaster, stand mixer) that keeps appliances accessible but off the main prep surface.
An L-shaped peninsula requires at minimum a 10 x 12 foot kitchen to maintain the required 42-inch walkway clearance on all sides. IMO, it’s the best configuration for anyone who cooks seriously and needs maximum workspace without committing to a full island.
15. Add Under-Peninsula Lighting for Ambience and Function
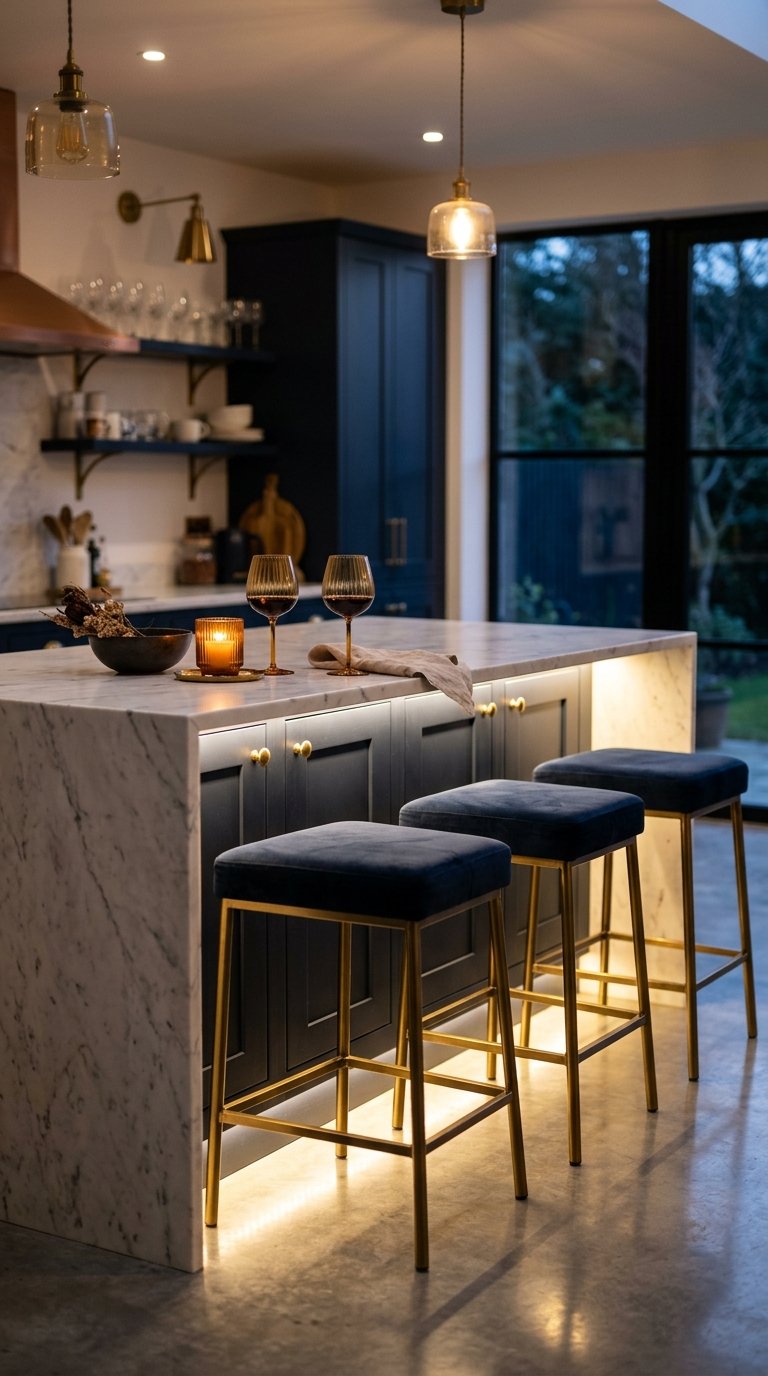
LED strip lights mounted under the overhang of a peninsula illuminate the countertop seating area and create a warm ambient glow in the kitchen at night. A 6-foot LED strip kit costs $20 to $60 and connects to a standard outlet or hardwires into a switch.
The lighting makes bar seating feel more like a restaurant booth and less like a kitchen stool. Set the lights on a dimmer switch so the intensity drops during evening meals without switching off entirely.
16. Install a Pegboard Panel on the End of the Peninsula

A pegboard panel on the end of the peninsula holds utensils, small pots, measuring cups, and spice jars within the cook’s reach without using drawer space. A 2 x 3 foot painted pegboard panel costs $15 to $40 and mounts with four screws into the cabinet end panel.
Paint the pegboard to match the peninsula cabinet colour so it reads as an intentional built-in feature. This turns dead end-panel space into the most-used organisational surface in the kitchen.
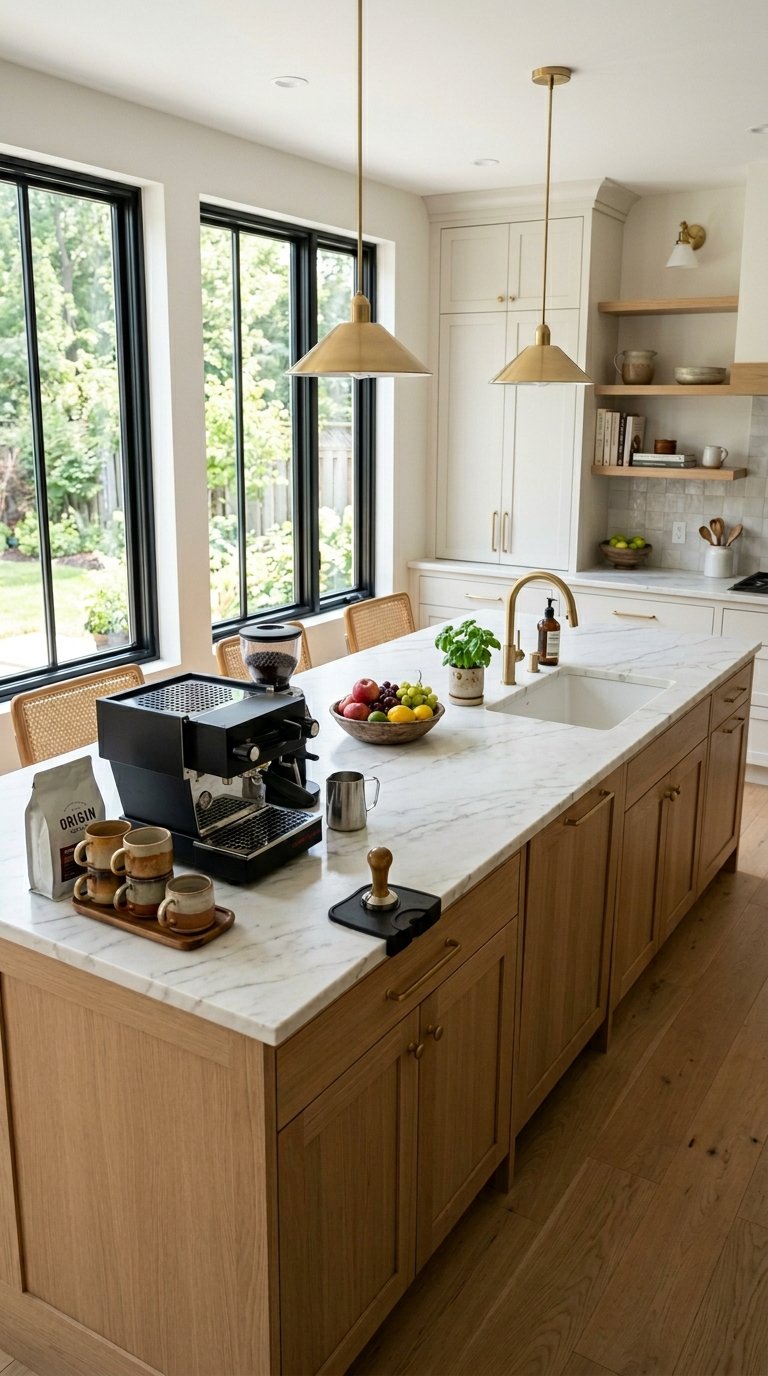
17. Use the Peninsula as a Coffee and Breakfast Station
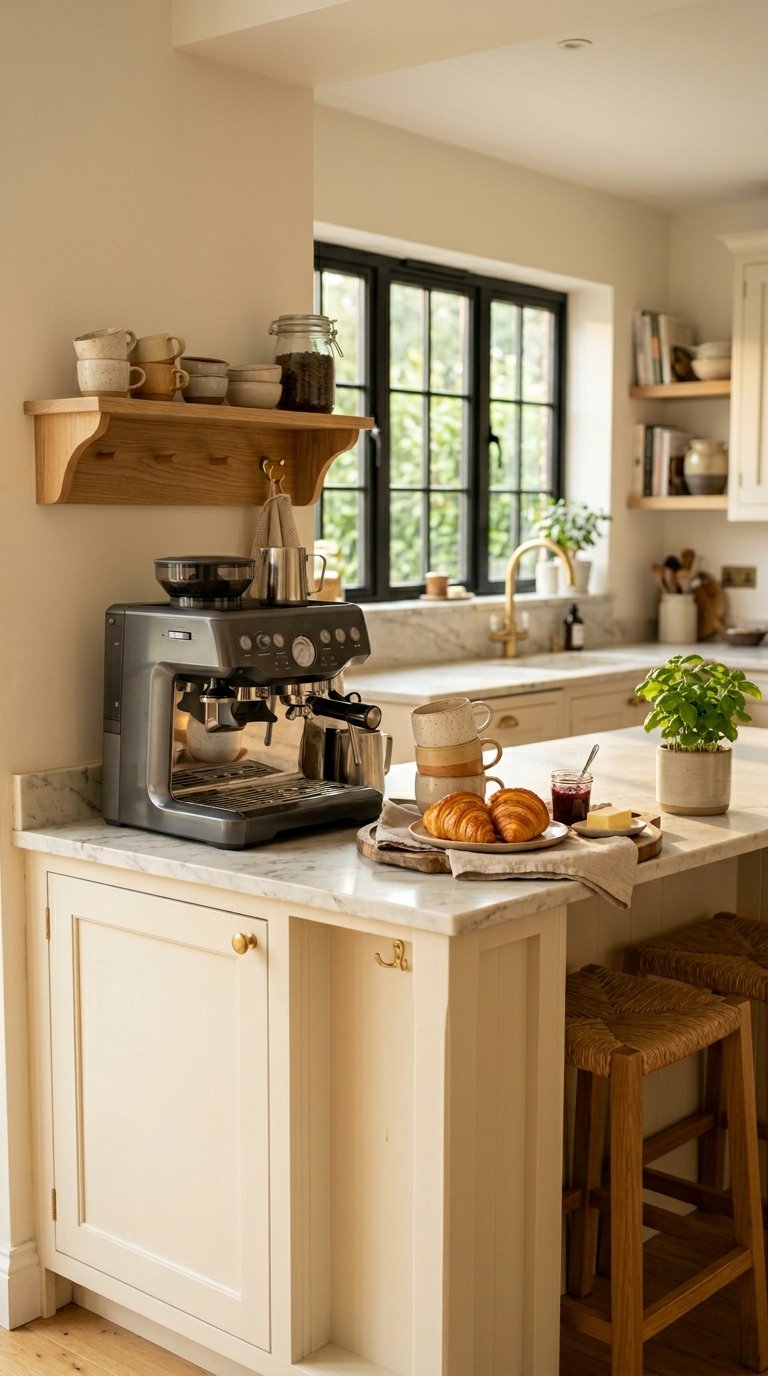
Dedicate one section of your peninsula (typically 24 to 36 inches) to a permanent coffee station. Install a small shelf above for mugs, a built-in outlet for the espresso machine, and a drawer below for pods, filters, and accessories.
The station approach keeps coffee equipment off the main prep surface and gives every morning routine a defined home. A dedicated breakfast peninsula section also makes the kitchen feel larger because each zone has a clear function rather than everything competing for the same surface.
18. Build a Peninsula with a Fold-Down Leaf Extension
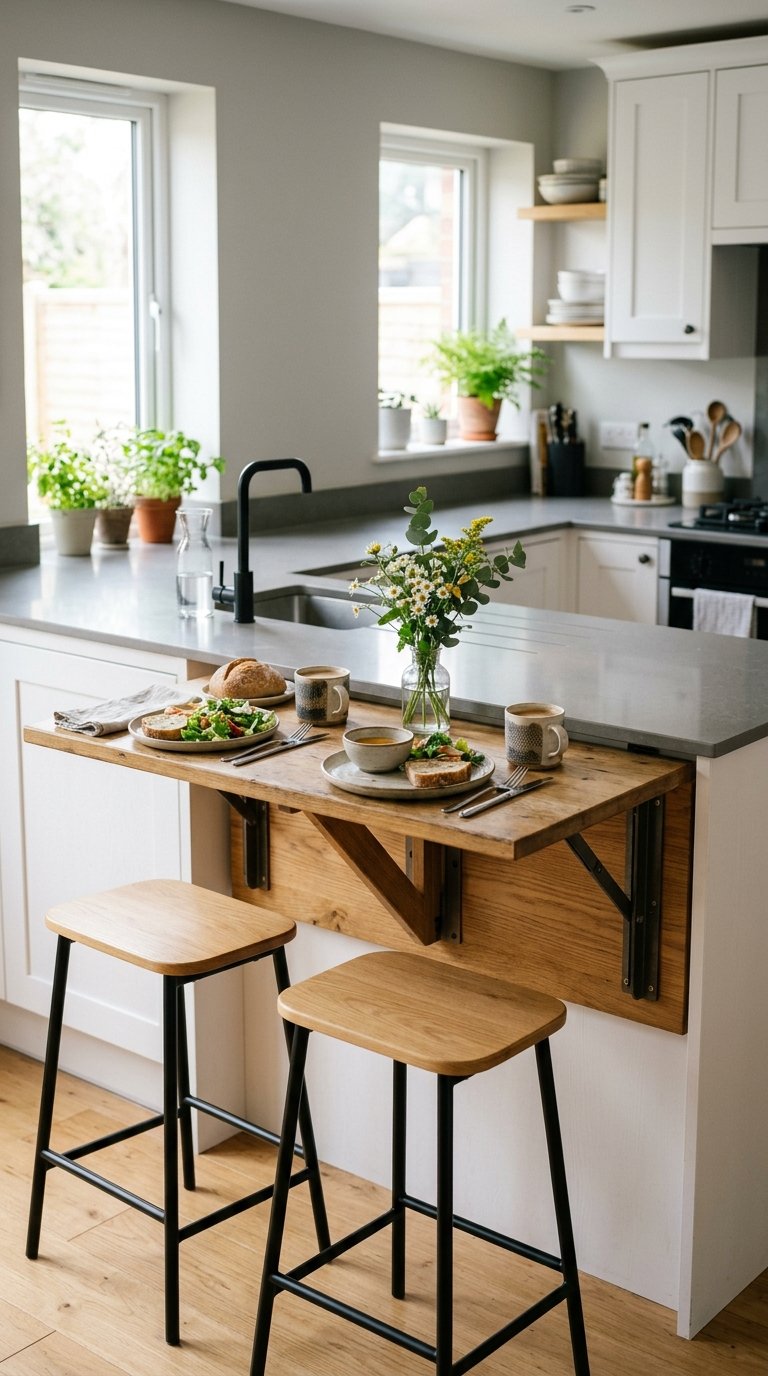
A fold-down wooden leaf attached to the seating side of a peninsula extends the counter surface for larger gatherings and folds flat when not needed. Folding table hardware costs $20 to $60 per bracket, and a 12-inch fold-down leaf adds 6 square feet of surface when extended.
This is the right solution for smaller kitchens where a permanent full-width overhang would block circulation. The leaf deploys in seconds and stores flat against the peninsula face without protruding into the walkway.
19. Design a Peninsula with a Built-In Recycling and Waste System
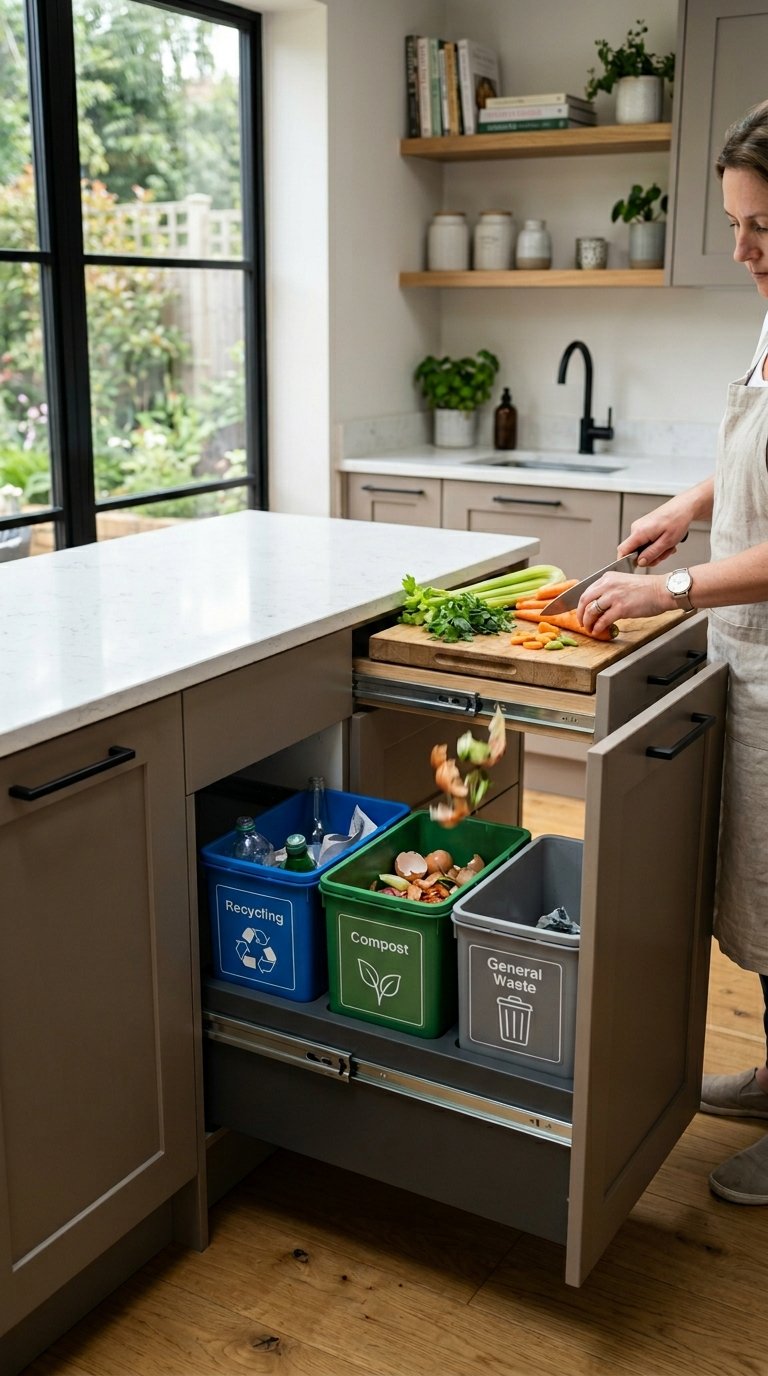
A pull-out recycling and waste bin system built into the peninsula base cabinet keeps bins off the kitchen floor and out of sight. Three-bin pull-out systems (waste, recycling, compost) fit a standard 18-inch cabinet opening and cost $80 to $200 for the hardware.
Position the bin pull-out on the side of the peninsula closest to where food prep happens so the distance from cutting board to bin is minimal. This single ergonomic decision reduces kitchen mess more effectively than any aesthetic upgrade.
20. Add a Concrete Peninsula Top for an Industrial Look
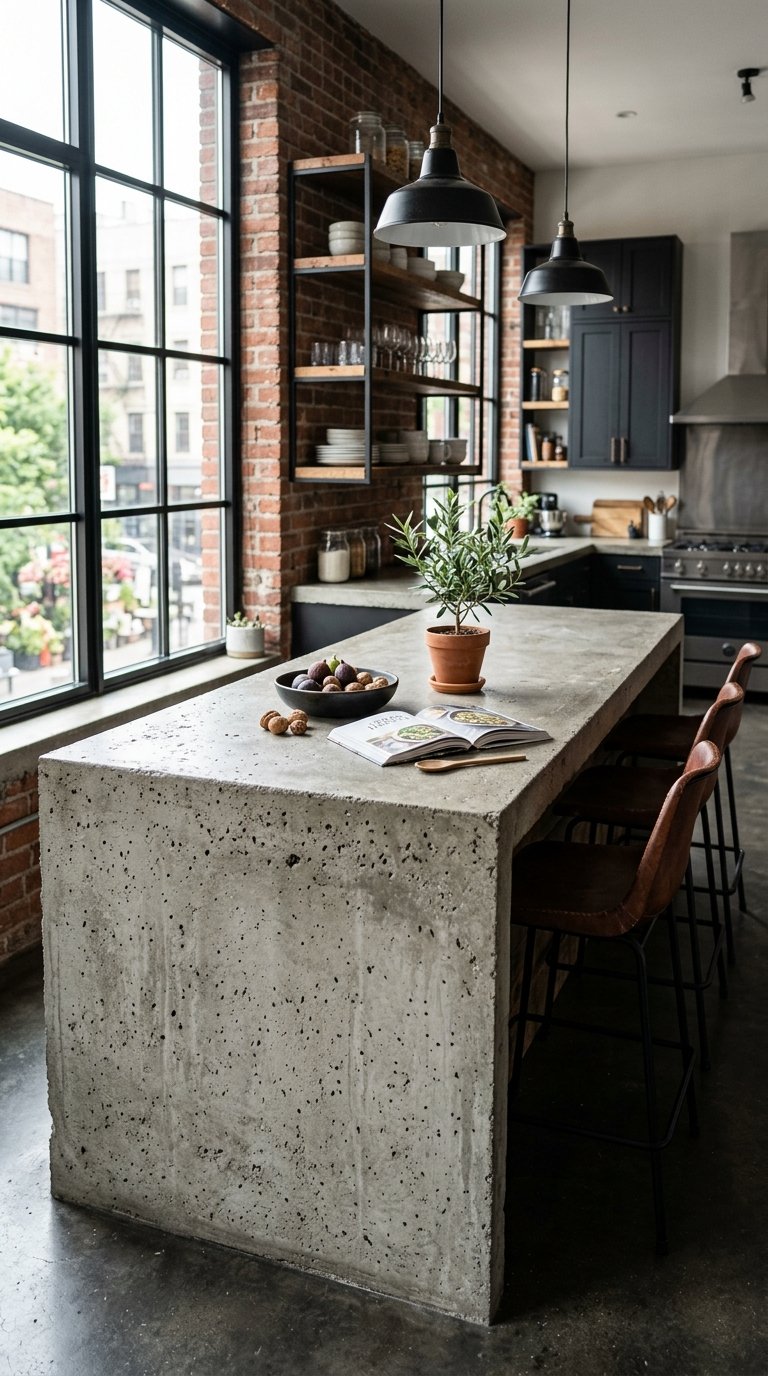
A poured concrete countertop on a peninsula adds raw material texture that no other surface replicates. Precast concrete countertops cost $70 to $150 per square foot installed and weigh significantly more than stone, which requires verifying that the peninsula cabinet structure supports the load.
Seal concrete countertops with a penetrating sealer twice per year to prevent staining. The patina that develops over time makes concrete more interesting, not less, which is the opposite of how most countertop materials age.
21. Install a Microwave Drawer in the Peninsula Base
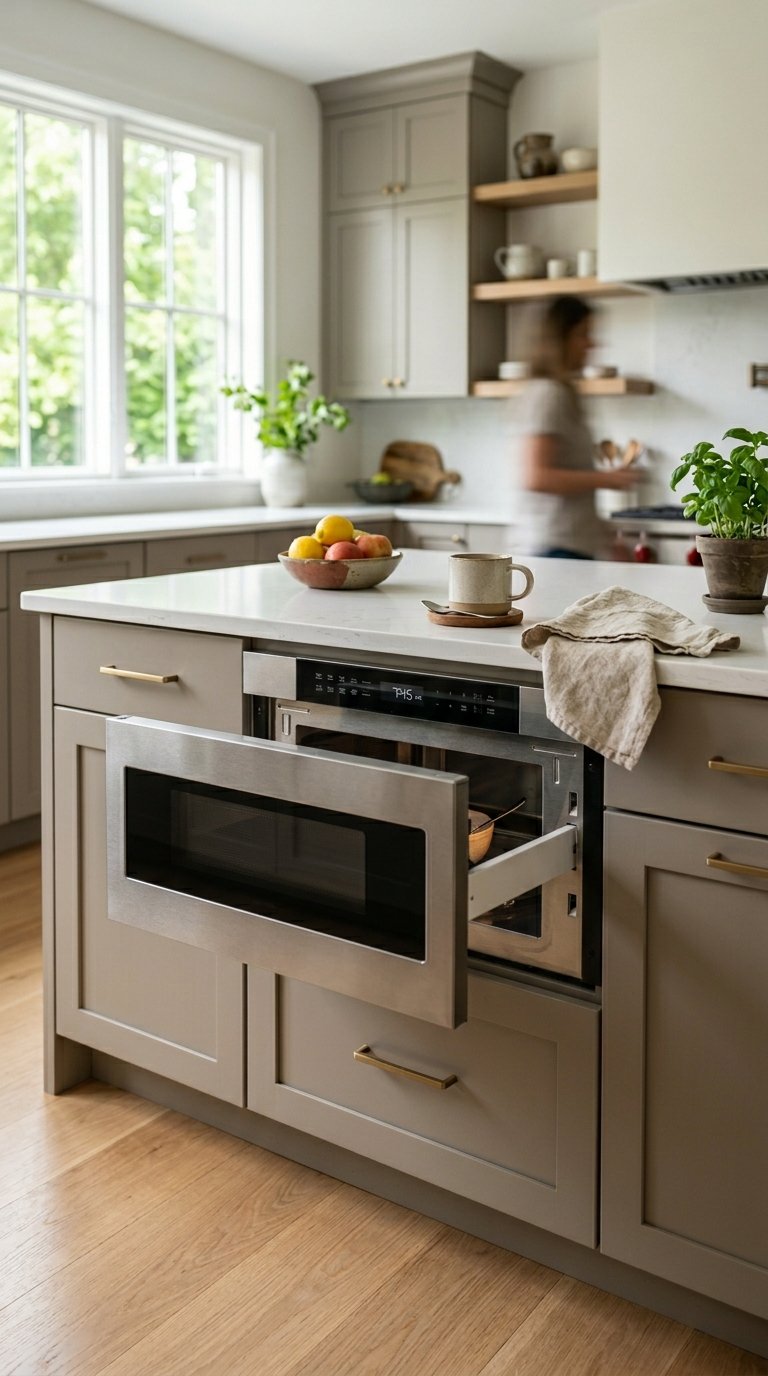
A microwave drawer built into the peninsula base clears counter space and positions the appliance at a more ergonomic height than an over-range microwave. Microwave drawer units from Sharp or Bosch cost $500 to $1,200 and fit a standard 24 or 30-inch cabinet opening.
The drawer-style opening works better for families with children because it eliminates the reaching-over-a-hot-door issue. It also completely hides the appliance when closed, keeping the peninsula surface clean.
22. Create a Peninsula with a Raised Panel Back for Kitchen-Dining Visual Separation
A raised back panel on the dining side of the peninsula (typically 6 to 10 inches above counter height) creates a visual boundary between the kitchen and dining zone without blocking sightlines completely. The raised panel hides counter clutter from the dining table view.
Finish the raised panel in a different material from the countertop, such as subway tile, shiplap, or painted beadboard, for a detail that makes the peninsula feel more architectural. This is the partition and peninsula idea rolled into one structure. FYI, this approach also protects the wall behind bar stools from scuffs and marks.
23. Use Glass-Front Cabinet Doors on the Peninsula Living Room Side
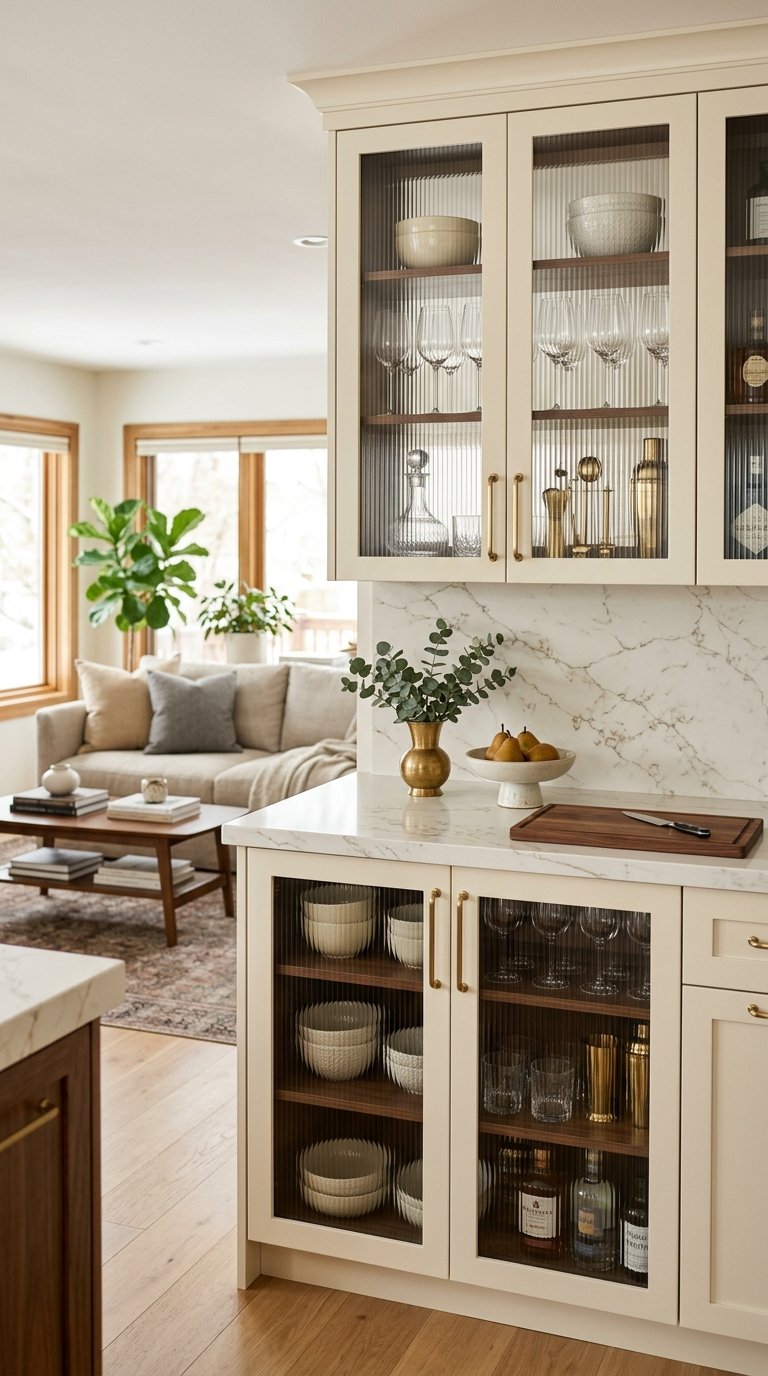
Glass-front cabinet doors on the peninsula facing the living room let you display glassware, ceramics, or barware while keeping it behind closed doors. Seeded glass or ribbed glass fronts obscure contents slightly, which means the display looks curated even when it isn’t.
Glass cabinet inserts cost $50 to $200 per door depending on glass type and size. They work especially well in open-plan homes where the peninsula is visible from the sofa, turning a functional storage unit into a design feature.
24. Build a Peninsula with an Integrated Bookshelf for Cookbooks
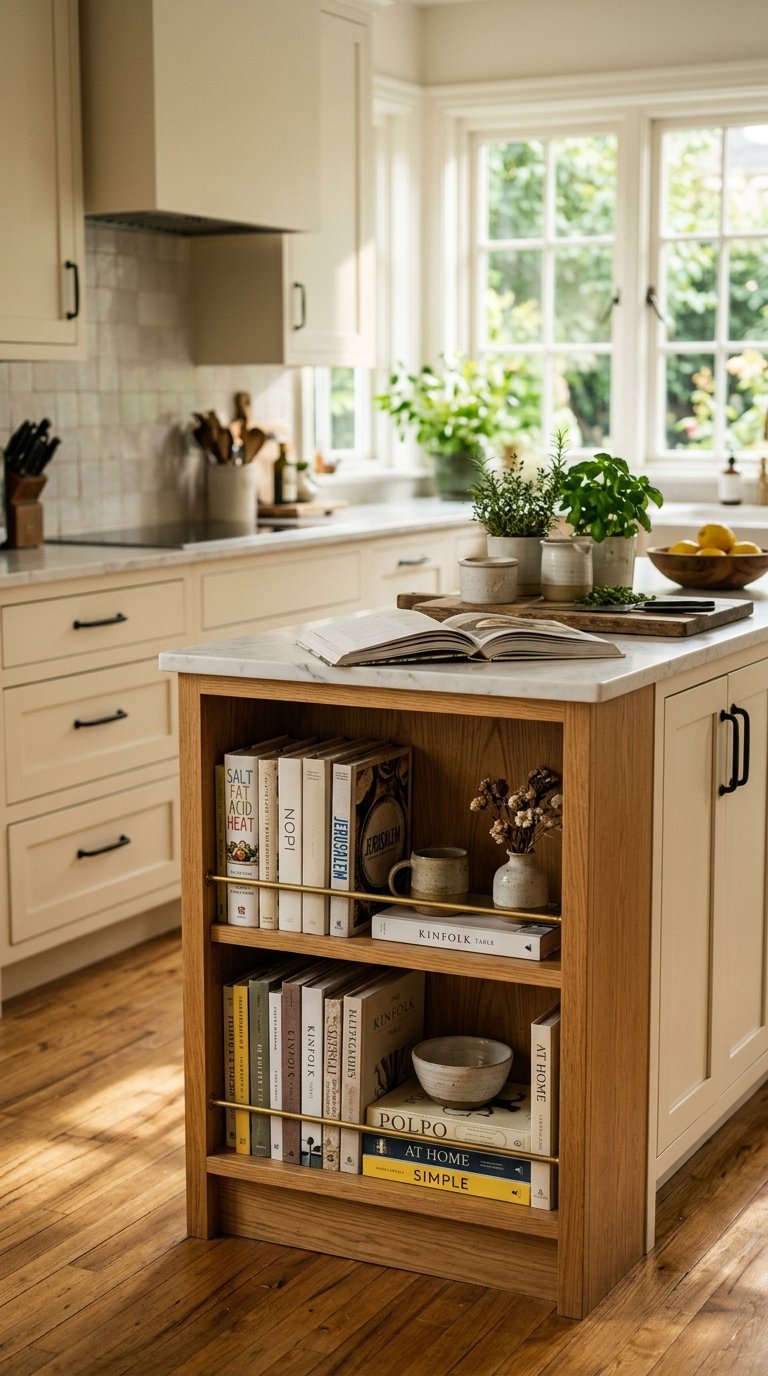
A built-in bookshelf at one end of the peninsula, or as a raised back panel section, holds cookbooks upright and within reach during cooking. A 12-inch-deep shelf section at the end of the peninsula uses space that would otherwise be an end panel.
Cookbooks stored on the peninsula eliminate the hunt-for-the-recipe problem and make the kitchen feel more personal and lived-in. A small brass or matte black book rail along the shelf front keeps books upright even when the shelf isn’t full.
25. Design a Peninsula Island Hybrid with Seating on Three Sides
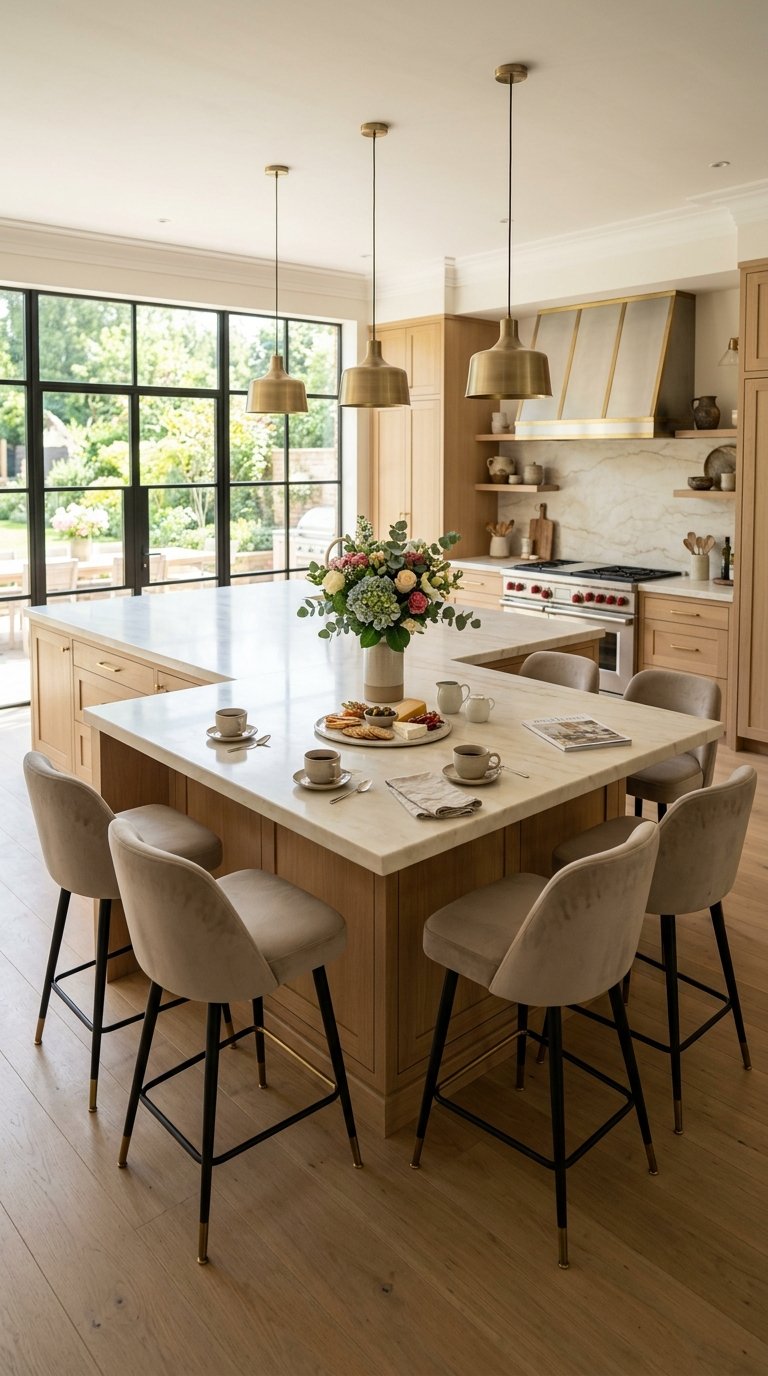
If your kitchen layout allows it, a peninsula that extends far enough from the wall to permit seating on the end and one side creates a three-sided social hub. Seating on three sides works best on a peninsula of at least 7 feet in length with a 15-inch overhang on both the side and the end.
This configuration makes the kitchen the social centre of an open-plan home in a way a standard two-sided peninsula never achieves. Six people sit comfortably around a three-sided peninsula, which replaces a dining table in smaller homes entirely. 🙂
Final Thoughts
A kitchen peninsula solves the three most common kitchen complaints: not enough counter space, no seating, and a kitchen that feels disconnected from the living area. Pick the ideas that solve your specific problems first.
Storage problems? Start with deep drawers, toe-kick drawers, and a built-in bin system. Seating problems? Focus on overhang height, bar stool selection, and pendant lighting. Style problems? A contrasting cabinet colour, waterfall edge, or marble top changes everything about how the kitchen reads. Build the peninsula that works for your kitchen, not the one that photographs best on someone else’s.