18 College Desk Setup Ideas for Better Focus and Grades
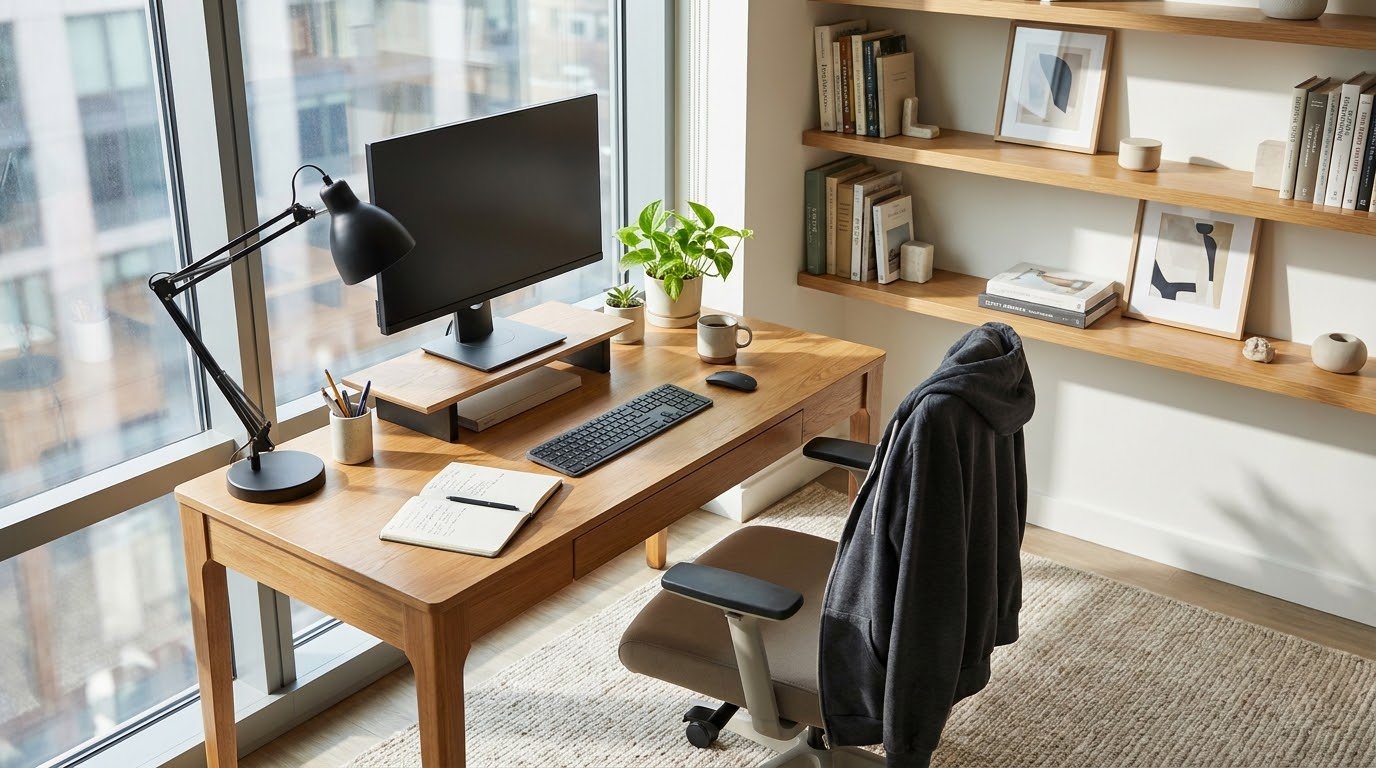
Your college desk setup determines whether you sit down and actually get work done or sit down, adjust something, open a tab, adjust something else, and wonder where two hours went. I’ve set up seven different study desks across dorms, apartments, and library corner tables, and the ones that produced actual work shared the same qualities: correct monitor height, good light, manageable cable situation, and enough clear surface to think. These 18 college desk setup ideas fix the specific problems that make studying at your desk feel worse than studying anywhere else.
1. Get a Monitor Riser With Built-In USB Ports
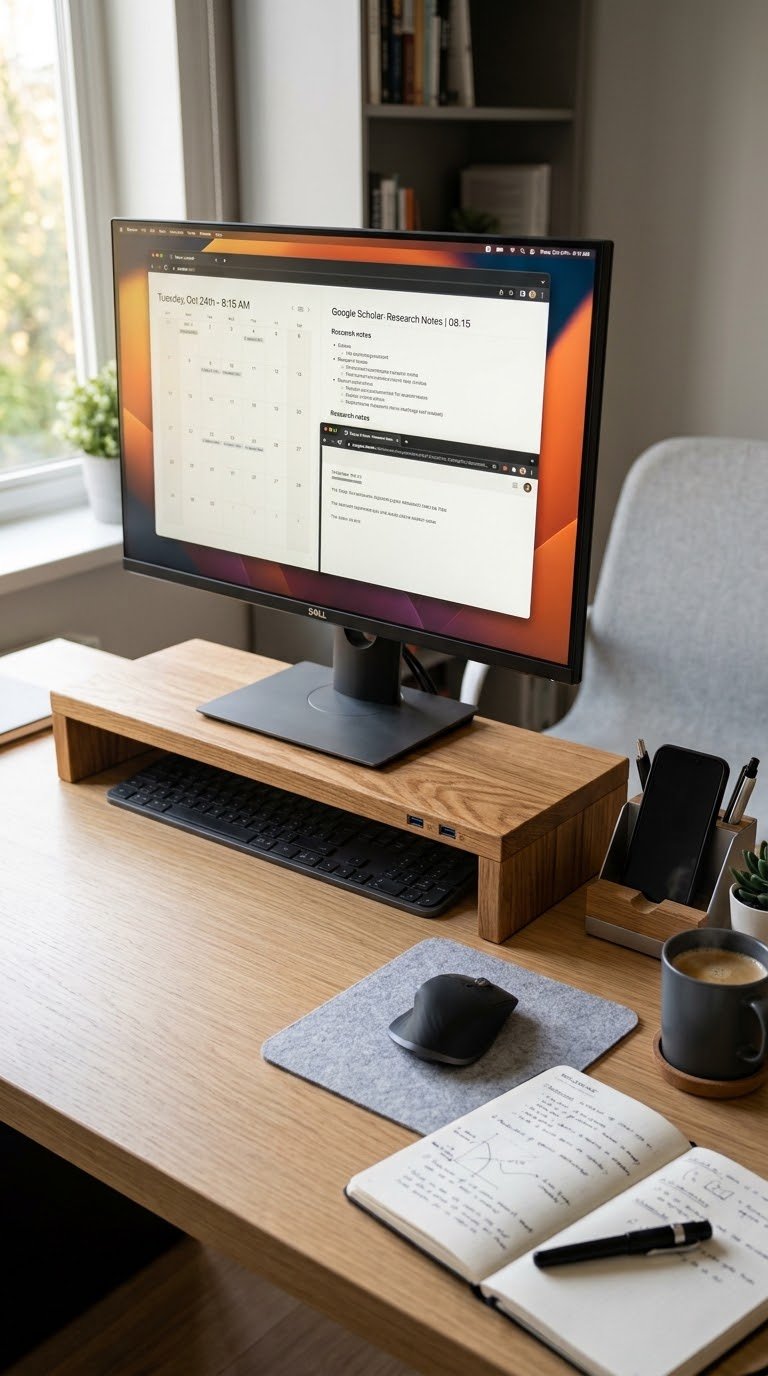
A monitor riser lifts your screen to eye level and recovers the surface beneath it for keyboard storage or peripheral organization, solving two problems with one $25 to $35 purchase. The top of your monitor should sit at eye level when you’re seated upright, which for most people means raising the screen 3 to 6 inches above where it sits flat on the desk.
The VIVO dual monitor riser with built-in USB ports costs $25 to $35 on Amazon and adds two USB-A ports at desk level, which eliminates the reach-behind-the-computer cable connection that gets old fast. Looking down at a screen for extended periods creates neck flexion load that a Harvard Medical School study estimated at up to 60 pounds of effective strain on the cervical spine. Raise the screen.
2. Invest in a Proper Desk Lamp With Adjustable Color Temperature
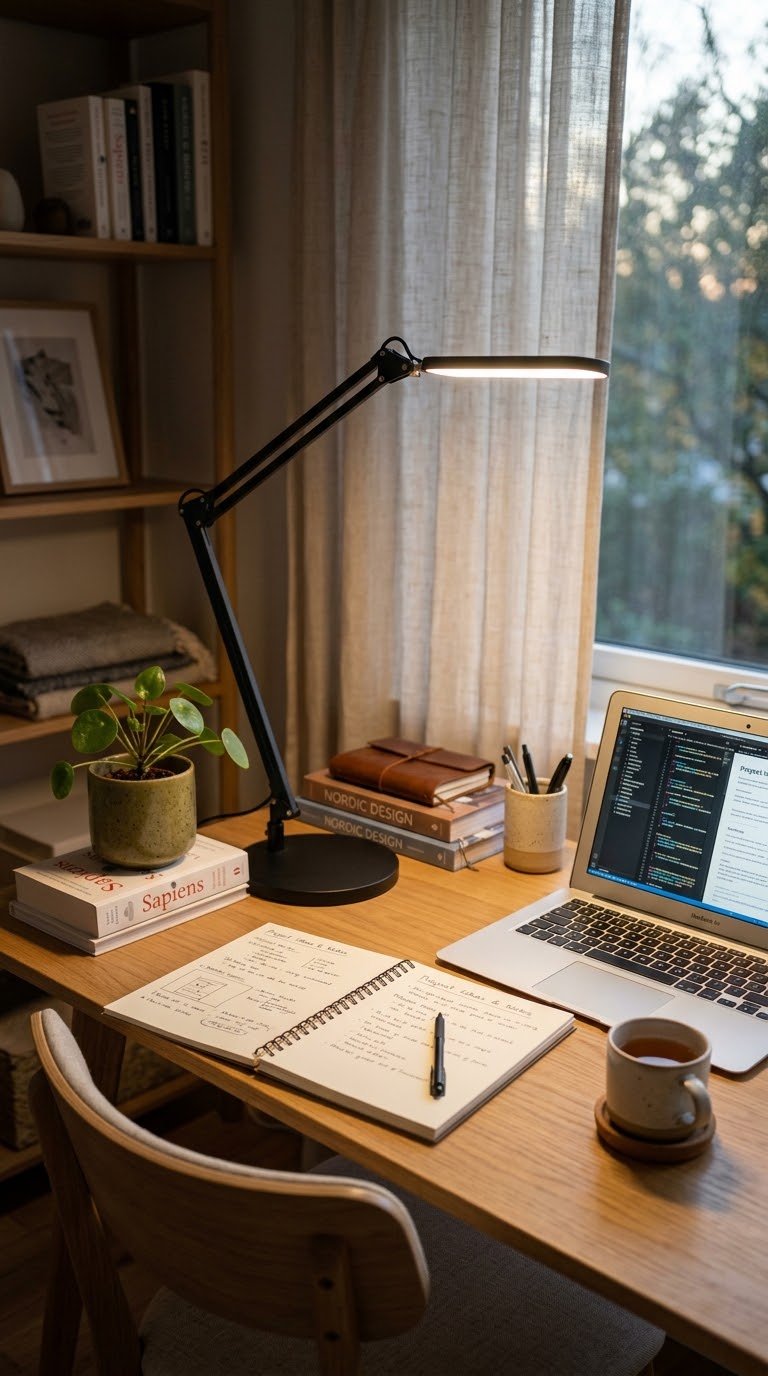
An adjustable desk lamp that switches between warm light for evening wind-down and cool daylight for focus sessions gives your desk the lighting flexibility your single overhead dorm light never will. The BenQ e-Reading LED lamp at $70 performs best in this category, but the TaoTronics TT-DL13 at $25 to $30 delivers the same dual-temperature function at a fraction of the cost.
Cool white light in the 5000K to 6500K range suppresses melatonin and increases alertness during study sessions, while warm light in the 2700K range allows natural sleep-onset hormone production in the evening. Using your desk lamp at the right color temperature at the right time of day is a zero-cost productivity intervention that most students never make.
3. Use a Cable Management Box to Hide Your Power Strip
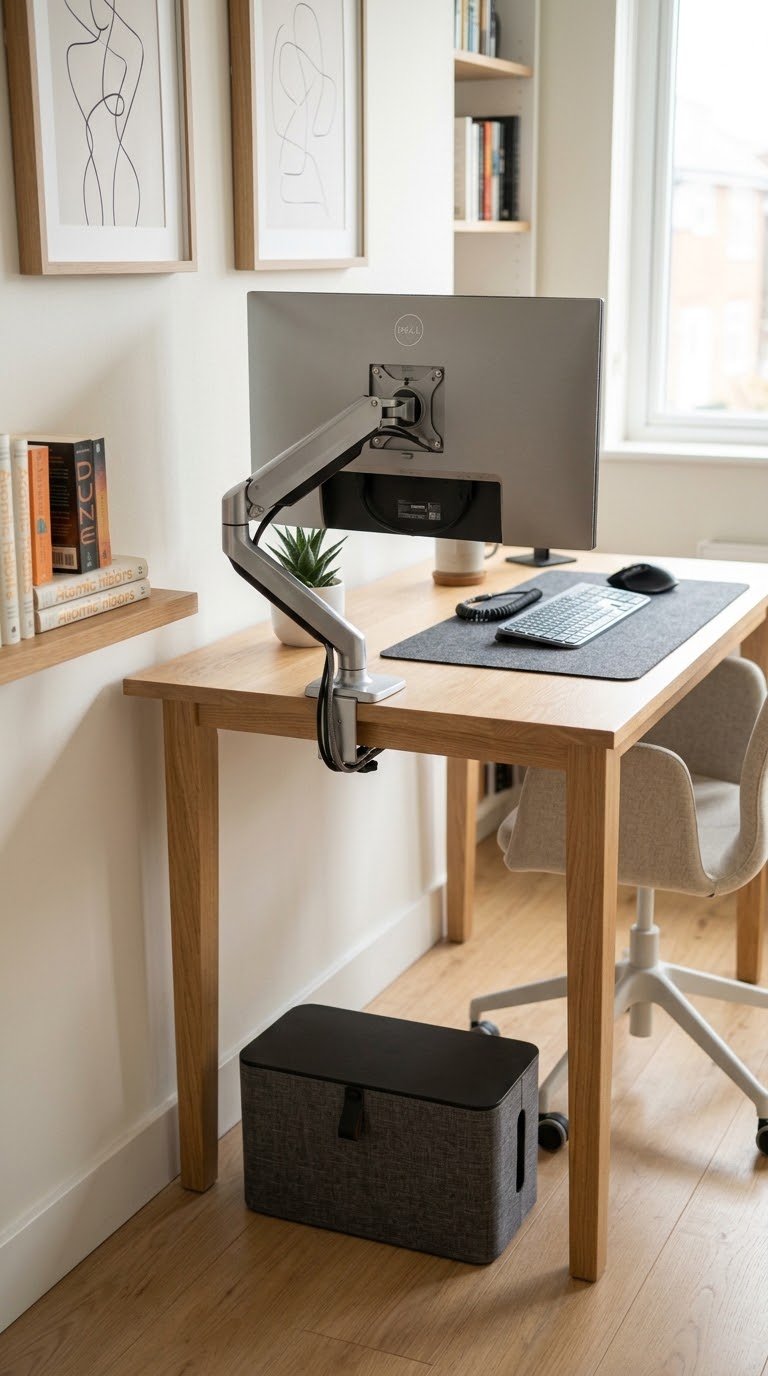
A cable management box contains your power strip, adapters, and cable bulk in one closed container that sits at the back corner of your desk and makes the entire setup look significantly cleaner in under five minutes. The D-Line cable management box from Amazon costs $15 to $20 and holds a standard power strip with six plugs and their adapter blocks.
Cable chaos on a desk is the visual equivalent of clutter on a countertop: it signals disorder to your brain before you sit down to work, and the Princeton Neuroscience Institute’s 2011 research confirmed that visual clutter actively competes with task-relevant stimuli for attention. A cable box costs $15 and removes that competition entirely.
4. Add a Whiteboard Above the Desk for Deadline Tracking
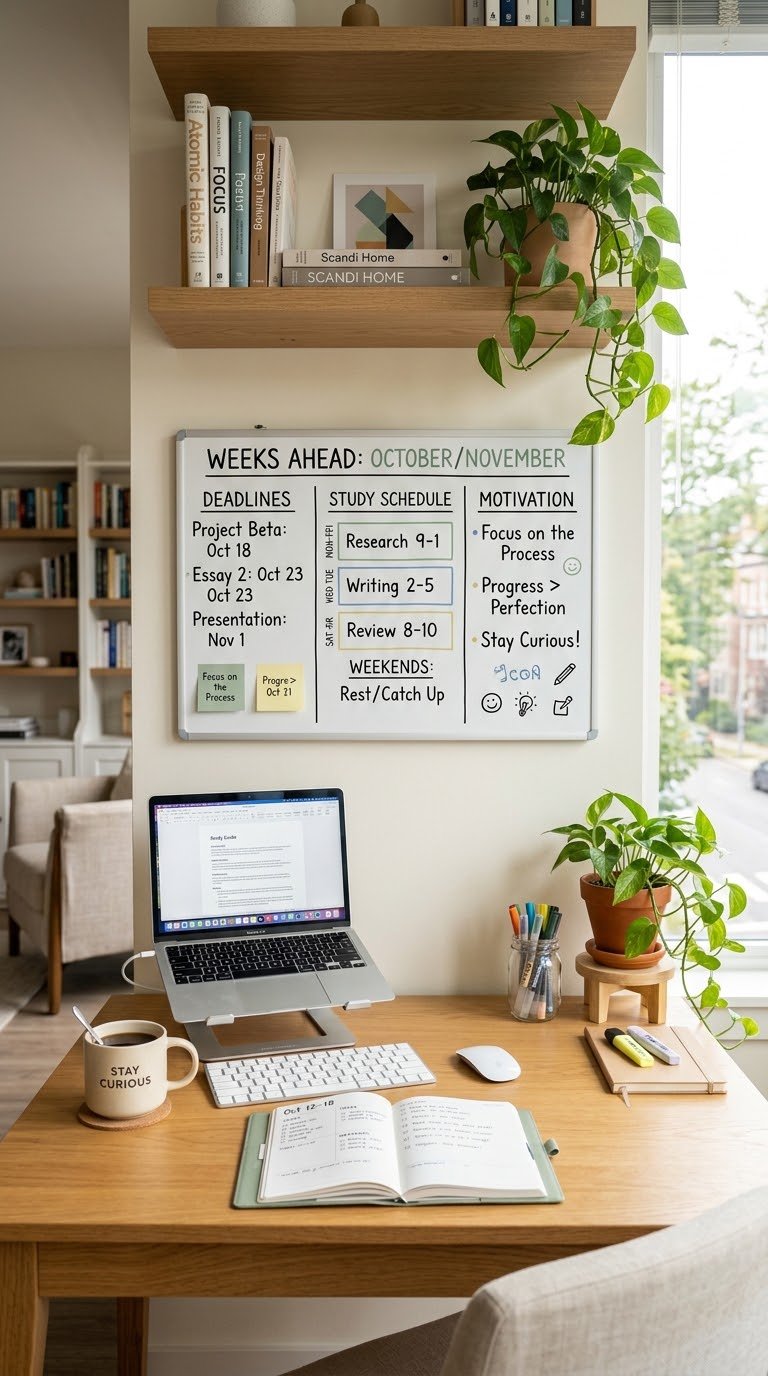
A whiteboard above the desk at eye level keeps your current week’s deadlines, tasks, and schedule visible every time you sit down, which prevents the assignment you forgot because it lived three taps deep in a phone calendar. A 17×23-inch self-adhesive whiteboard from Amazon costs $12 to $18 and applies directly to most flat wall surfaces.
Write current week deadlines in red, upcoming weeks in blue, and class schedule reminders in black. The three-color system takes 30 seconds to establish and eliminates the “wait, when is that due?” interruption that breaks focus during study sessions. A visible external task system reduces working memory load by removing the mental obligation of tracking deadlines actively.
5. Position a Small Plant at the Desk’s Edge

A small plant at the front corner of the desk edge adds the one organic, living element that flat surfaces filled with tech equipment never provide, and research from the Journal of Experimental Psychology found that adding plants to workspaces increased productivity by 15 percent in office environments by improving perceived air quality and reducing stress response. A small pothos or snake plant costs $5 to $15 at any garden center.
Choose a species that tolerates the low-light conditions most dorm and apartment desks provide: pothos, snake plant, ZZ plant, and heartleaf philodendron all grow consistently in indirect light. Keep it small (4-inch pot maximum) so it adds life without consuming surface area the desk needs for work.
6. Use Velcro Cable Ties Instead of Zip Ties
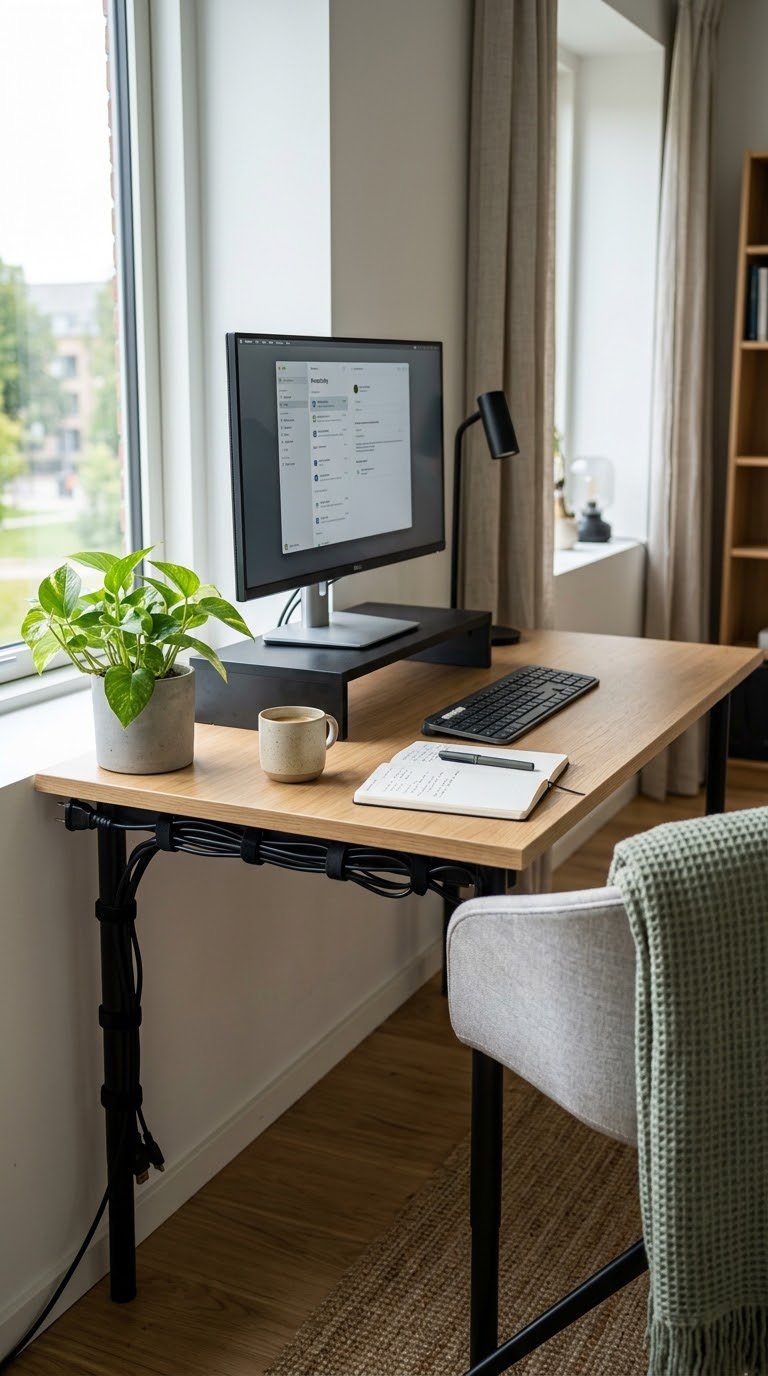
Velcro cable ties on every cable bundle behind your desk allow for easy reorganization when you add or change equipment, since velcro opens and reseals without cutting and replacing every tie. A 50-pack of reusable velcro cable ties from Amazon costs $6 to $8 and handles a full desk setup with extras.
Bundle every cable group separately (monitor cable, USB hub cable, lamp cable, speaker cable) rather than combining everything into one mega-bundle that has to be completely undone every time one cable changes. The individual bundle approach takes five minutes longer on setup day and saves thirty minutes every subsequent time something in the cable setup changes, which it always does.
7. Set Up a Headphone Hook on the Desk Edge
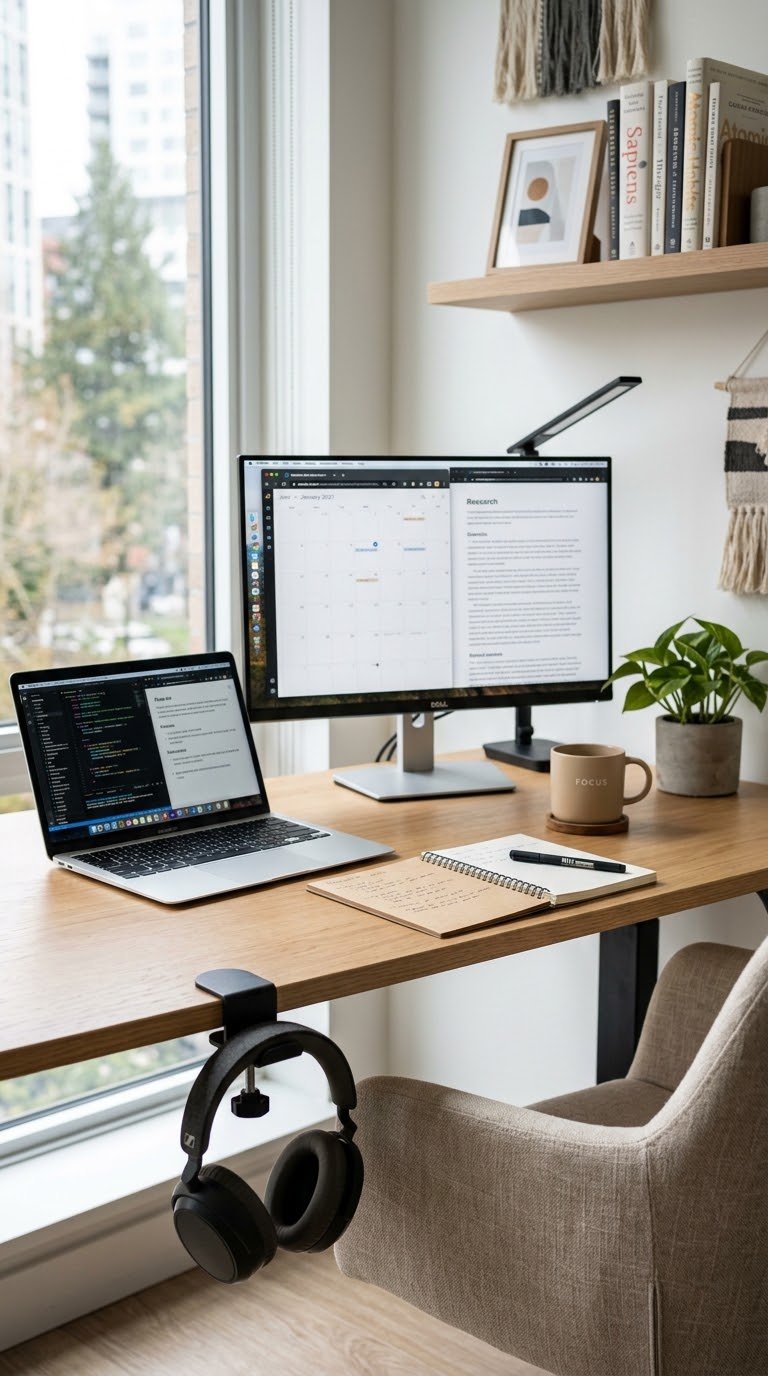
A headphone hook mounted on the desk edge keeps your headphones accessible and off the desk surface, which is the right place for an object you use daily but don’t need visible during study sessions. The OMOTON headphone stand hook from Amazon mounts under any desk edge with a single C-clamp and costs $8 to $12.
Headphones sitting flat on a desk surface collect dust, get knocked off regularly, and consume the surface area you need for a notebook beside your laptop. A hook keeps them at arm’s reach without the footprint, which sounds minor until you calculate how many times per day you reach for them and how much easier that reach is when they’re hanging rather than buried.
8. Create a Minimal Desk Organizer System
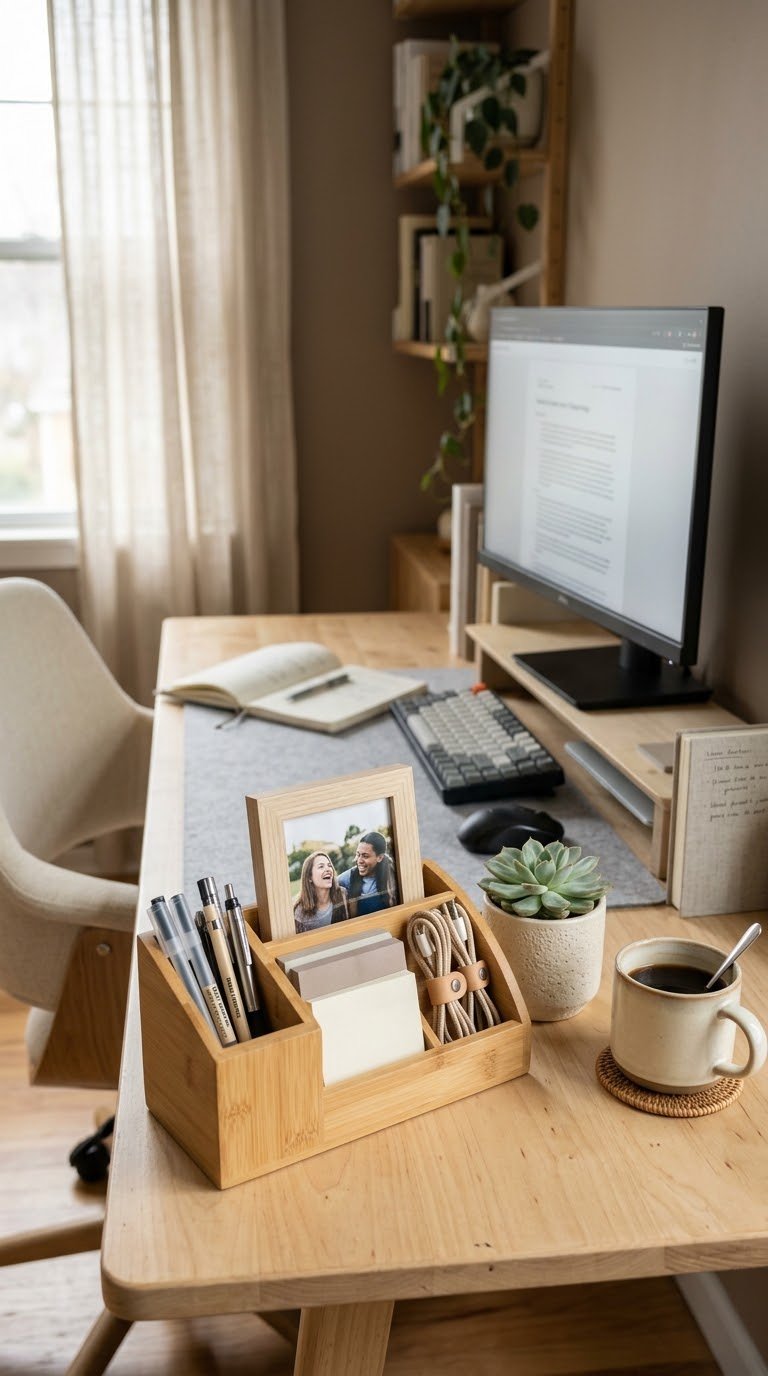
A desk organizer with exactly four compartments: pens, charging cables, sticky notes, and one personal item, keeps the desk surface functional without becoming a storage unit. The Bamboo VEVOR desk organizer at $25 to $35 provides five compartments and a phone stand within a 12-inch footprint.
The personal item slot matters as much as the functional ones. A photo, a small memento, or one meaningful object at desk level signals to your brain that this is your space rather than an institutional workstation, which subtly but measurably affects motivation in sustained work environments. One personal item. Not four. One.
9. Use Adhesive Cable Clips Along the Desk Edge
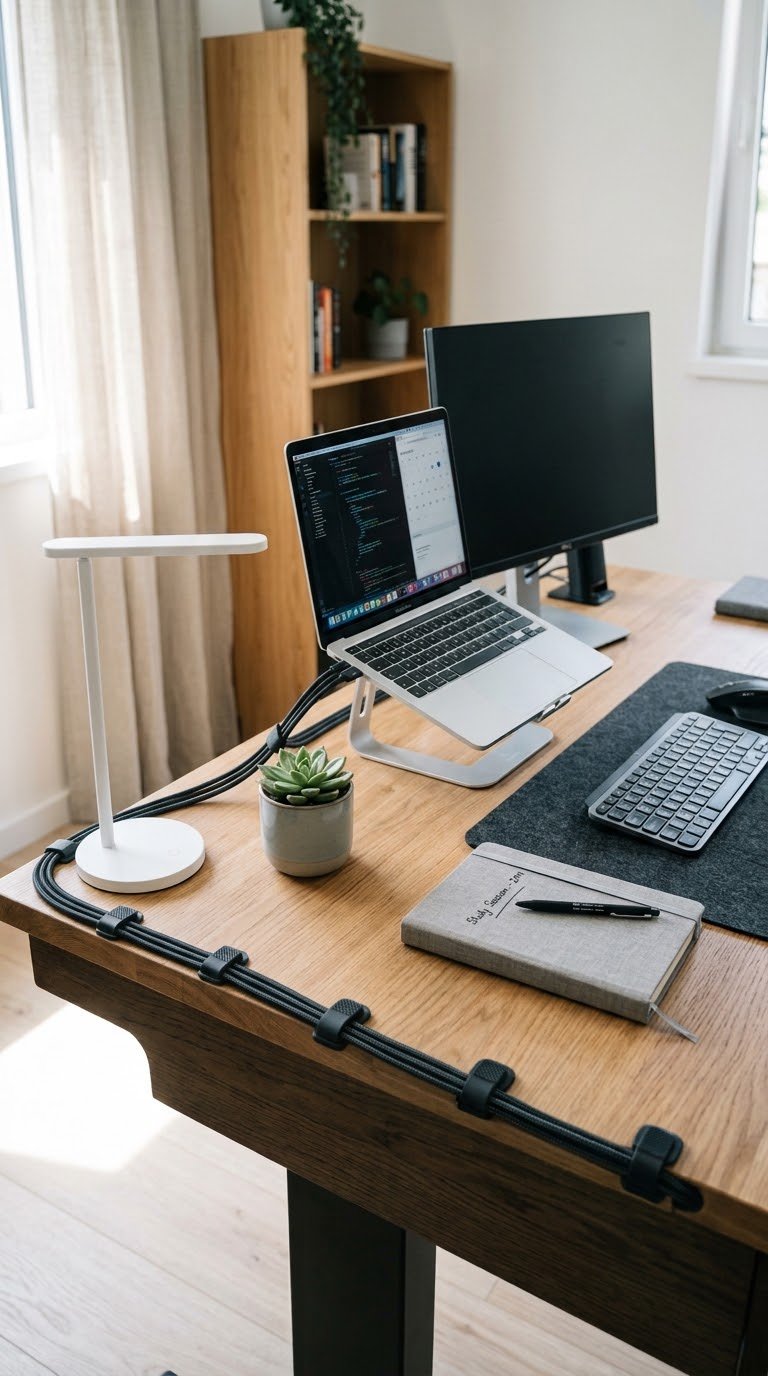
Adhesive cable clips along the desk edge route cables from the power strip to each device without running across the surface, which eliminates the cable that drapes across your notebook every time you write something by hand. The Micro Center adhesive cable clips cost $8 for a 20-pack and handle cables up to 5mm in diameter.
Run the monitor cable along the right desk edge from back to front, the laptop power cable along the left edge from back to front, and let them meet the devices at the desk’s front corners where they’re closest to the actual ports. The setup takes 15 minutes and makes the desk look like it belongs in a real office rather than a freshman dorm room.
10. Add a Laptop Stand Beside Your External Monitor
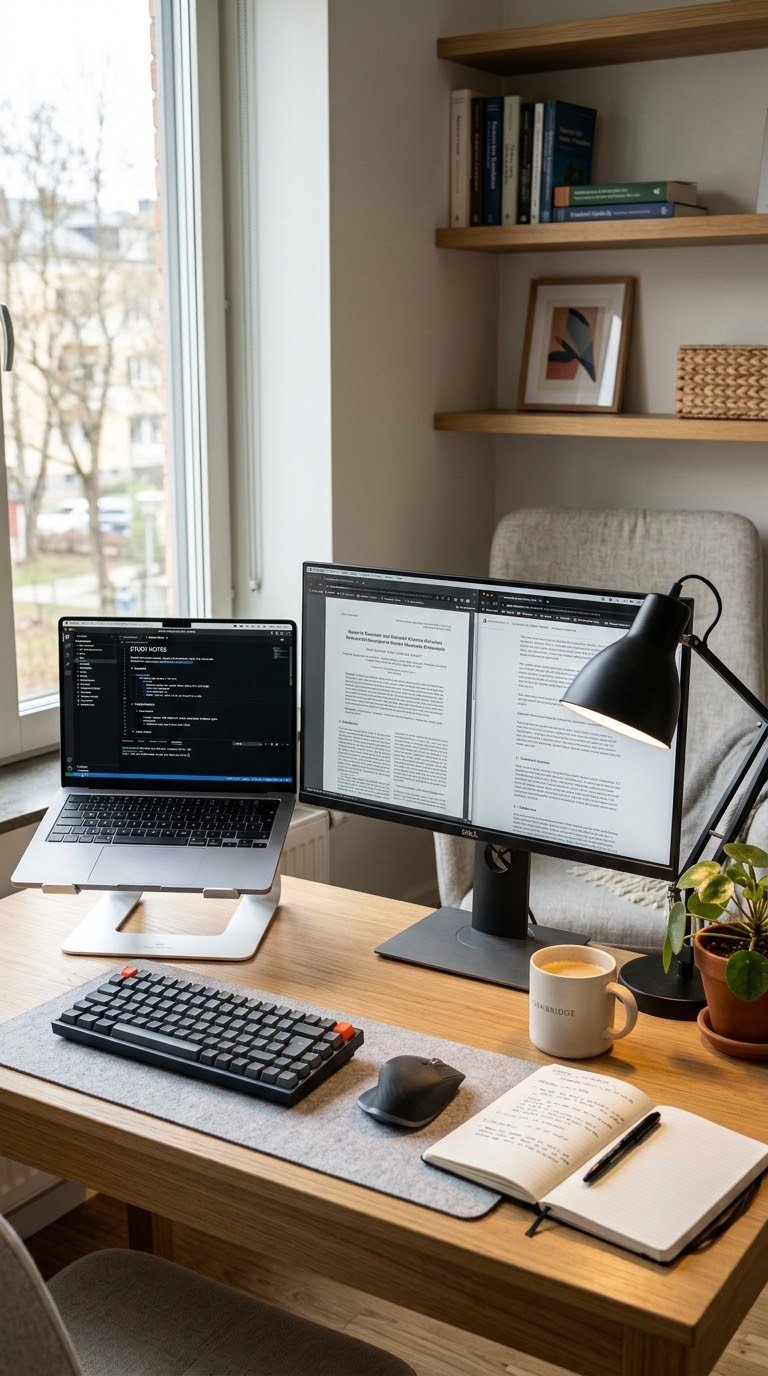
A laptop stand positioned beside your primary monitor creates a true dual-screen setup that puts your laptop display at the same height as your external monitor, eliminating the head-drop that comes from looking down at a flat laptop screen beside a raised monitor. The Nexstand K2 laptop stand folds flat for portability and costs $35 to $45.
A dual-screen setup with both displays at the same height requires more desk depth than a single-screen setup, which is worth planning for before you buy the stand. A minimum of 24 inches of desk depth accommodates most laptop-plus-monitor combinations at the right viewing distance of 20 to 28 inches from your seated eye position.
11. Use a Multi-Port USB Hub at Desk Level
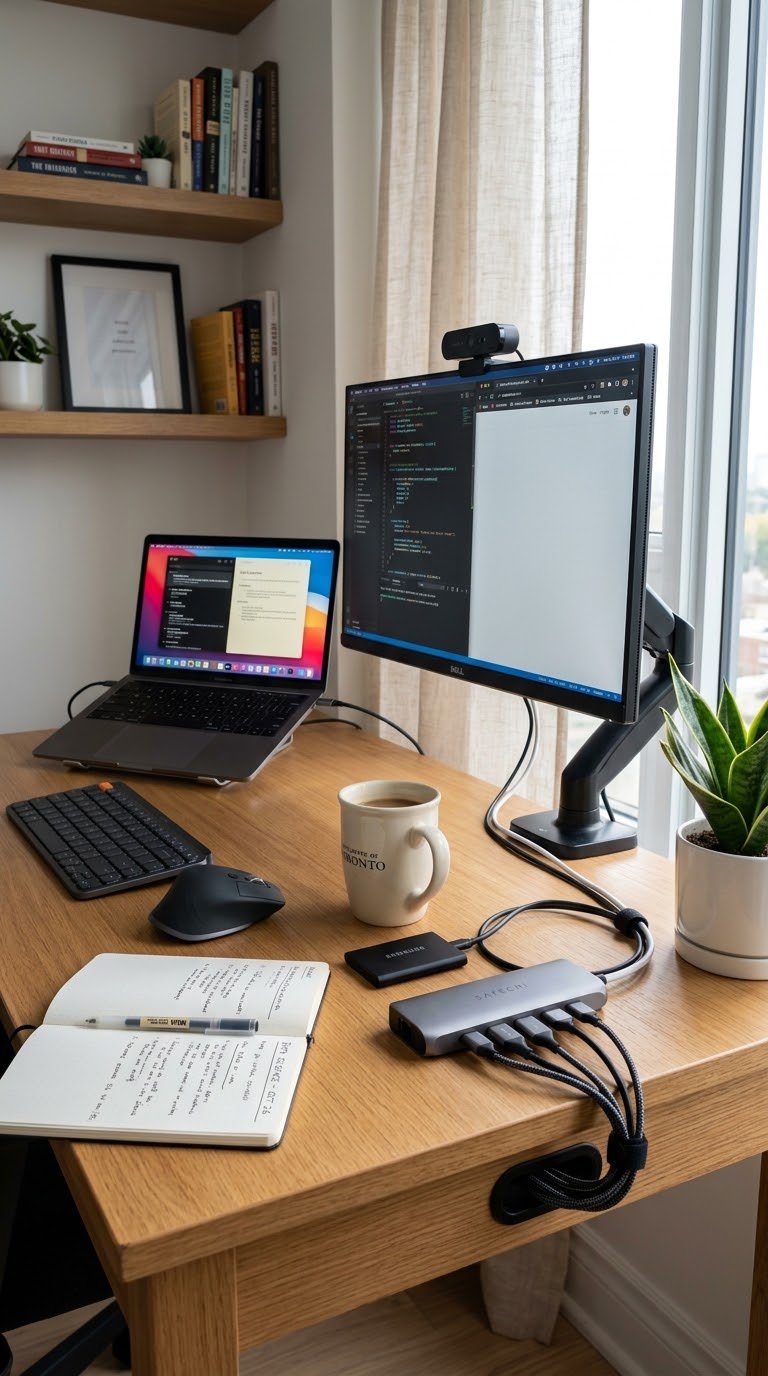
A 7 to 10-port USB hub at desk level provides enough connection points for a laptop, external monitor, keyboard, mouse, webcam, phone, and external drive from one power strip outlet. The Anker 10-port USB 3.0 hub costs $35 to $45 and handles every device simultaneously without the power delivery issues cheaper hubs produce under full load.
Position the hub at the front-right desk corner where cable reach to your devices is shortest, and route its single power cable back along the desk edge with an adhesive clip. One hub, one outlet, all devices connected: this is the cable management goal for any desk setup regardless of how many peripherals you run.
12. Position Your Desk Chair to Face Away From Distractions
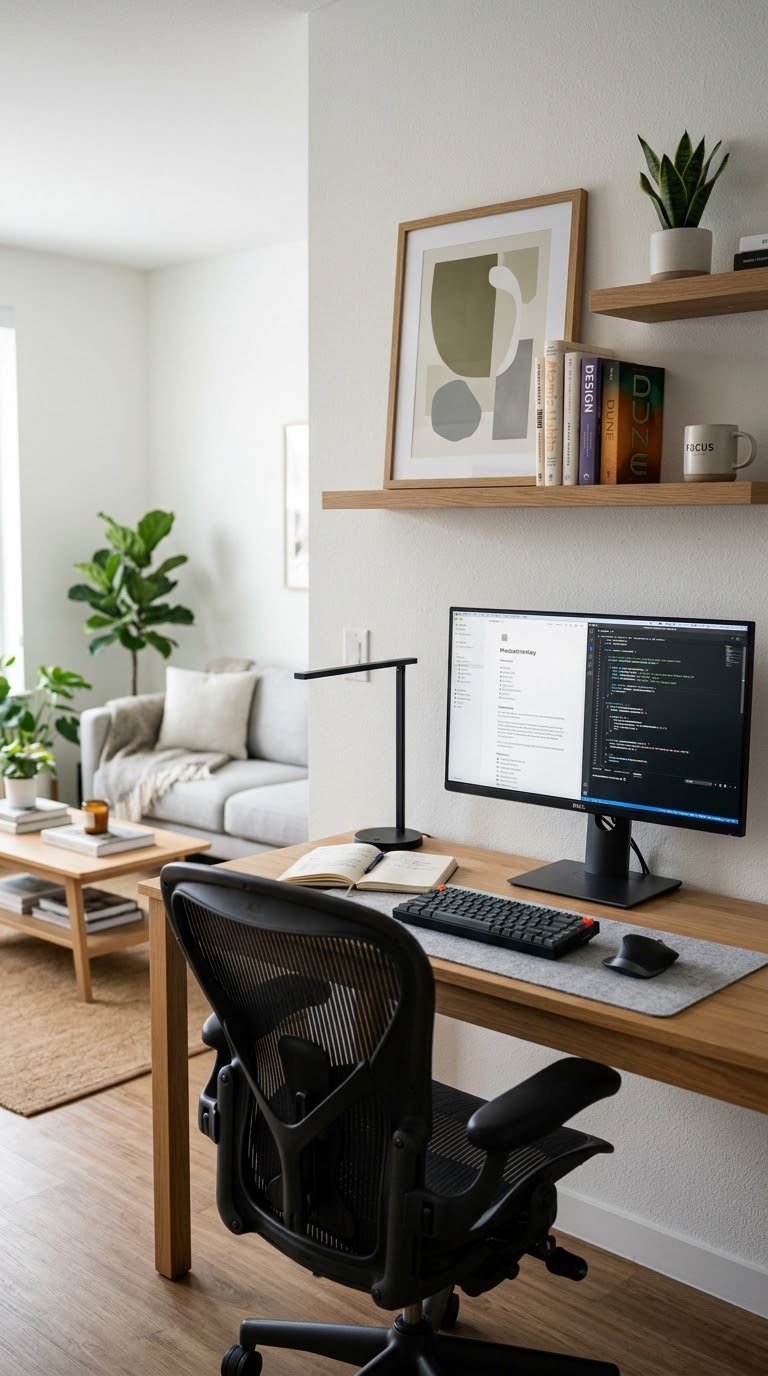
Chair and desk orientation relative to visual distractions (a TV, a window with foot traffic outside, a roommate’s side of the room) directly affects sustained focus duration. Desks positioned to face a wall rather than a room interior create a subtle environmental cue that the space ahead is for work, since there’s nothing to look at except the task.
If you can’t orient your desk away from distractions due to room layout constraints, a small privacy screen or a tall monitor placed at the desk’s edge creates a visual barrier that reduces peripheral distraction from the room behind you. The physical barrier achieves the same environmental cue effect without moving any furniture.
13. Add LED Strip Lights Behind Your Monitor
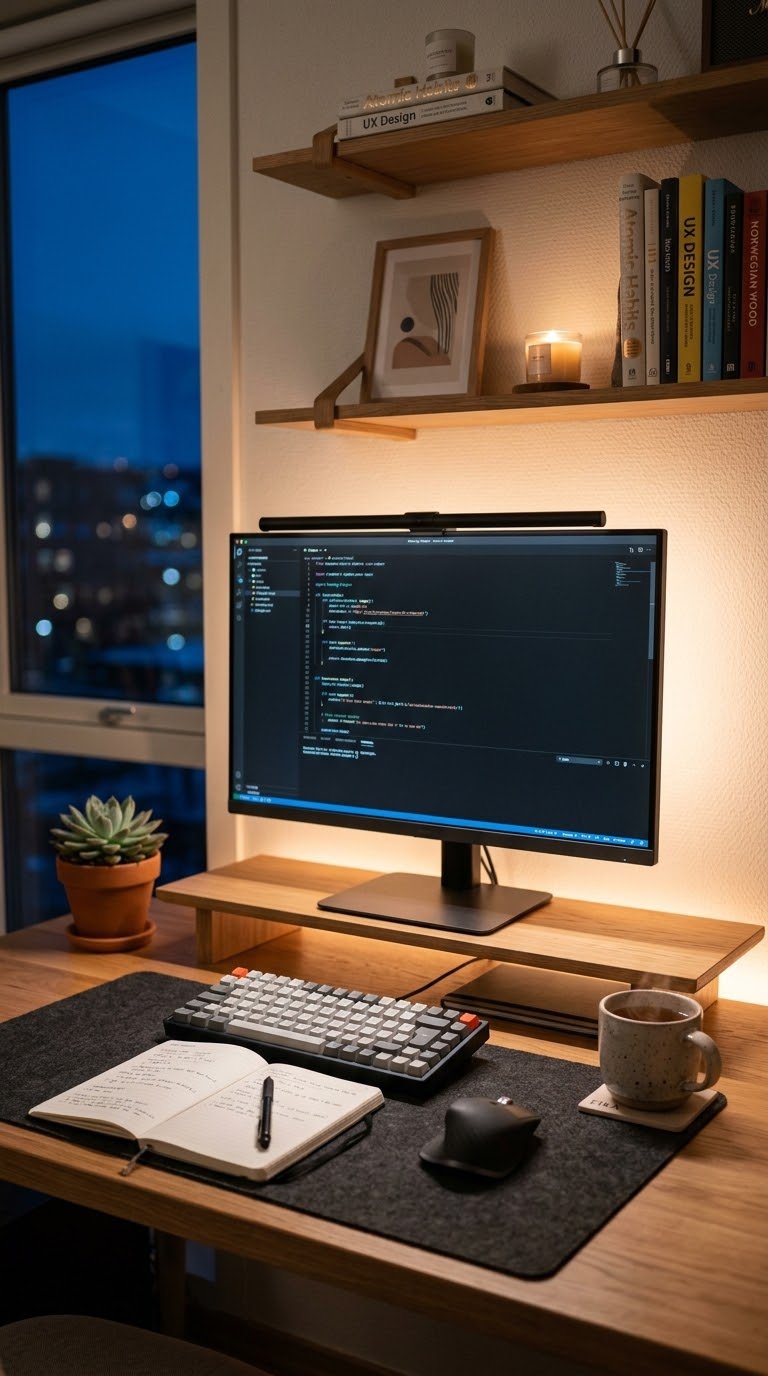
LED strip lights behind your monitor reduce eye strain from screen-to-room contrast by raising the ambient light level behind the bright screen, which reduces the difference in luminance the eye adapts between looking at the screen and looking at the room. Govee LED strips with app control cost $15 to $25 for a 6-foot reel, enough to border a standard monitor.
Set the LED bias lighting color to a warm white or neutral daylight (5000K to 6500K) that matches your screen’s color profile rather than a saturated color that fights your screen’s white point. The bias lighting setup eliminates the headache that comes from prolonged screen use in a dark room by solving the light contrast problem rather than treating the symptom.
14. Use a Keyboard Tray Under the Monitor Riser
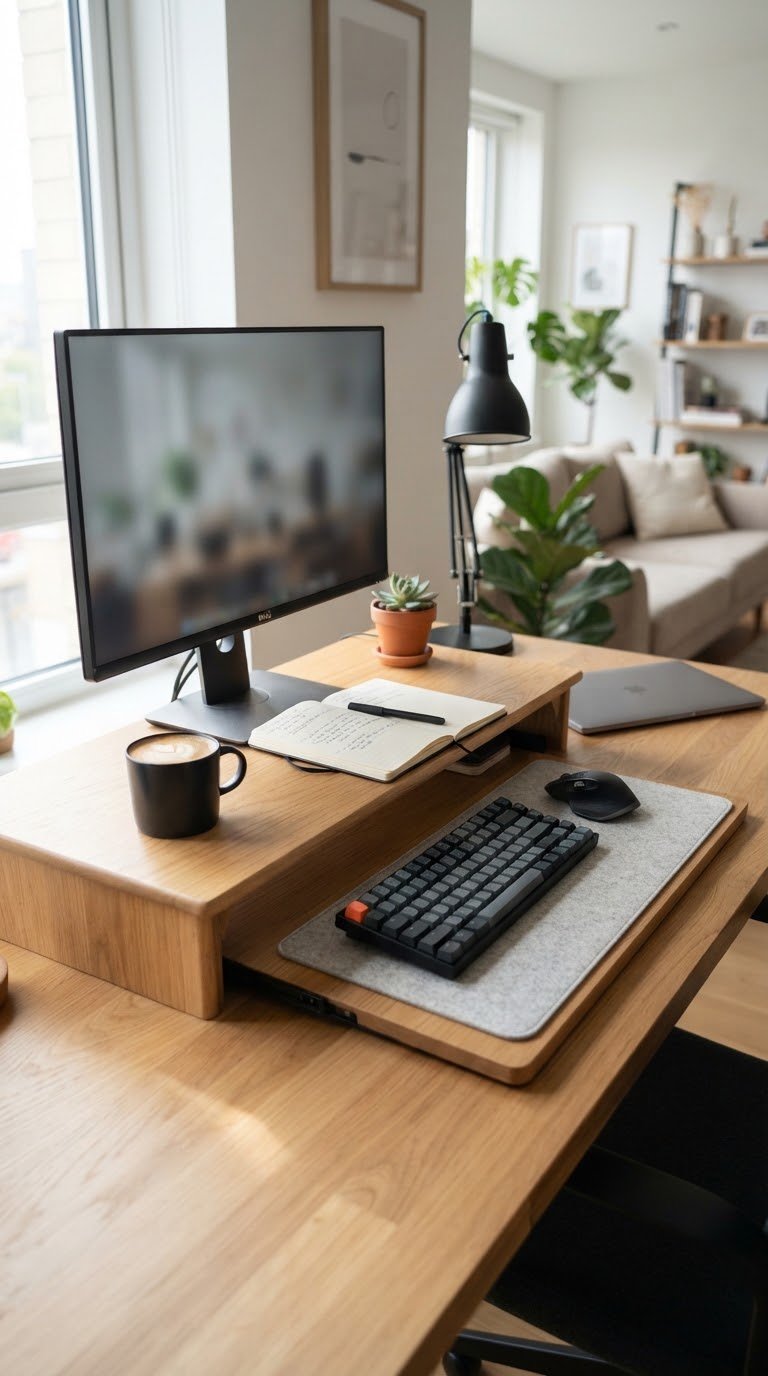
A keyboard tray on the surface beneath your monitor riser solves the ergonomic problem of a keyboard too high for comfortable typing while recovering the full desk surface above the tray for a notebook, a phone stand, or a reference book that open on the desk beside the screen. The HUANUO sliding keyboard tray at $35 to $55 mounts under most monitor risers using the riser’s existing feet as clearance.
Your keyboard should sit at a height where your elbows rest at a slightly open angle (100 to 110 degrees) rather than bent at 90 degrees or stretched below the desk surface, which most standard desk heights prevent with standard chair heights. The keyboard tray adjusts for this without changing either the desk or the chair.
15. Keep a Dedicated Notebook and Pen on the Desk Surface Always

A physical notebook and a single quality pen permanently on the desk surface keeps handwriting as an option without requiring you to find them before every session where you want to write something down. The act of searching for a notebook before class notes or study session notes adds friction that makes you more likely to skip the handwriting entirely.
Research from Princeton and UCLA published in Psychological Science found that students who took notes by hand demonstrated significantly stronger conceptual understanding and retention than those who typed the same lecture notes. A notebook within arm’s reach at all times removes the excuse not to use it.
16. Add a Small Bluetooth Speaker at Shelf or Riser Height
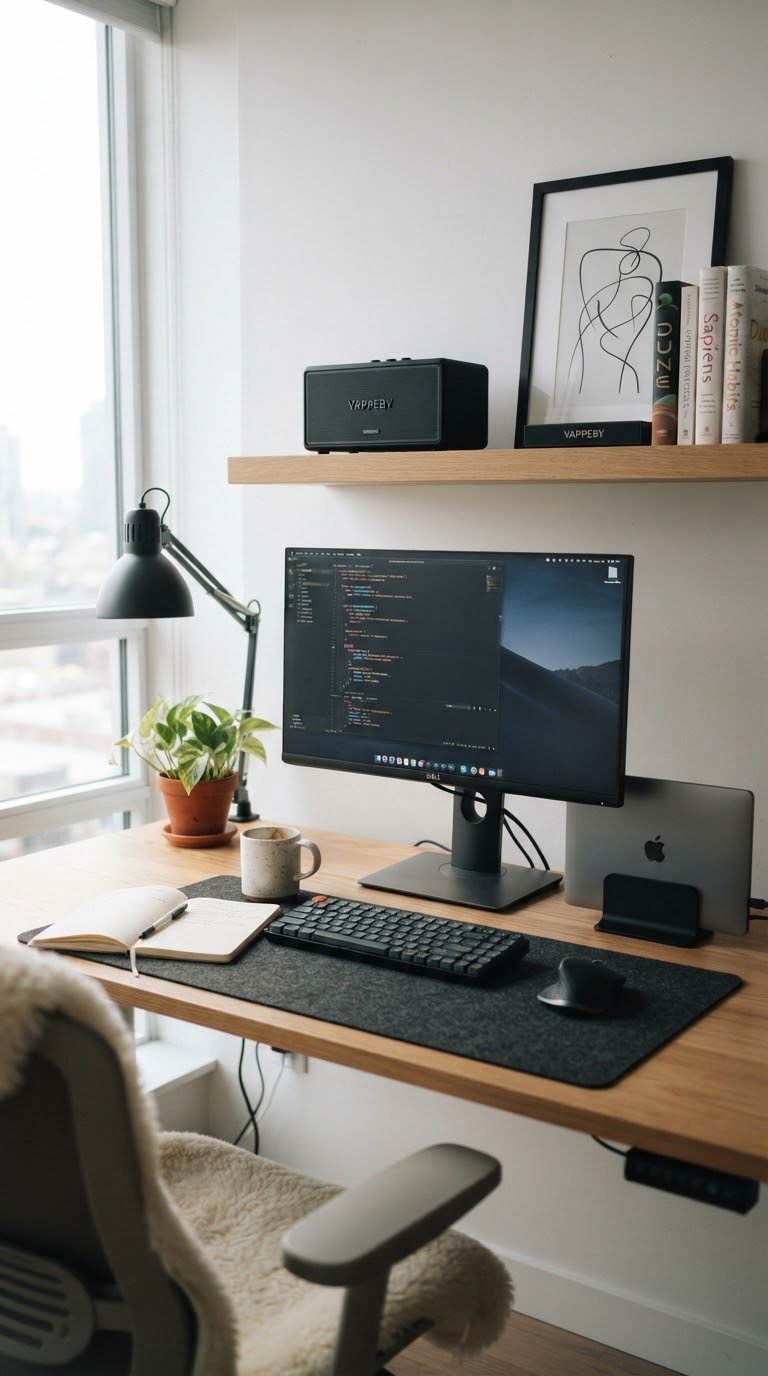
A Bluetooth speaker positioned at shelf or riser height rather than on the desk surface delivers sound at ear level rather than bouncing audio off the desk into the bottom of your face, which produces noticeably better sound quality from the same speaker. The Anker Soundcore 3 at $35 to $40 delivers 24 hours of battery life and sound quality that outperforms speakers at twice its price in the same physical size.
Position it on the monitor riser’s upper surface, a floating shelf above the desk, or a small speaker stand behind the riser, so the sound projects forward rather than upward. Keep the volume under 60 decibels during study sessions, since moderate background music (specifically lyric-free music) modestly improves focus on creative and routine tasks while higher volumes and lyric-heavy music impair reading comprehension performance.
17. Use a Document Holder Beside Your Screen
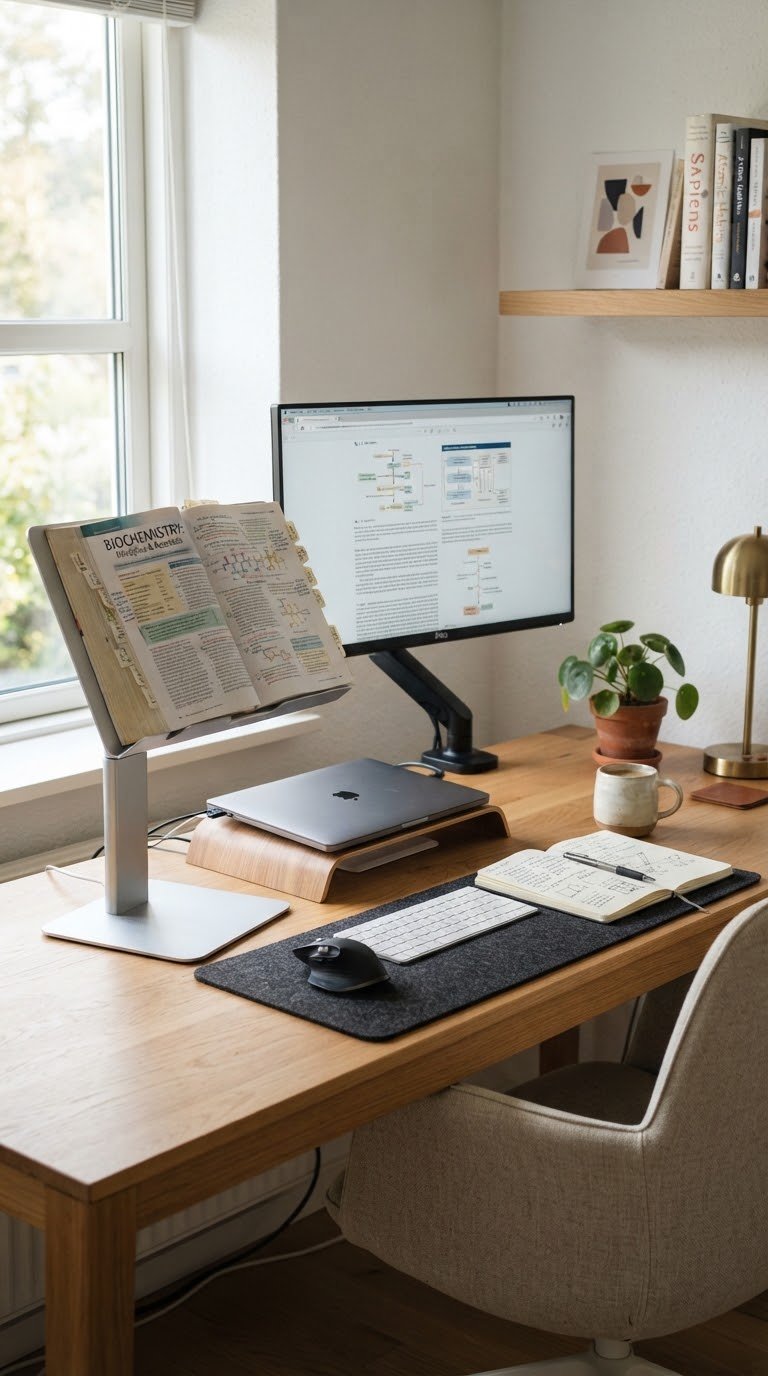
A document holder positioned beside your primary screen at the same height as the monitor eliminates the neck rotation and refocusing that comes from moving between screen and paper reference material during study sessions. The 3M adjustable document copy holder at $20 to $30 positions beside any monitor and adjusts in height to match the screen’s vertical center.
Students who work with both digital content and physical course materials report fewer errors and less eye fatigue when the physical material sits at the same height and angle as the screen rather than flat on the desk. For open-book exams, reference-heavy research sessions, or language study that requires moving between physical and digital content, the document holder earns $25 within the first week of use.
18. Take a Photo of Your Desk and Clean It When It Doesn’t Match
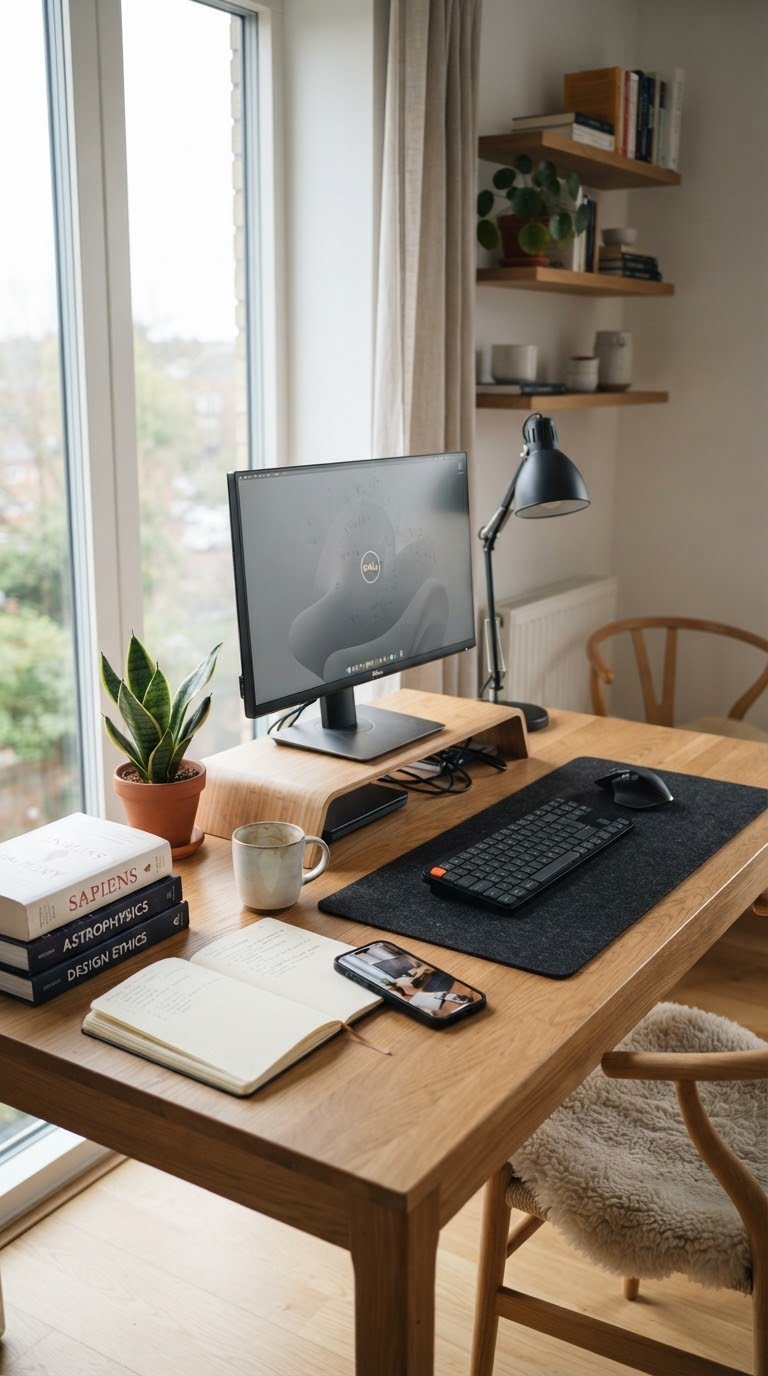
The most sustainable desk organization system for a college desk is the photo standard: take a photo of your desk when it’s optimally organized and functional, and use that photo as the reference standard for daily resets rather than an abstract idea of “clean.” When the desk doesn’t match the photo, spend five minutes returning it to that state before the next study session.
This system works because it replaces subjective tidiness judgments (“is this clean enough?”) with an objective comparison (does this match the photo?). IMO, this single habit does more for consistent study environment quality than any organizational product at any price point, because it makes the maintenance standard concrete and the reset process quick enough to actually happen. Set the photo as your phone lock screen for the first semester until the reset habit runs automatically.
Final Thoughts
A college desk setup works when it solves your actual friction points rather than replicating a setup that photographs well. Start with monitor height and lighting since those two changes affect every hour you spend at the desk and cost under $60 combined. Add cable management, a headphone hook, and a desk lamp, and the functional foundation is complete. Layer in the personal and aesthetic touches (plant, speaker, organizer) as secondary additions rather than primary ones. The best college desk you’ll ever have is the one you sit at without adjusting anything for the first 20 minutes, because a setup that doesn’t fight you is the only setup that actually gets work done.